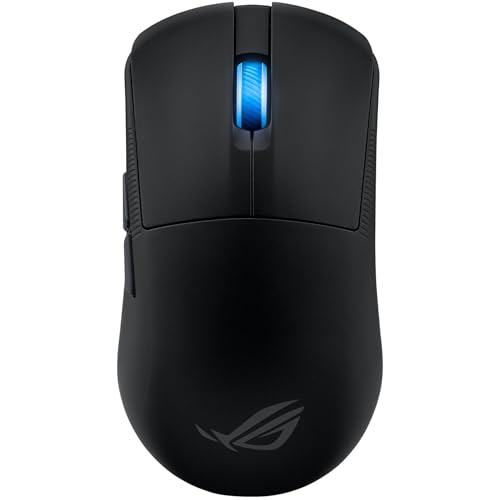
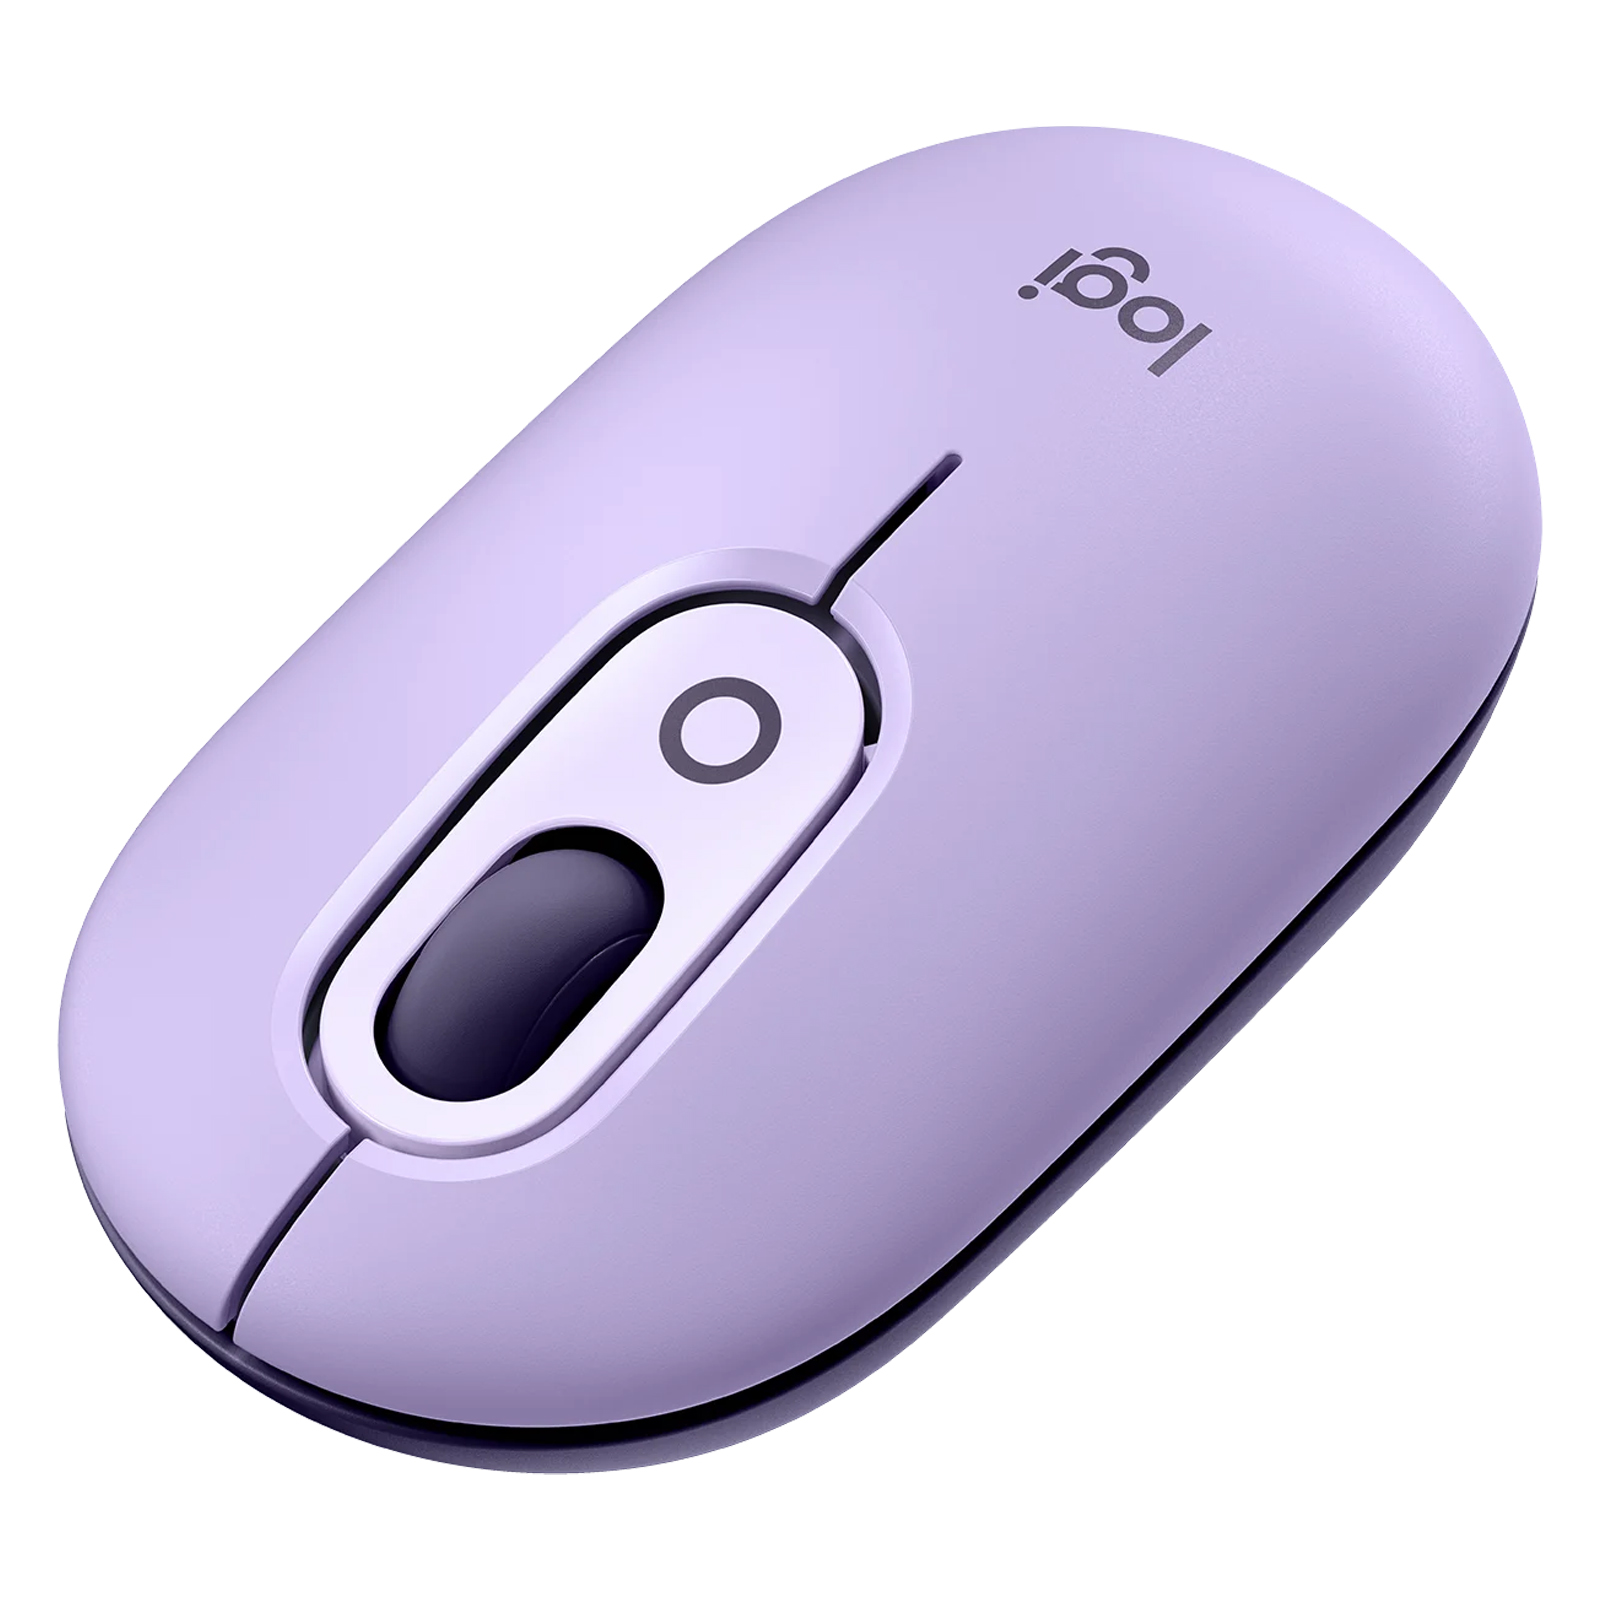
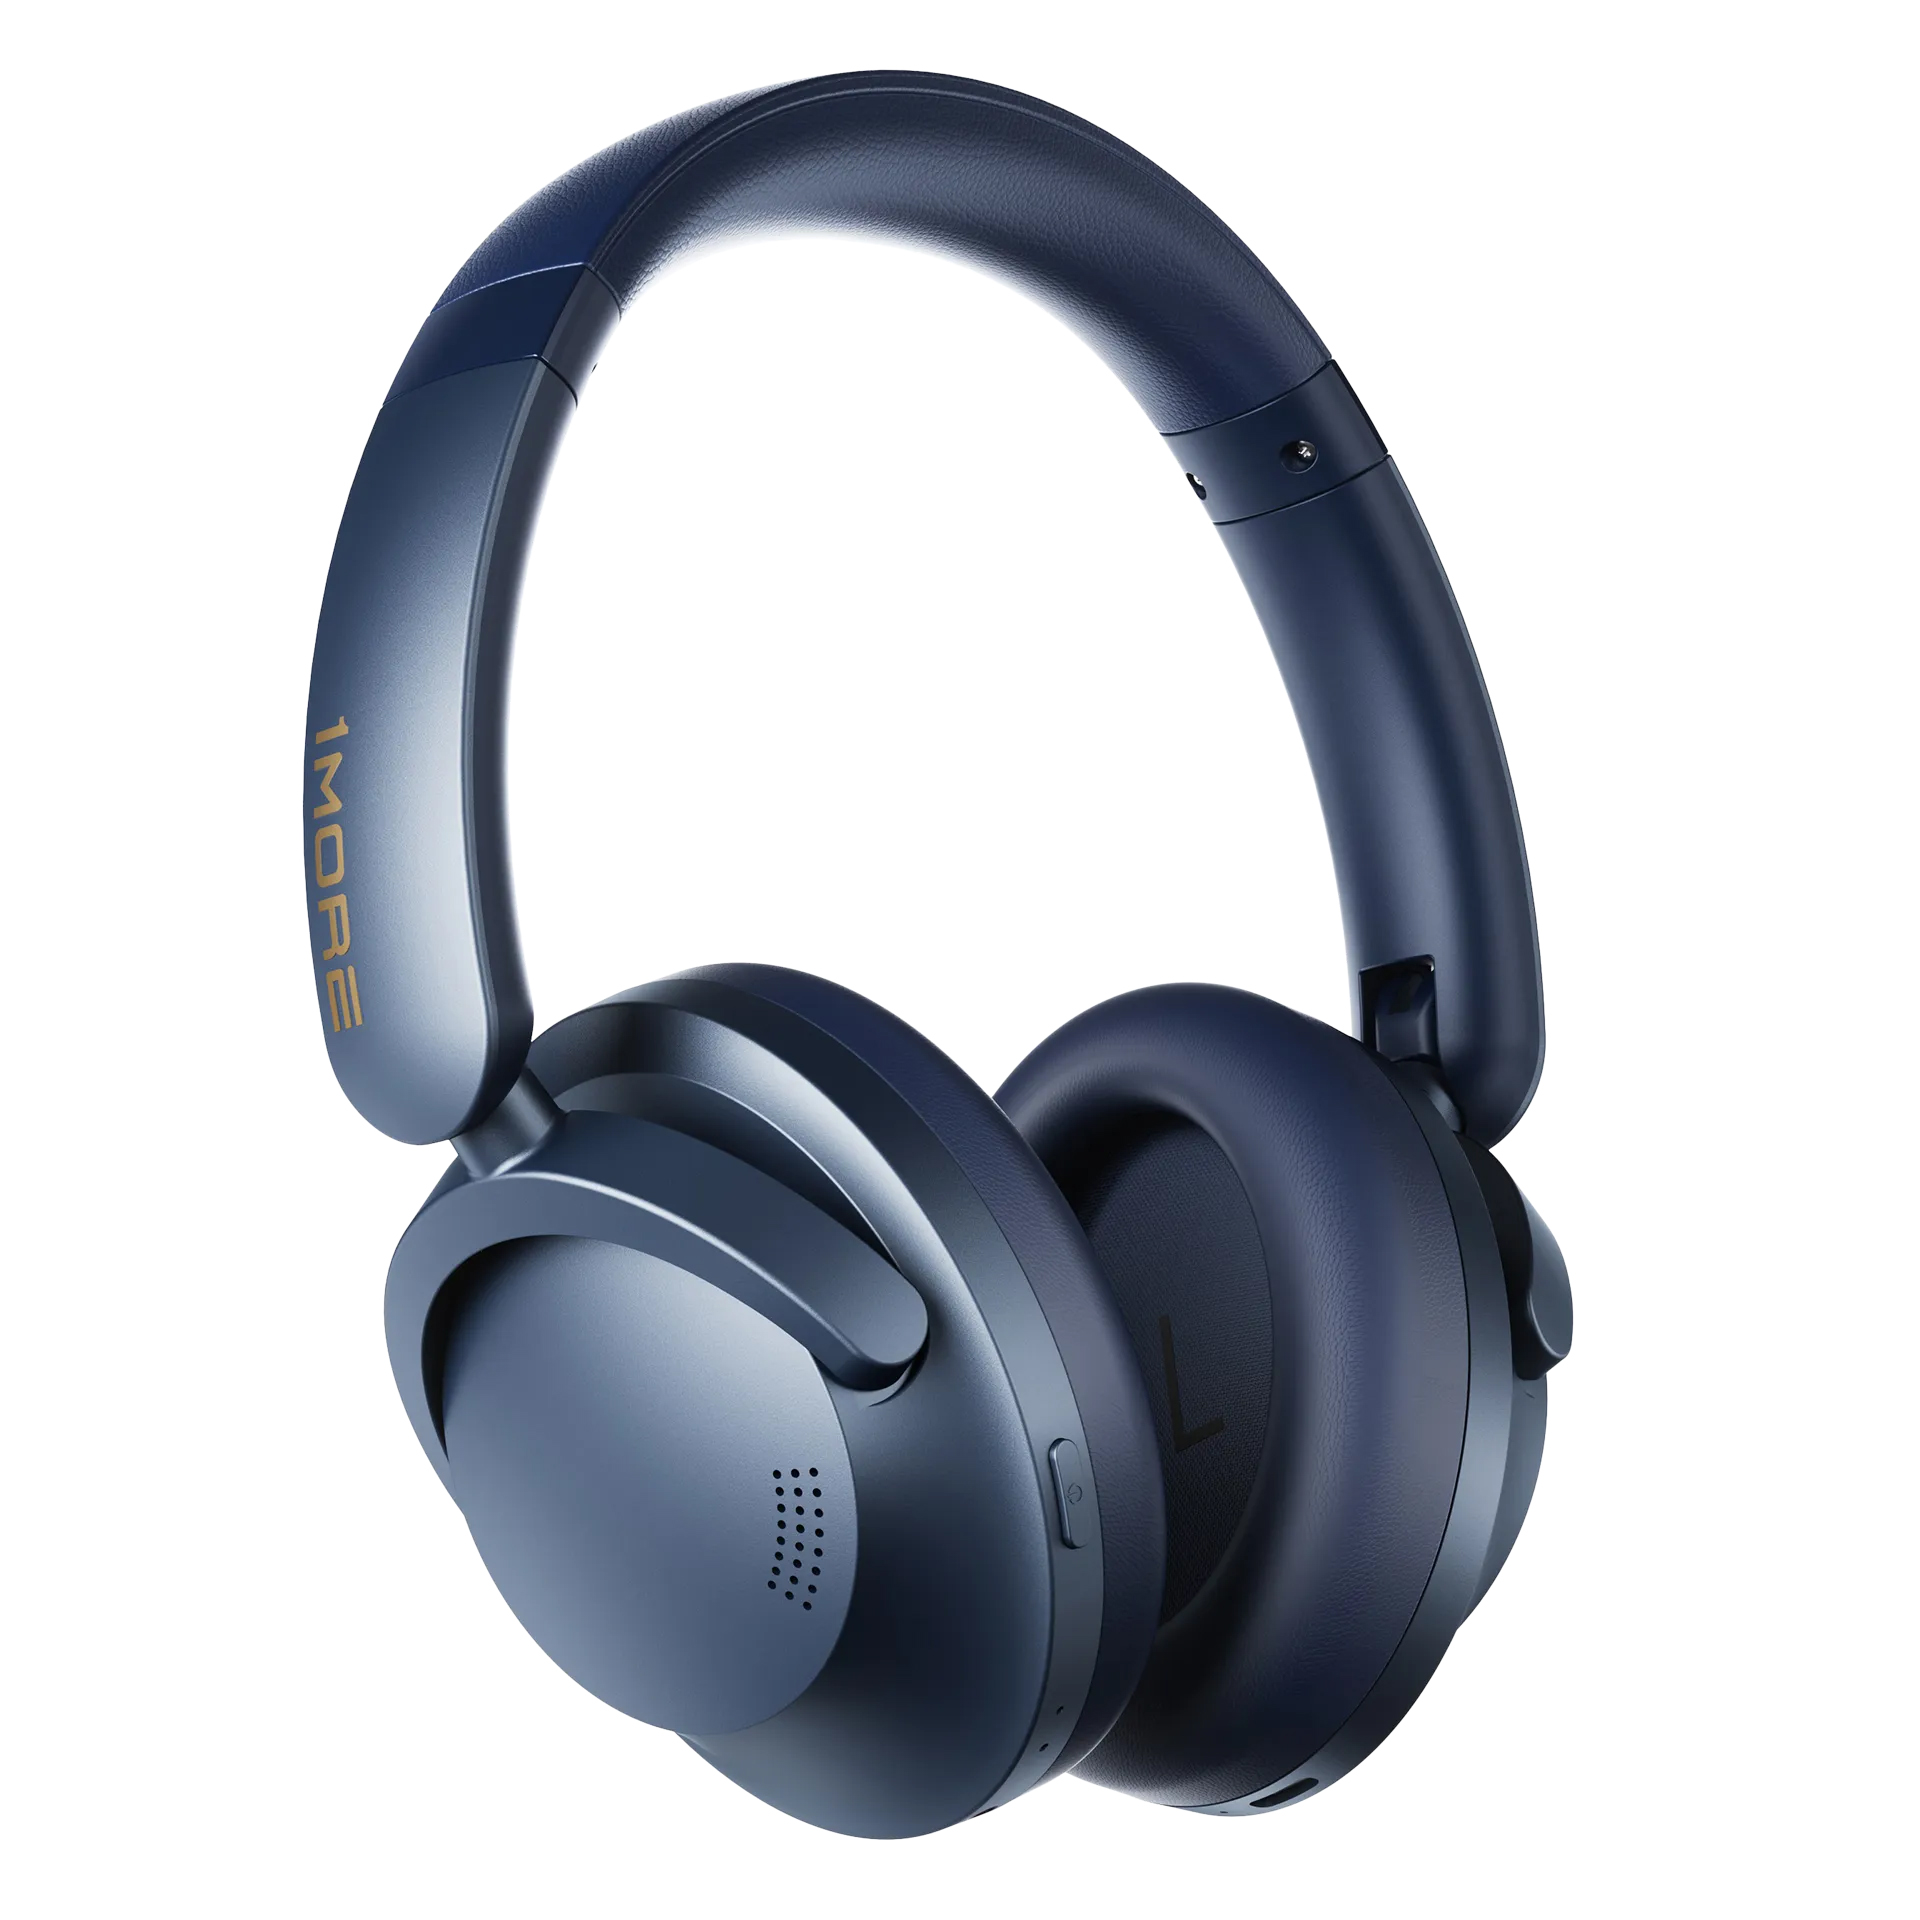
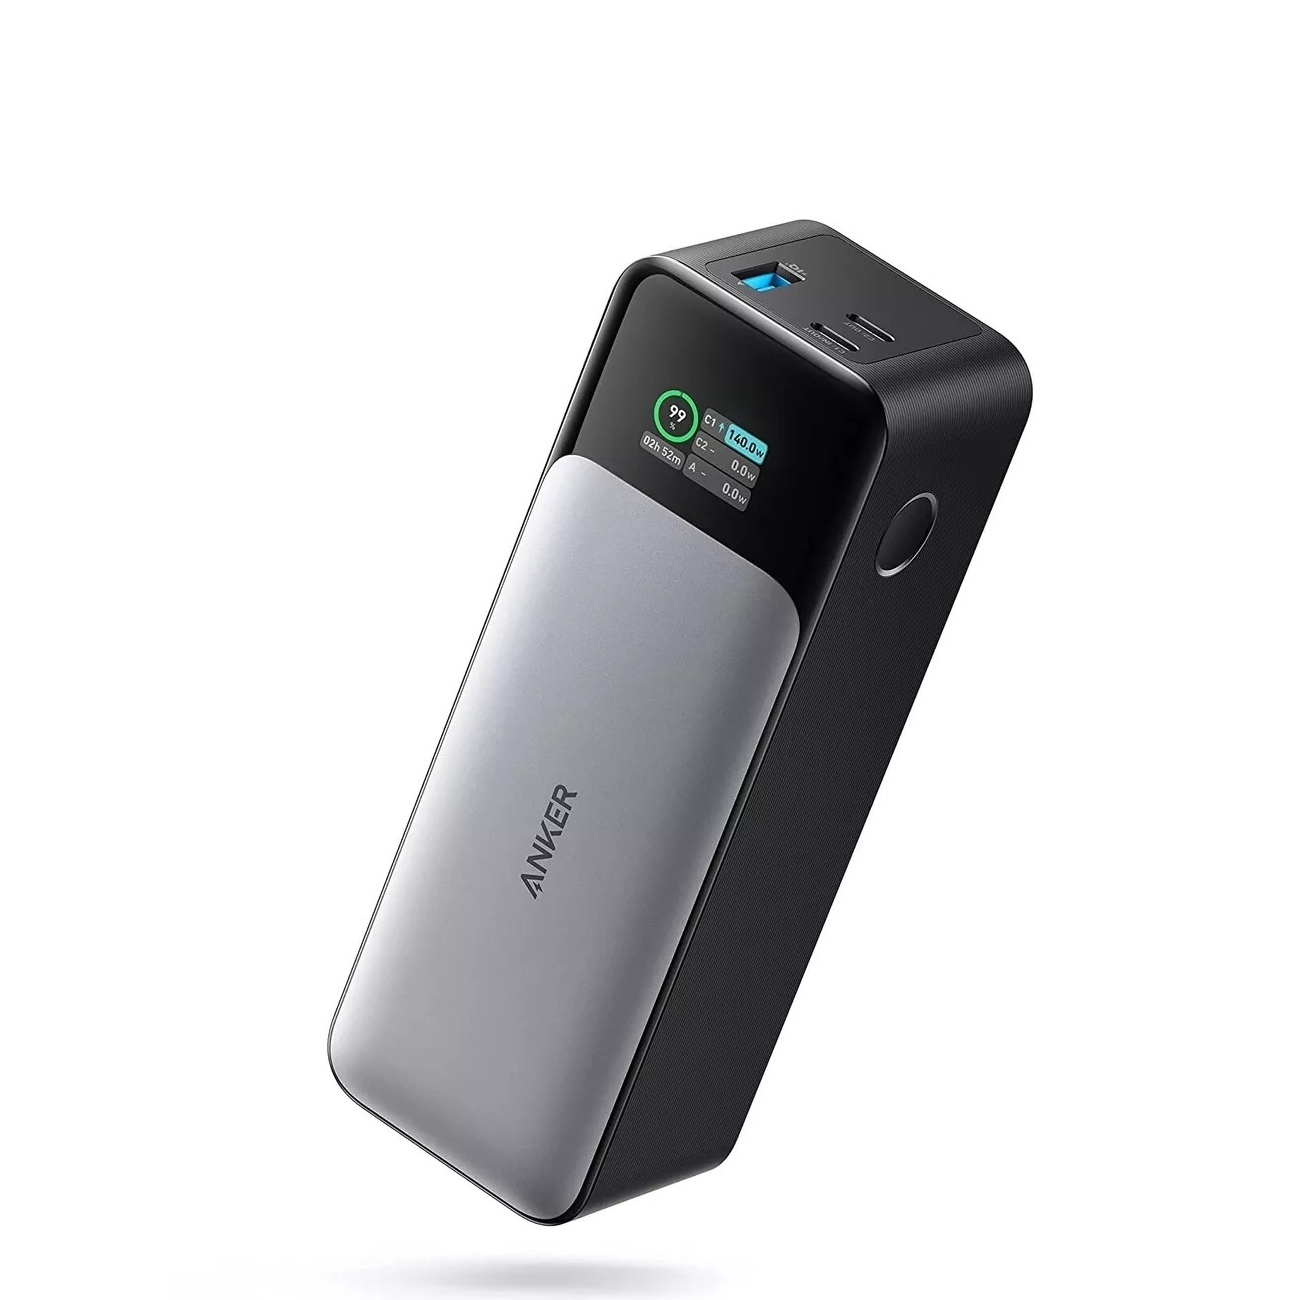
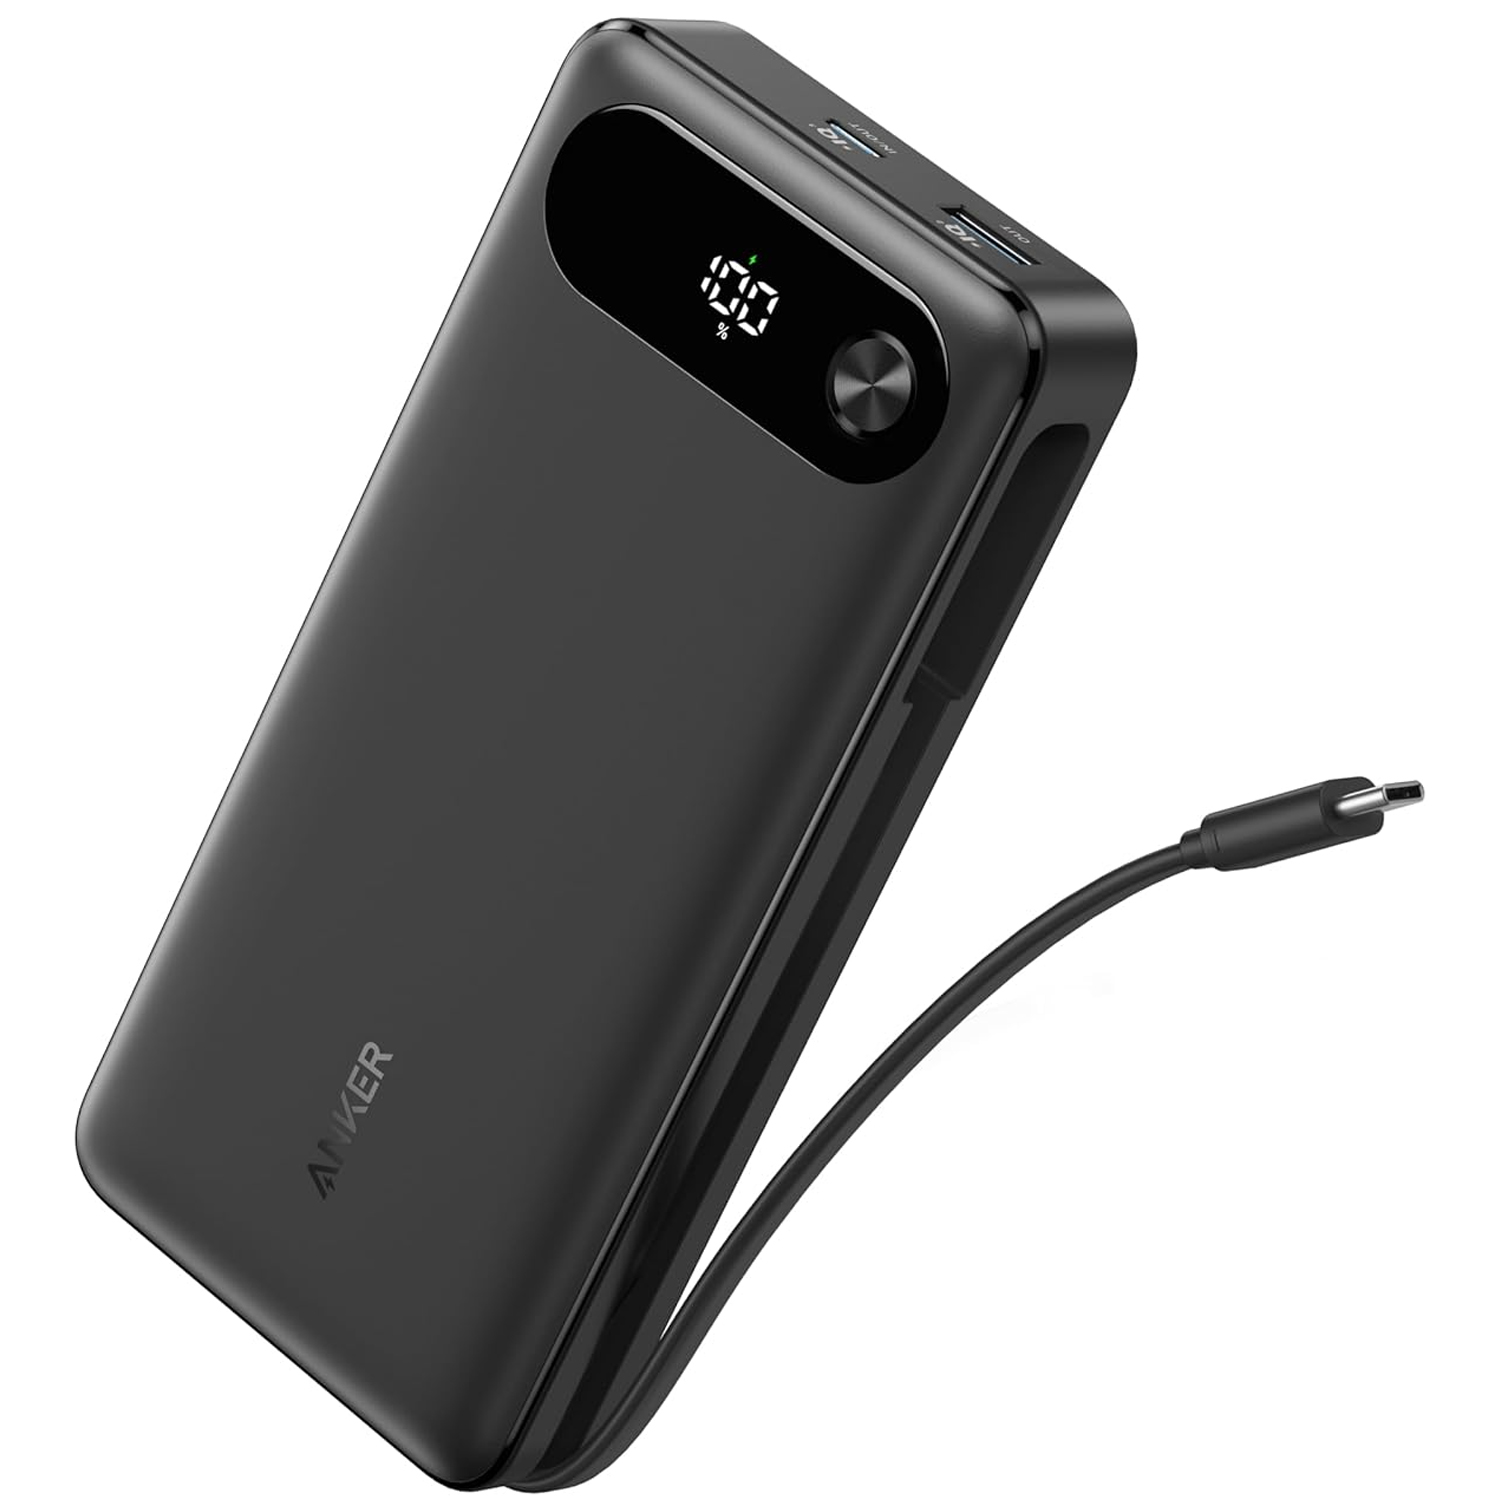
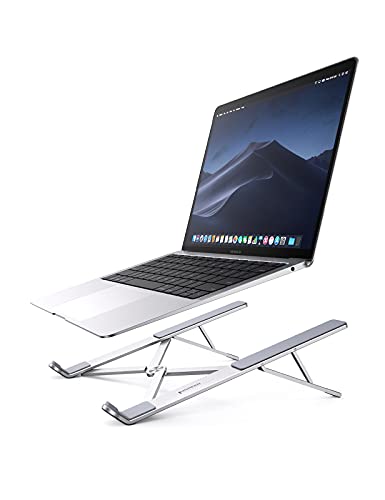
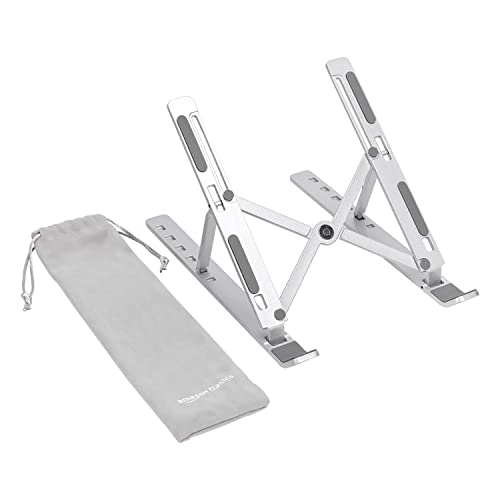
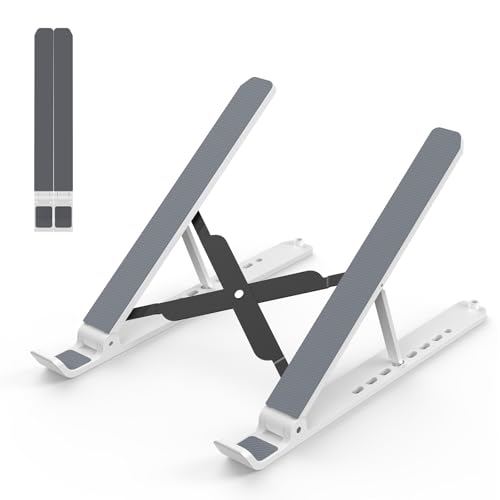
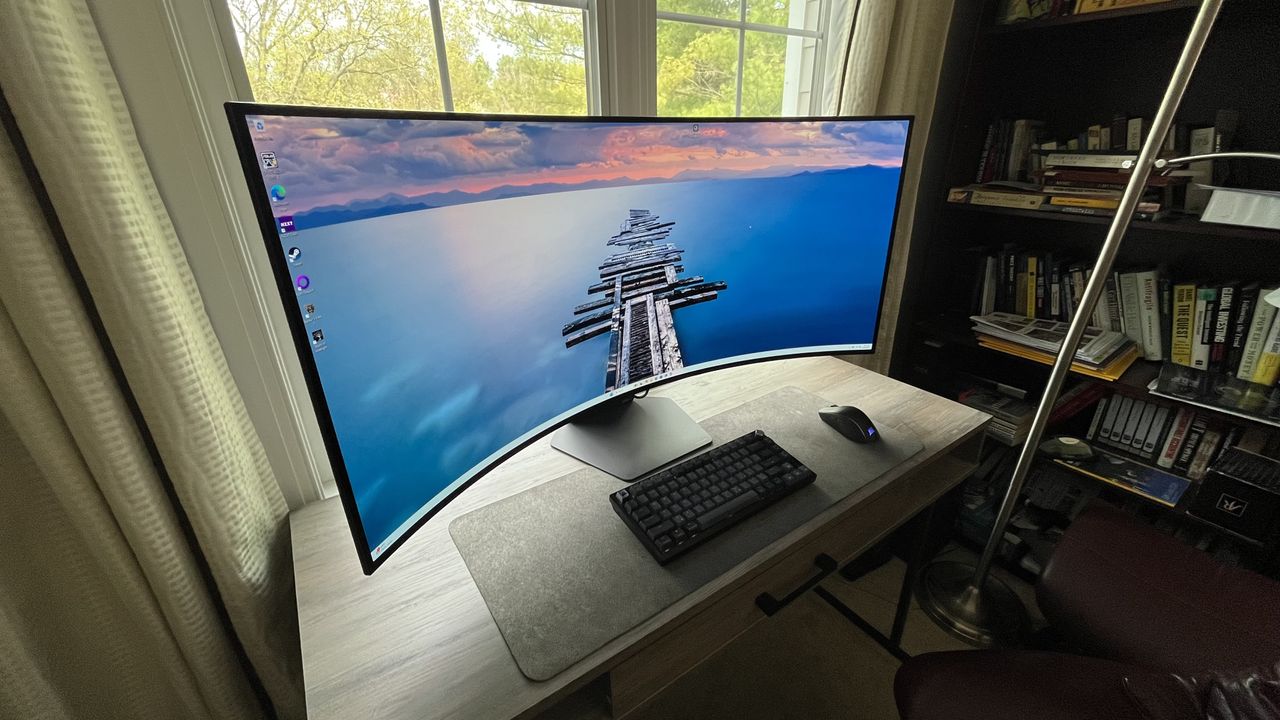
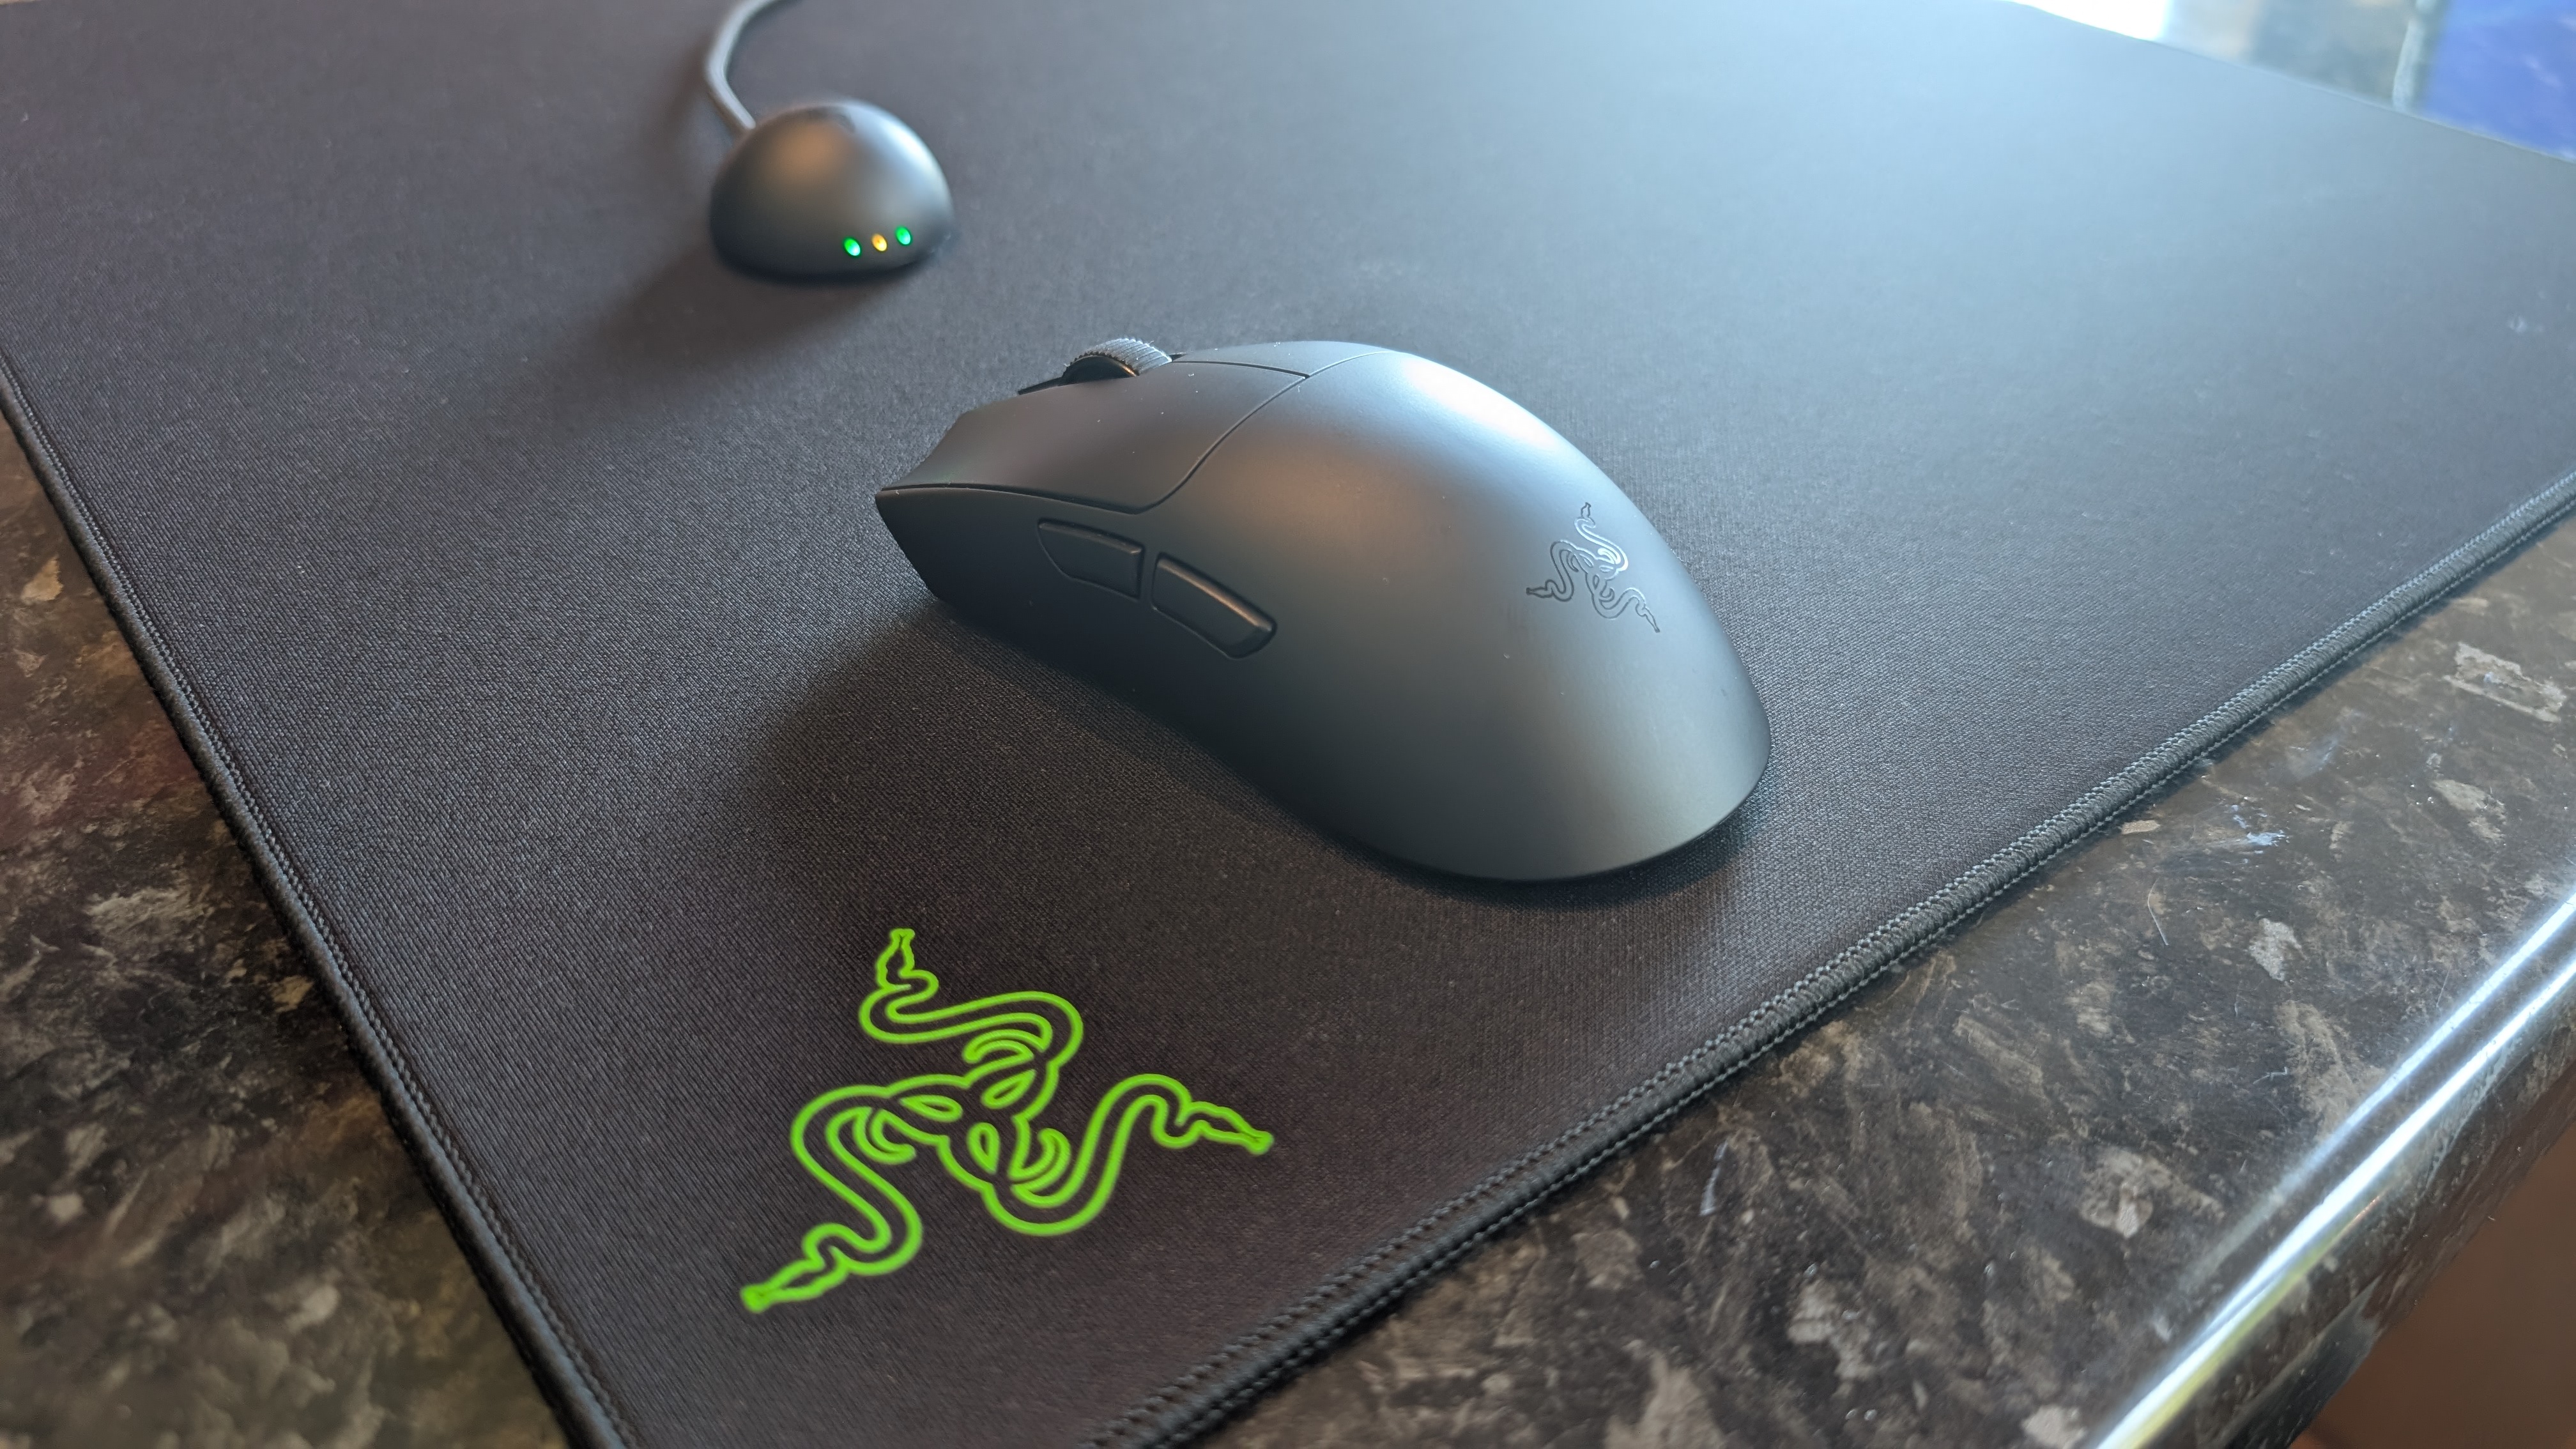
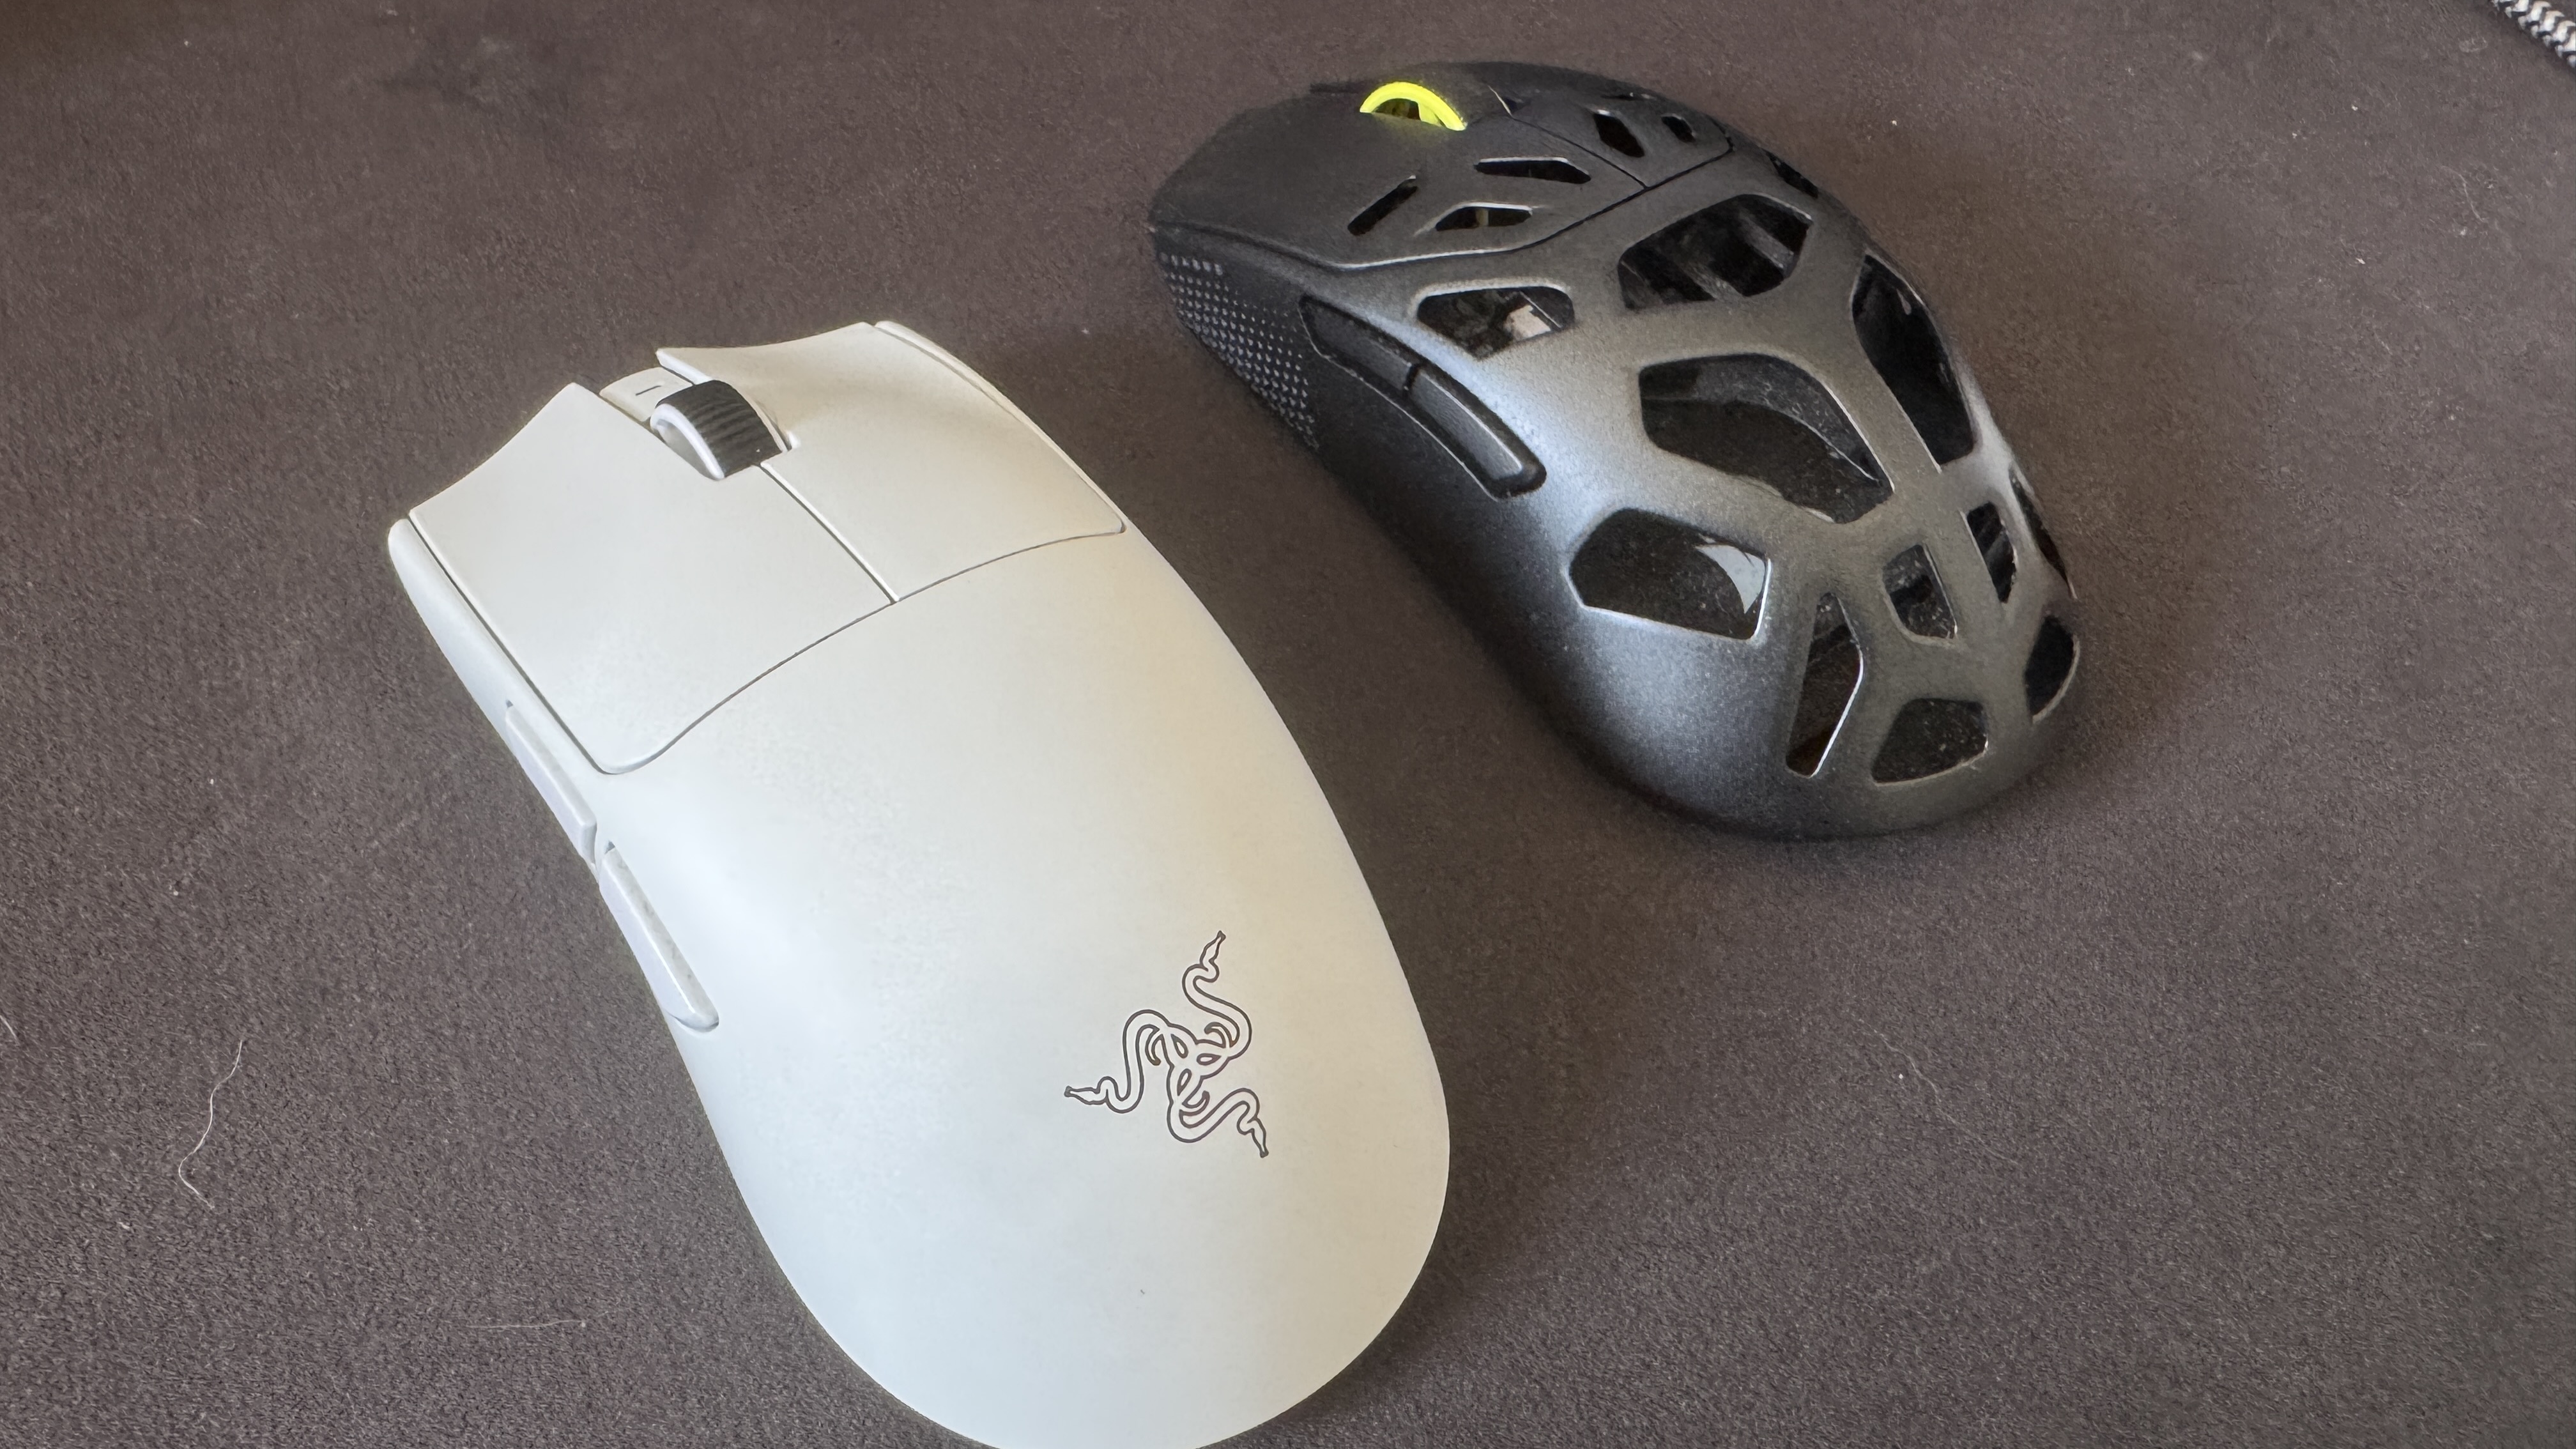
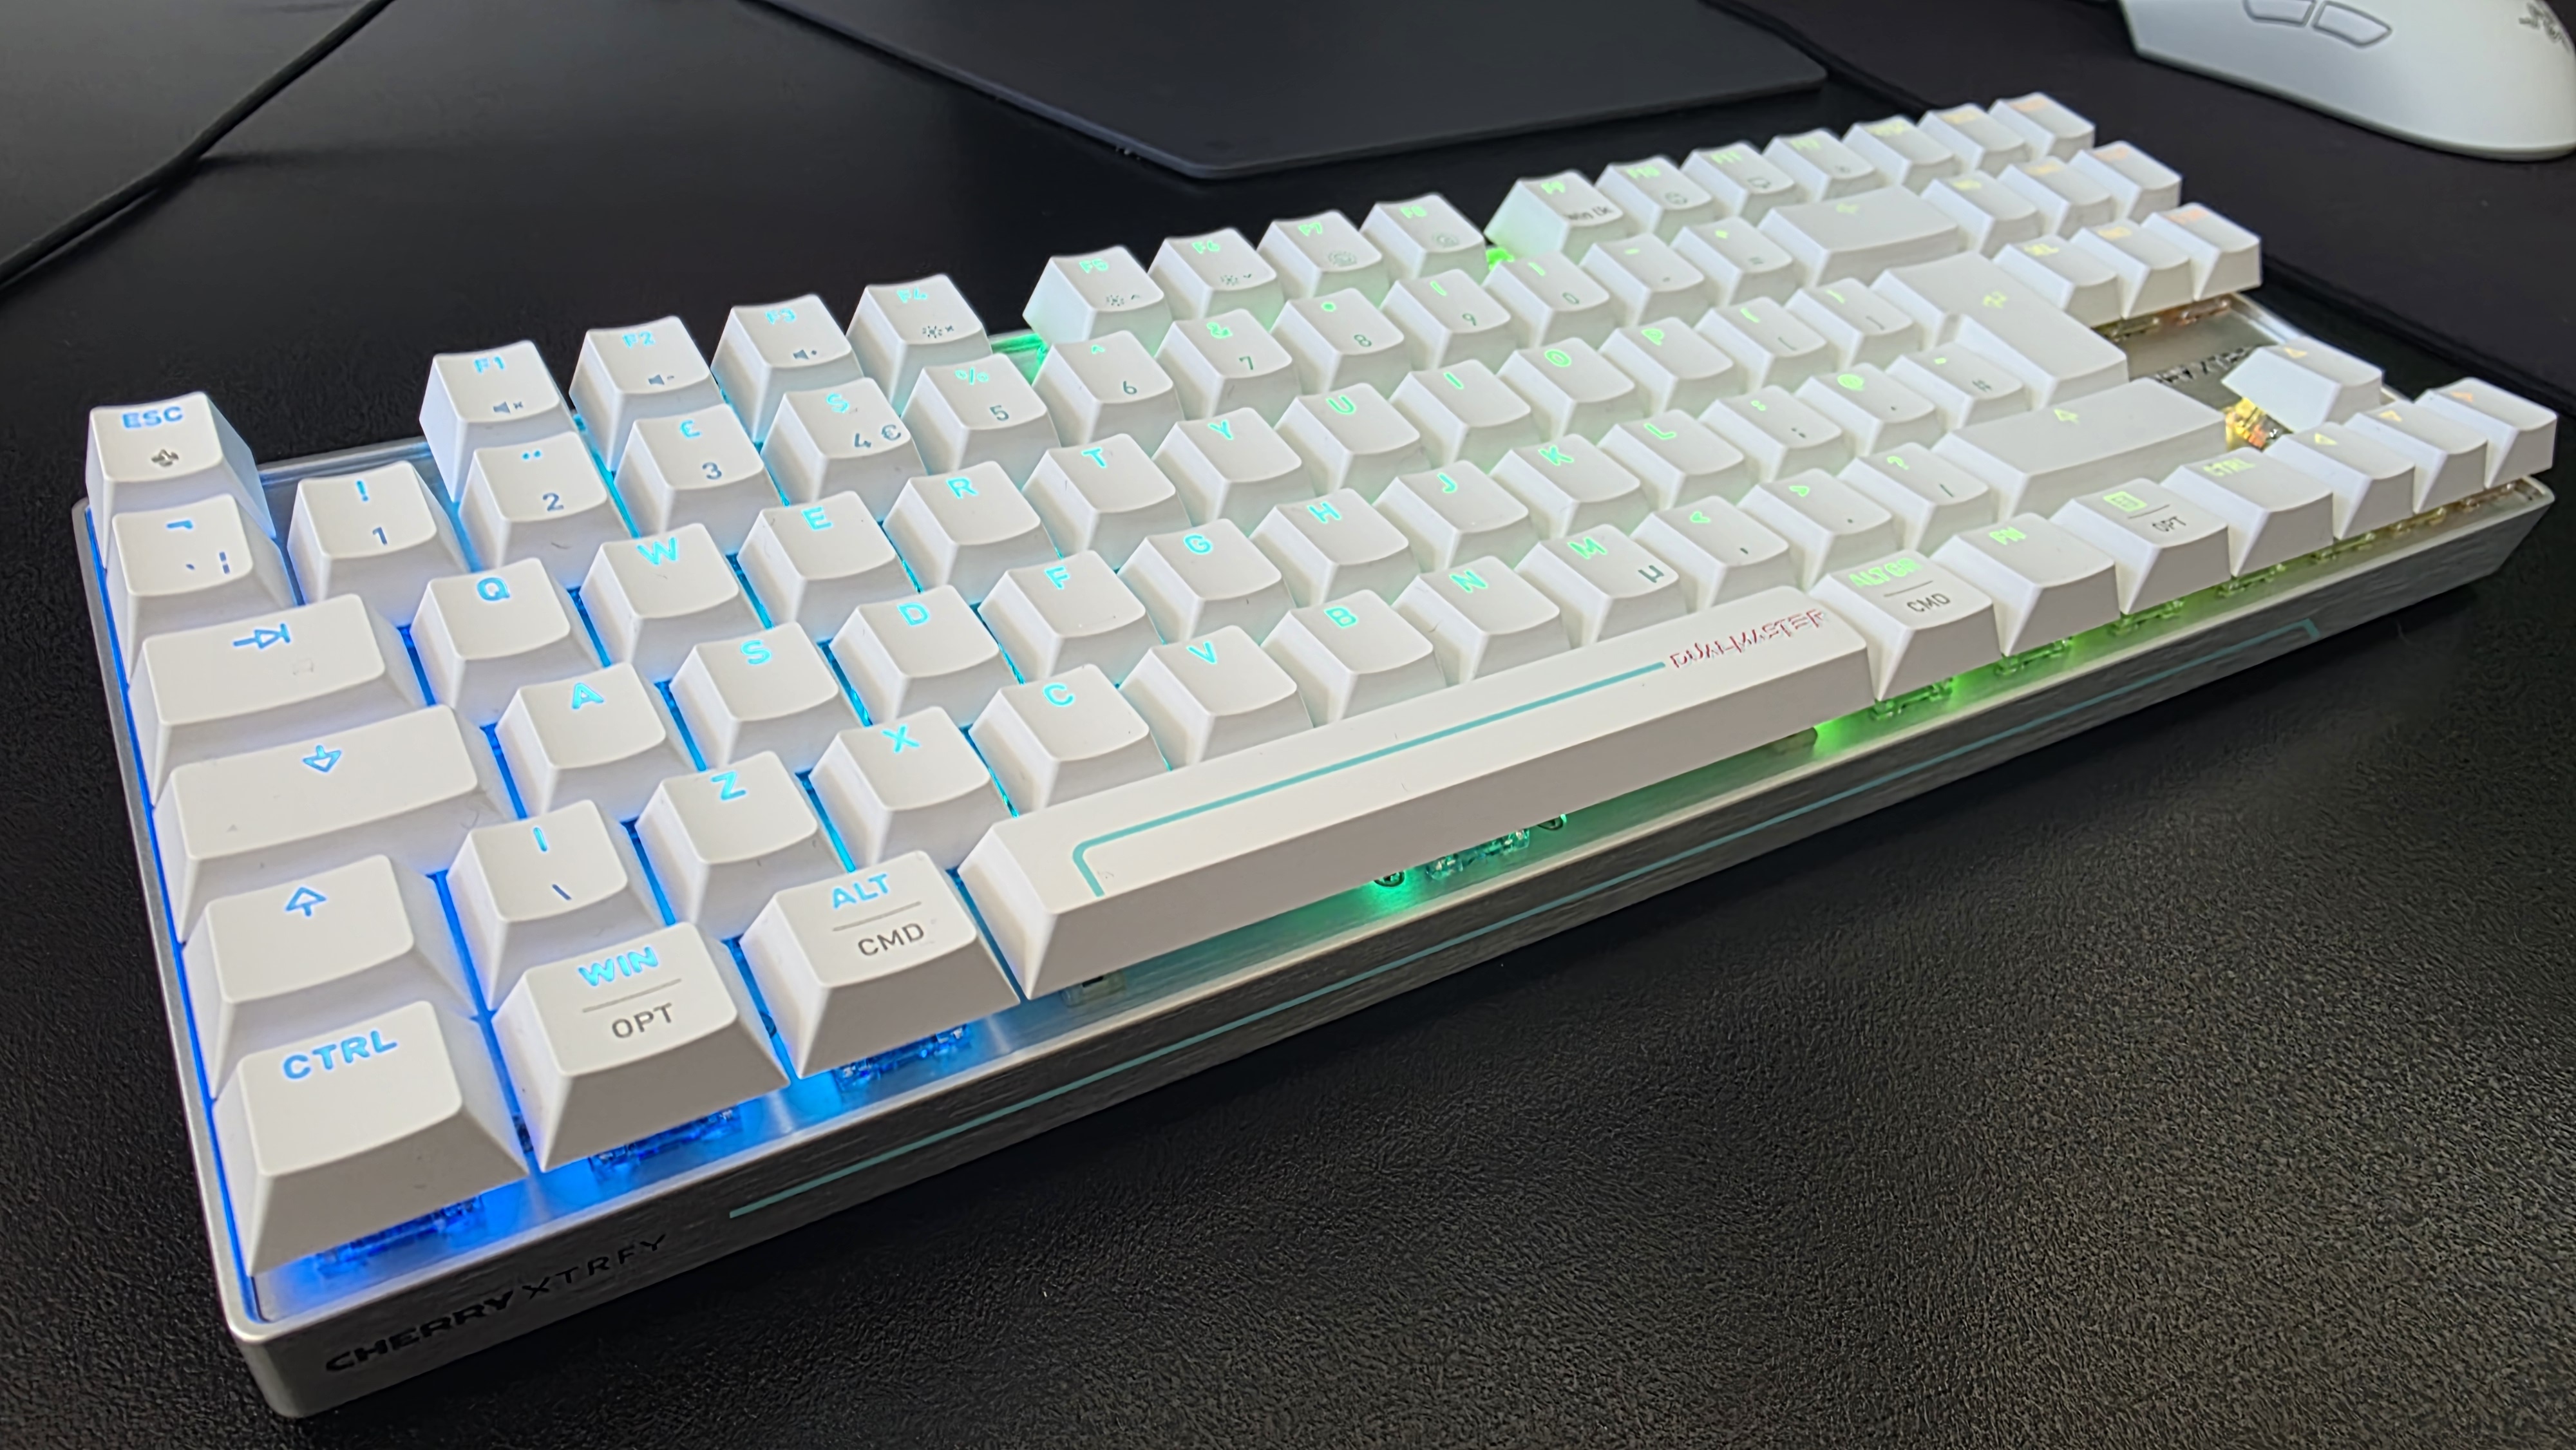
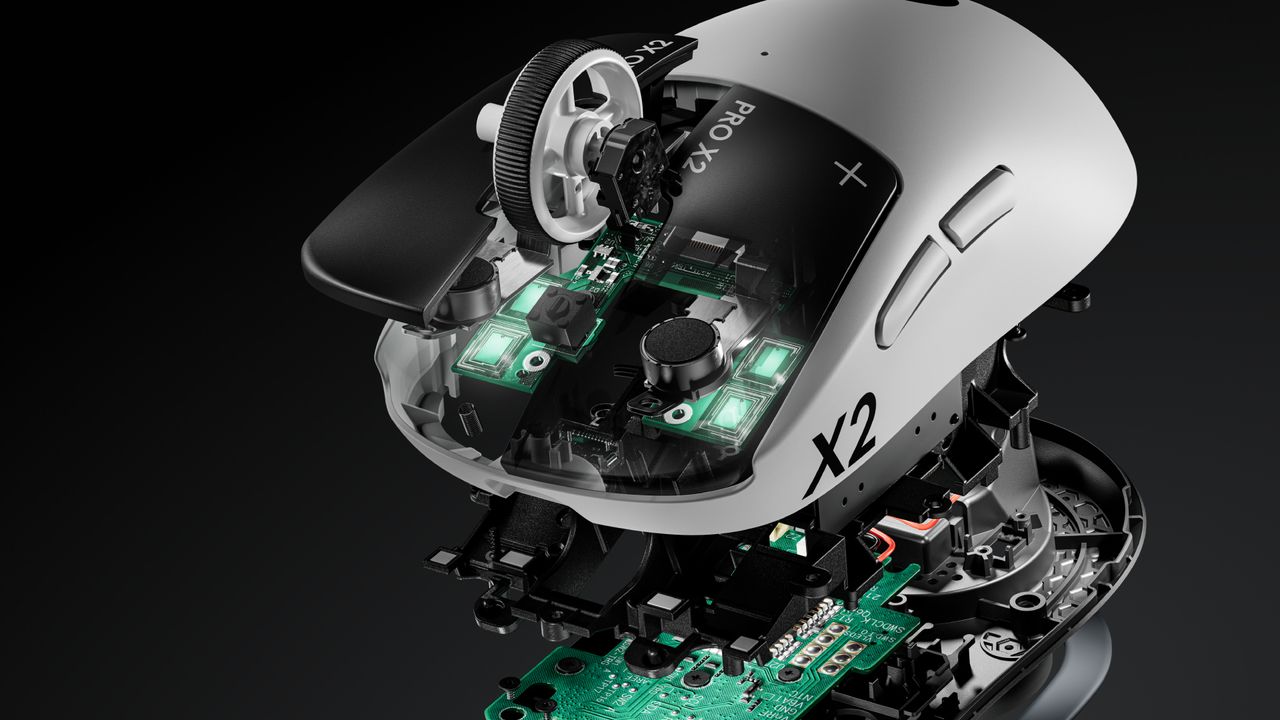
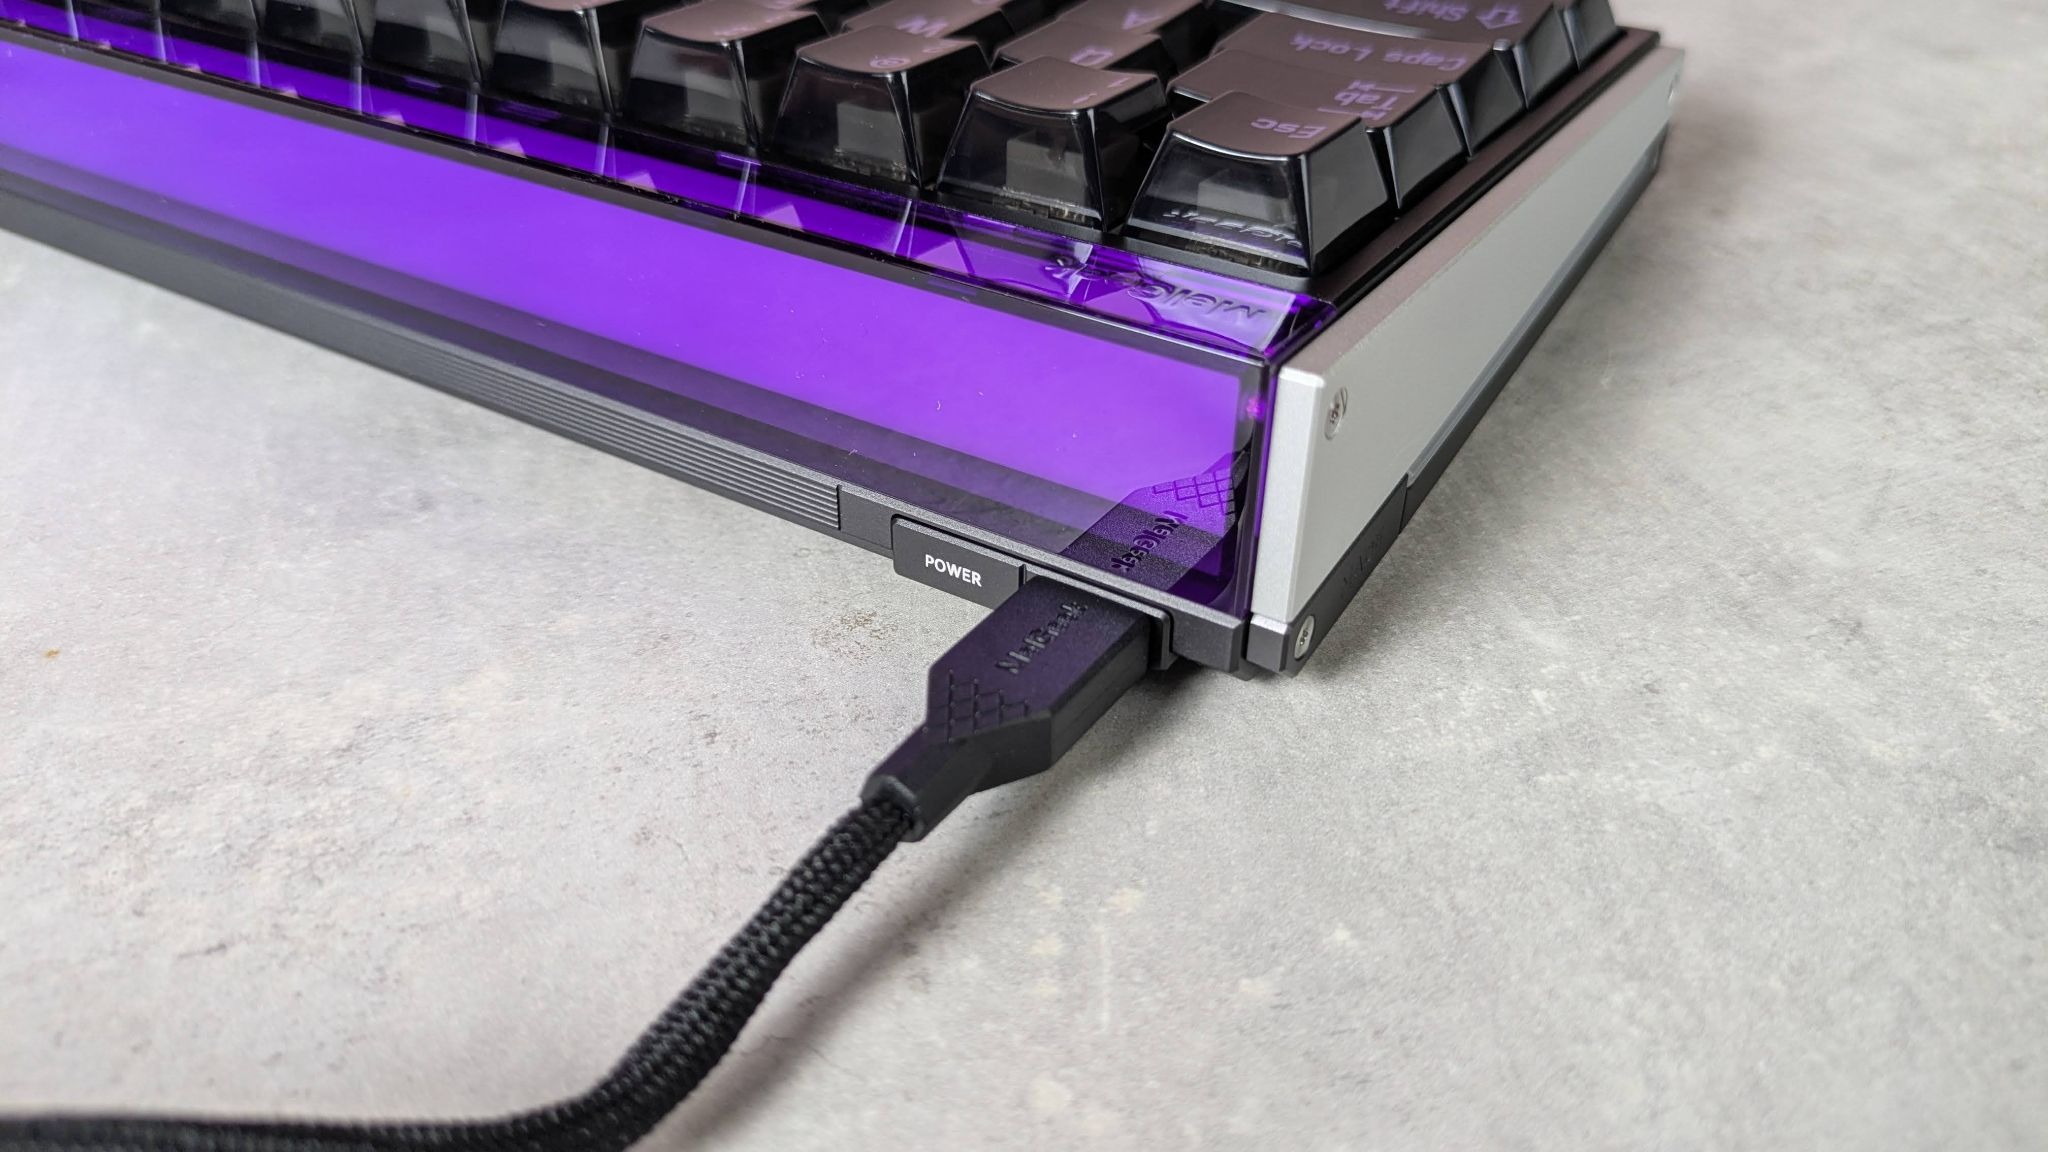
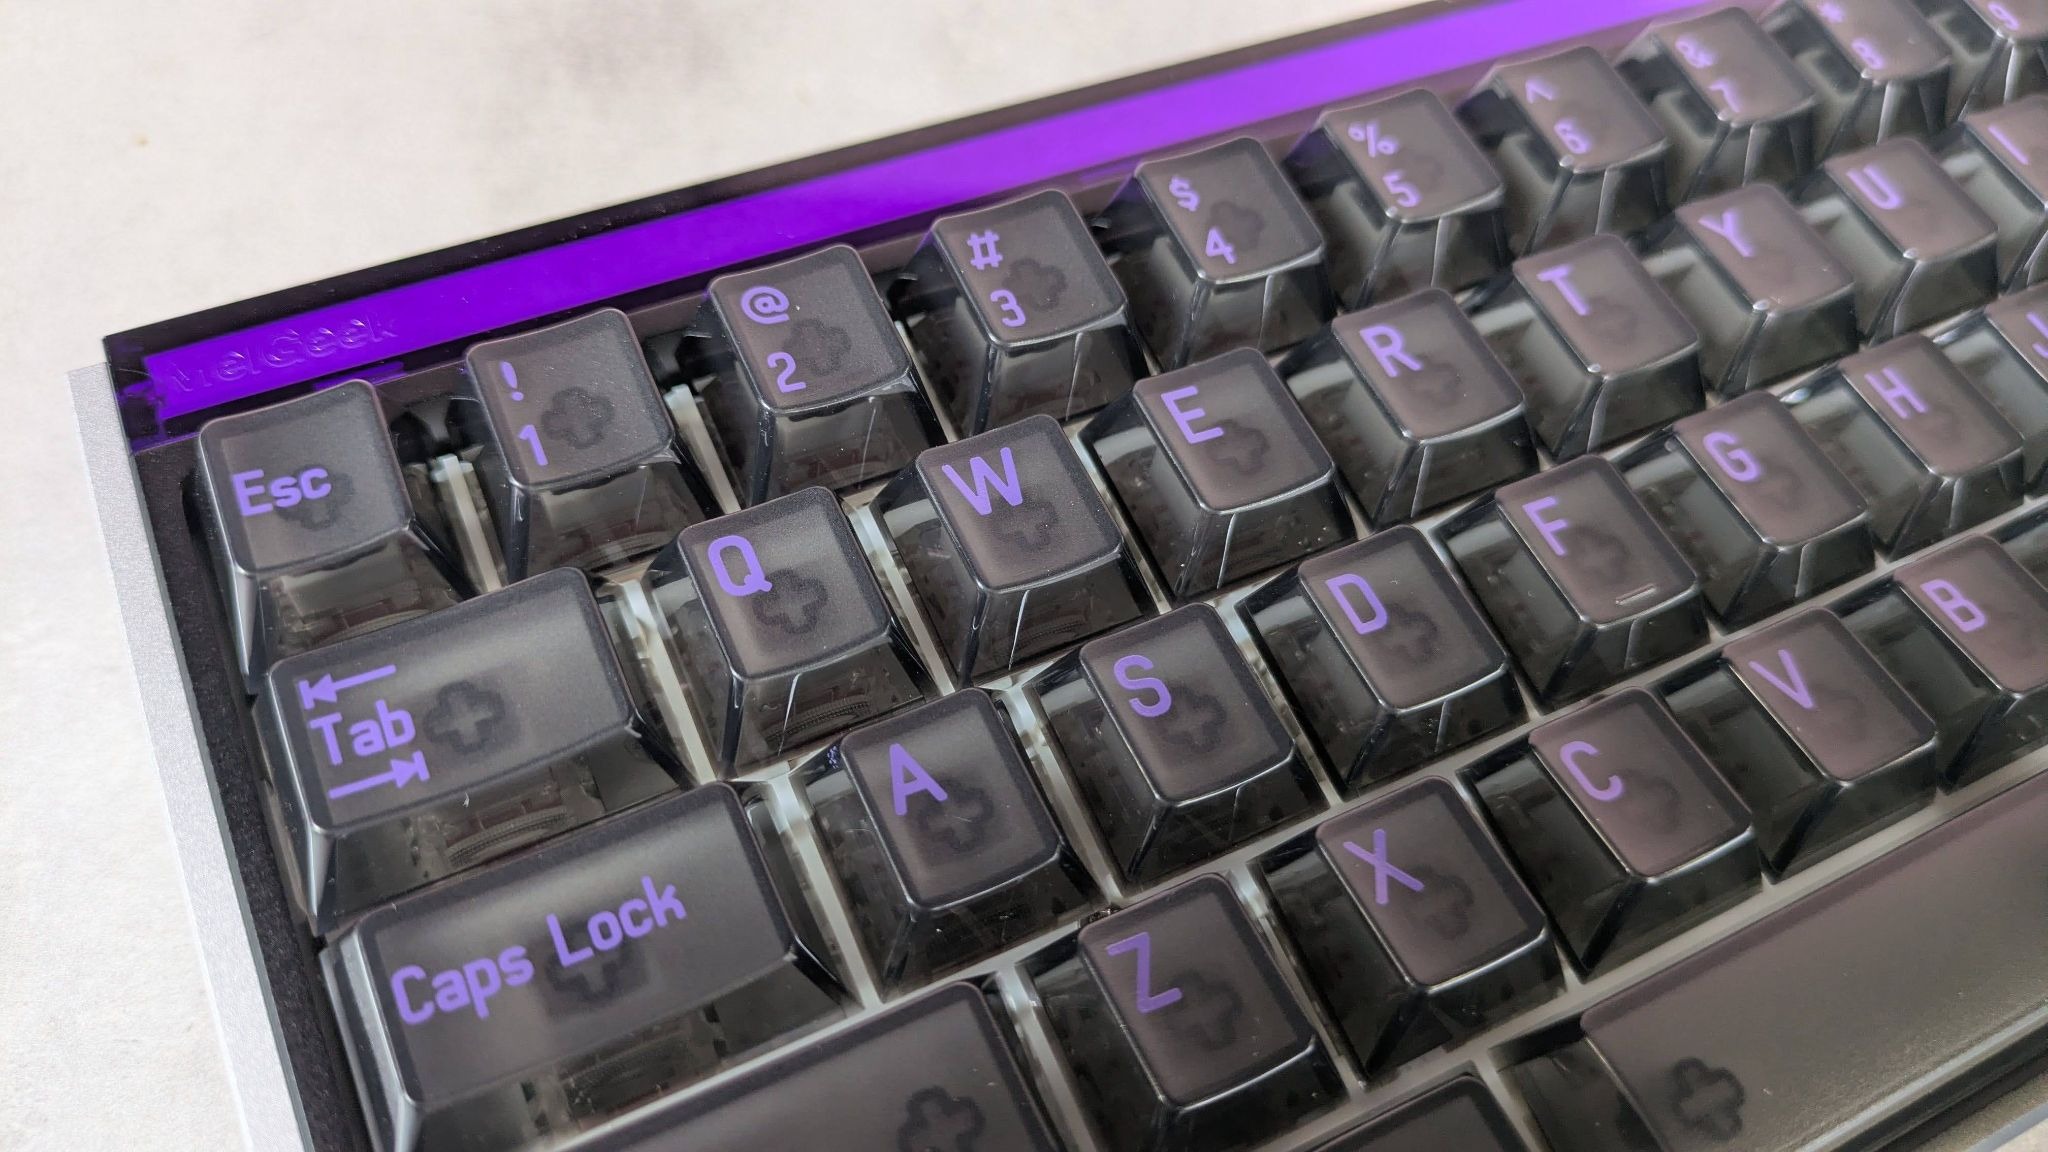
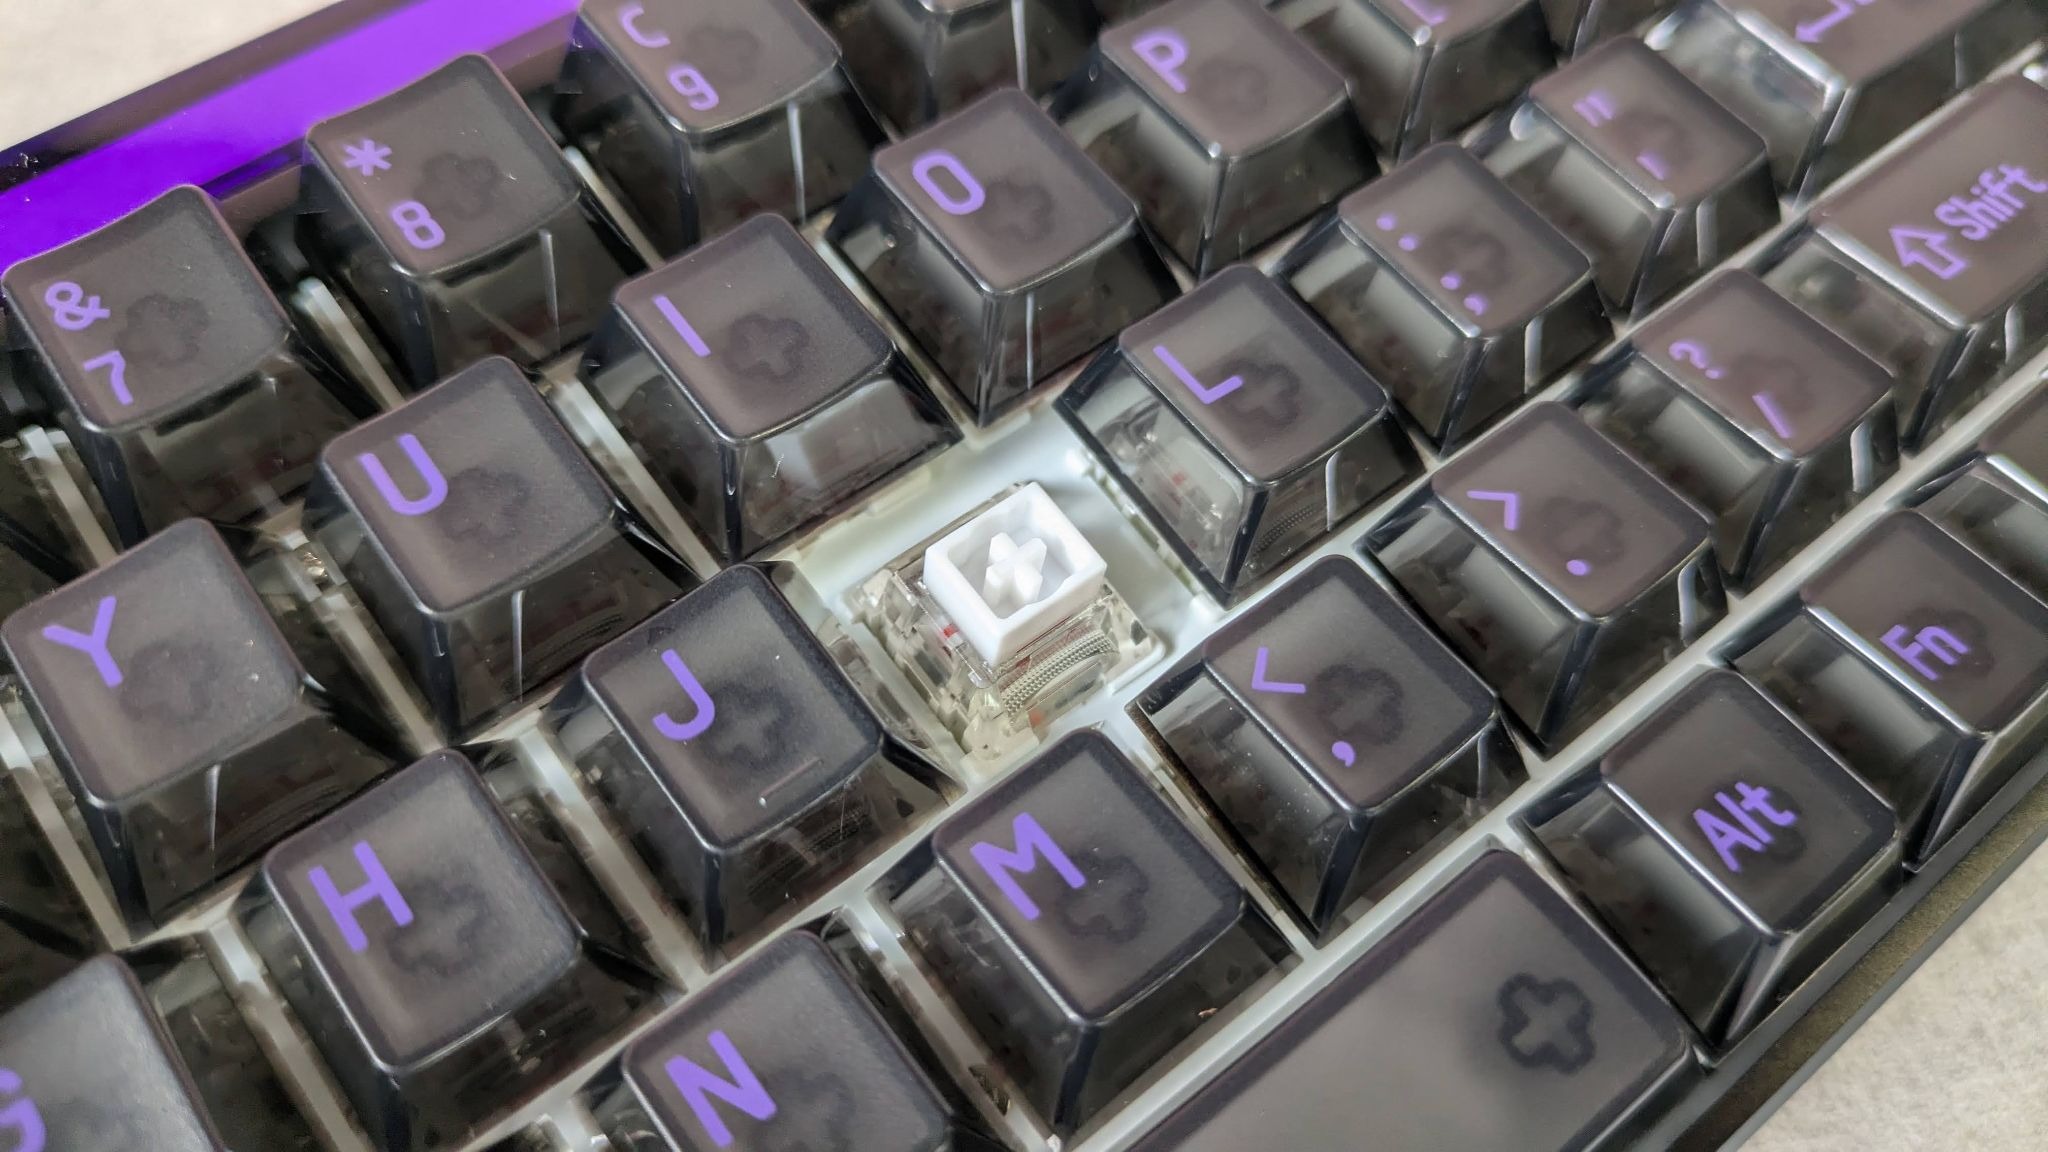
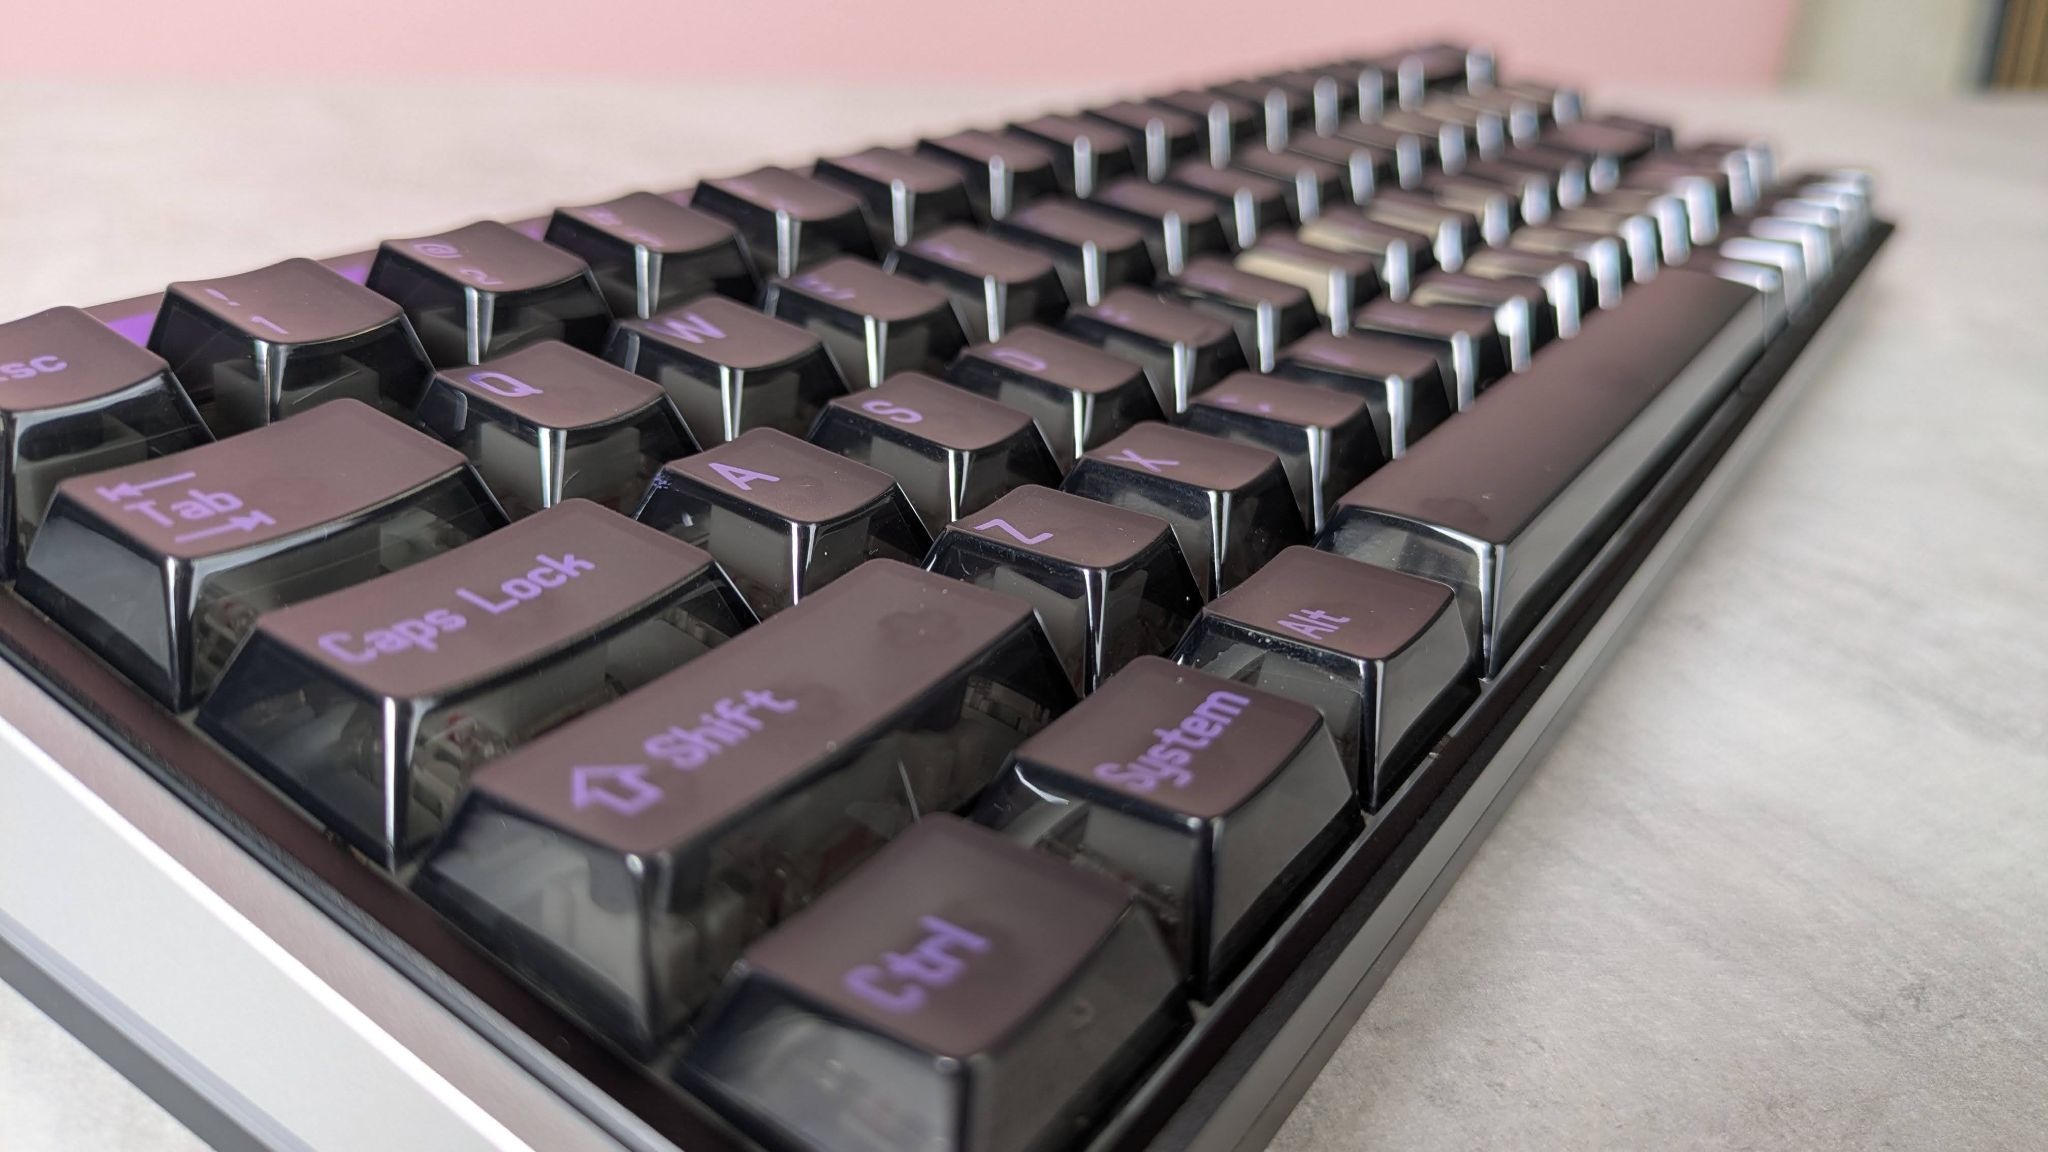
We're well and truly into summer travel season, and if you're planning on integrating some remote working into your vacation, it's worth considering your setup. My own job is largely laptop-based, and over the years I've done a decent amount of working away from my office desk, whether at events or in order to keep things ticking over during time off. The biggest lesson I've learned is that a few well-chosen remote-working accessories can make a huge difference.
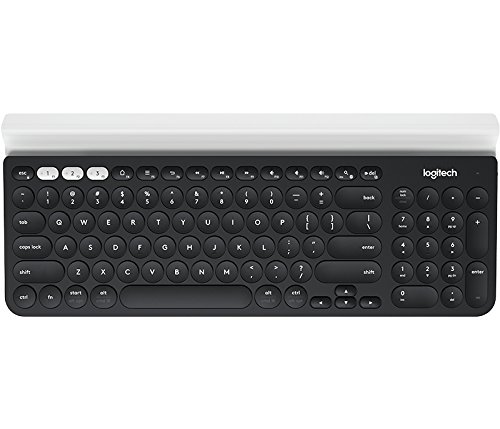
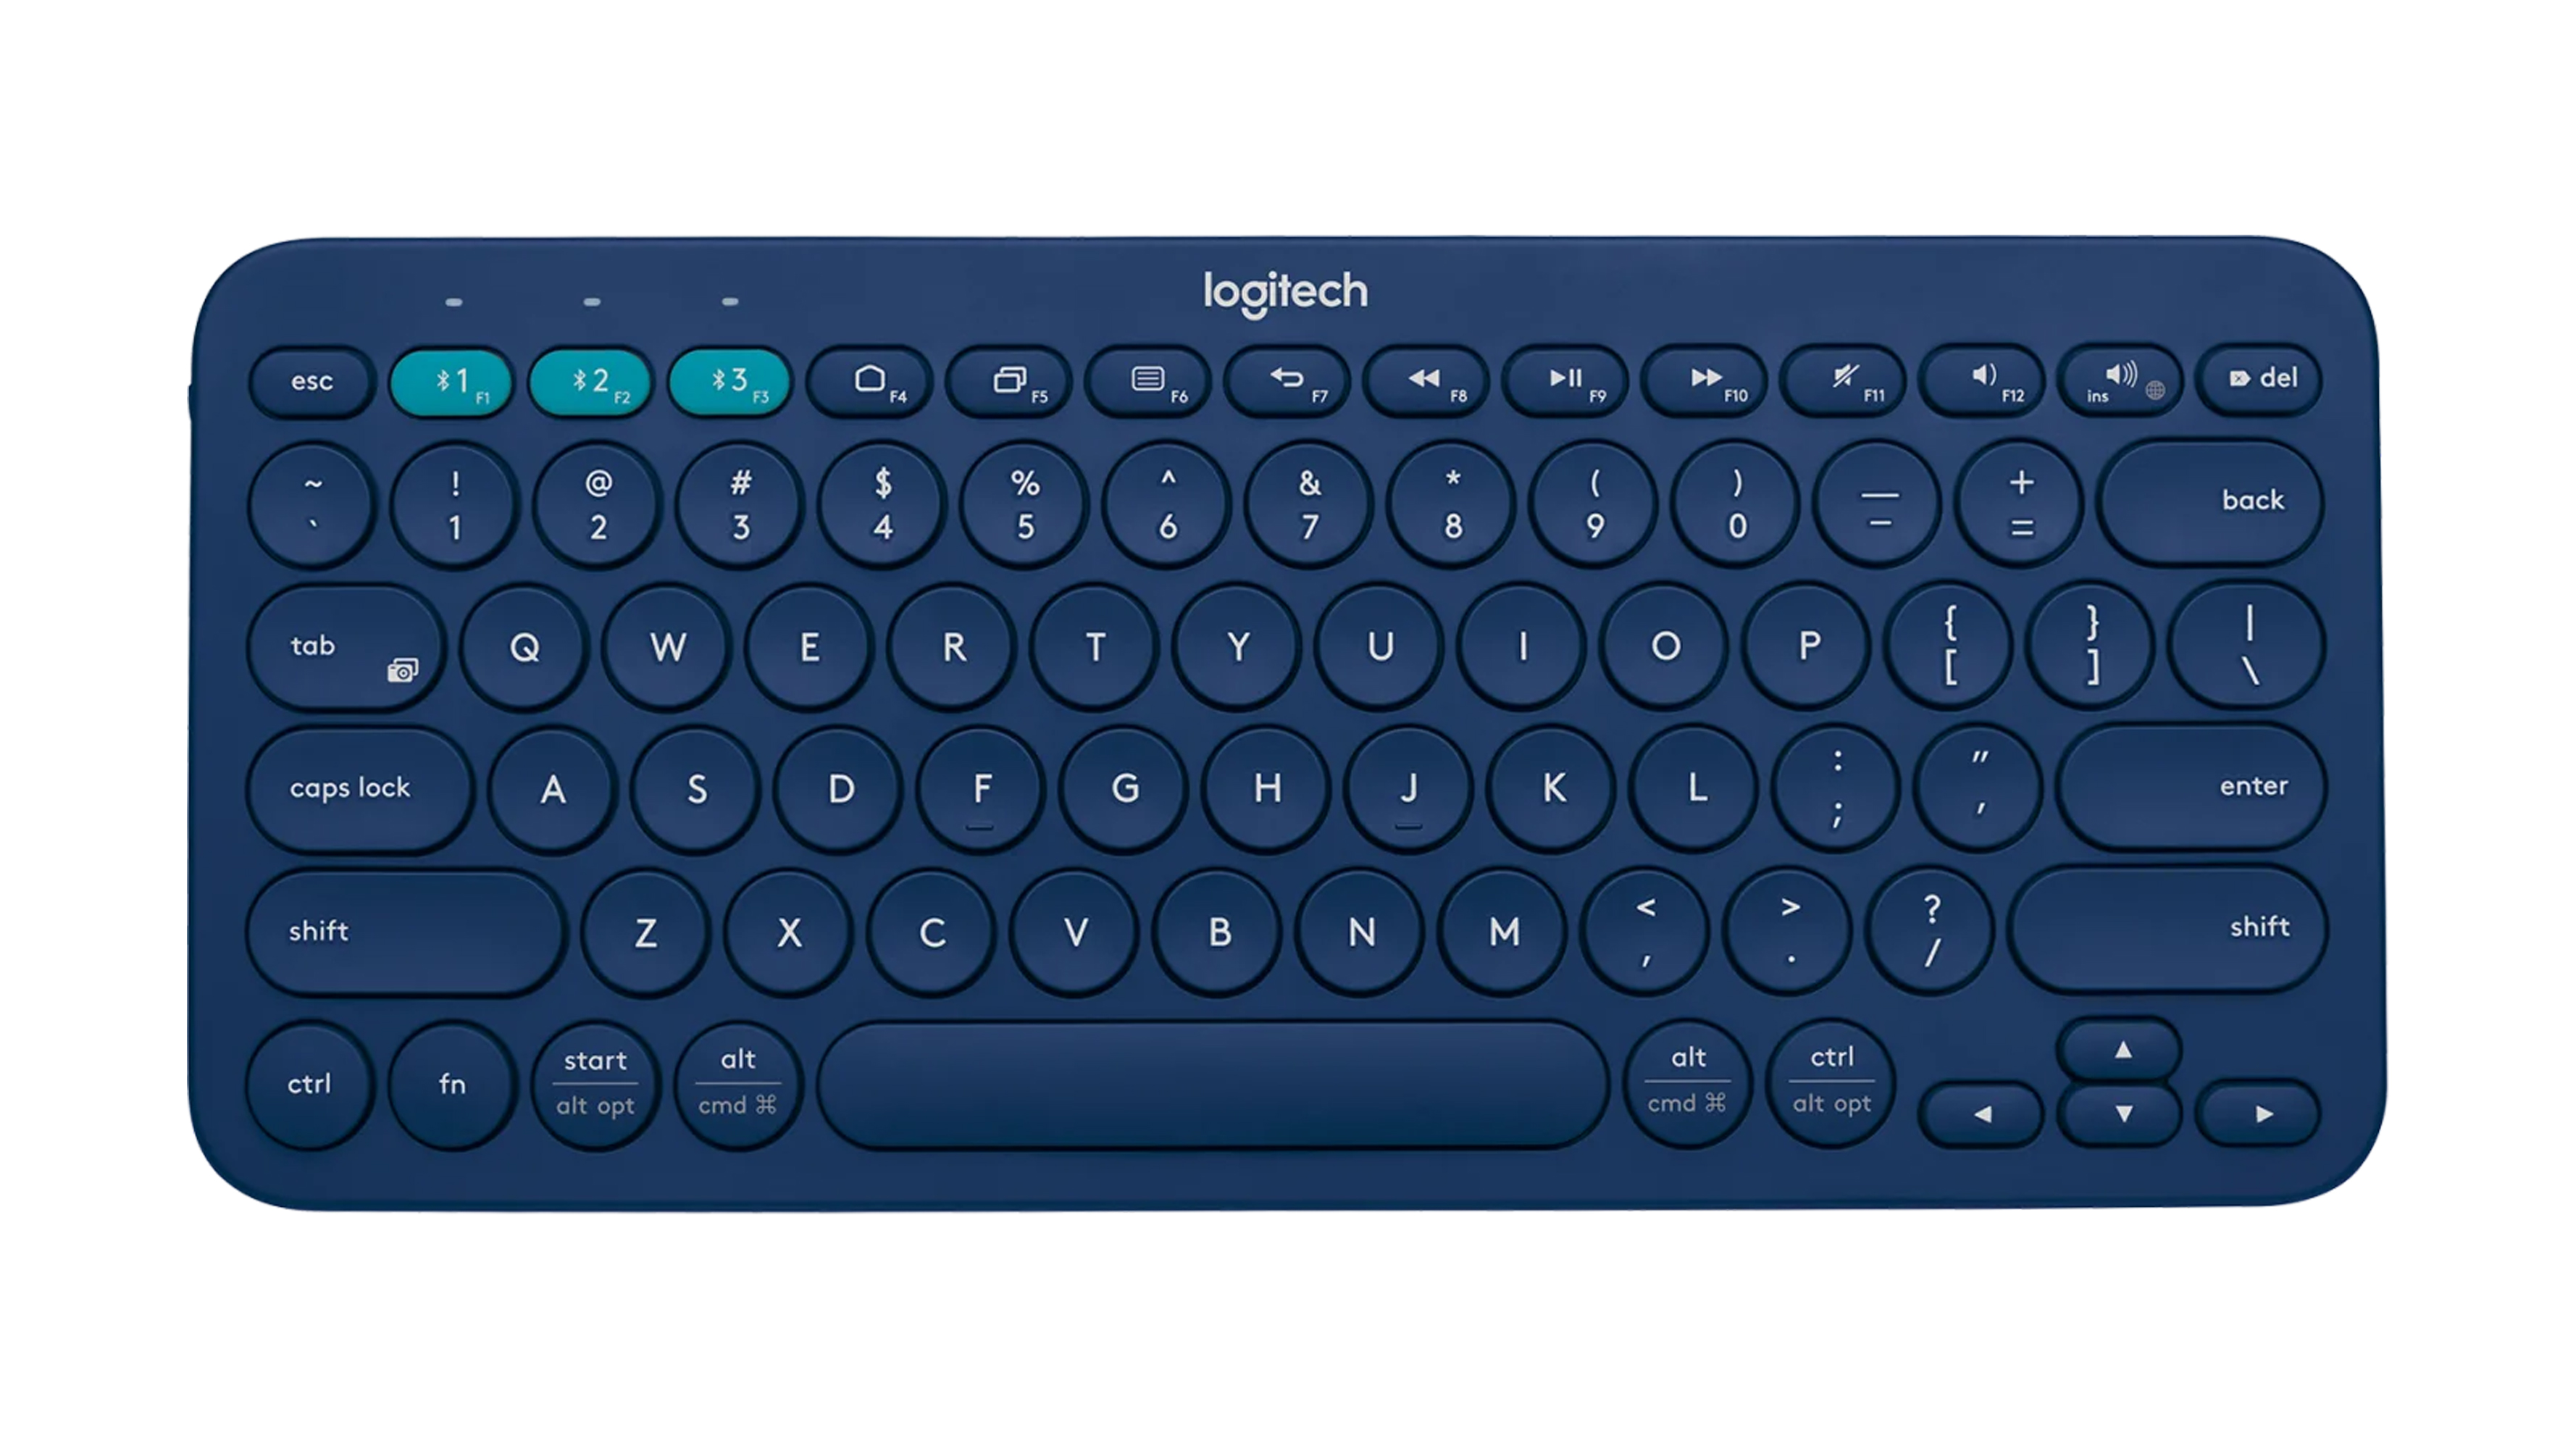
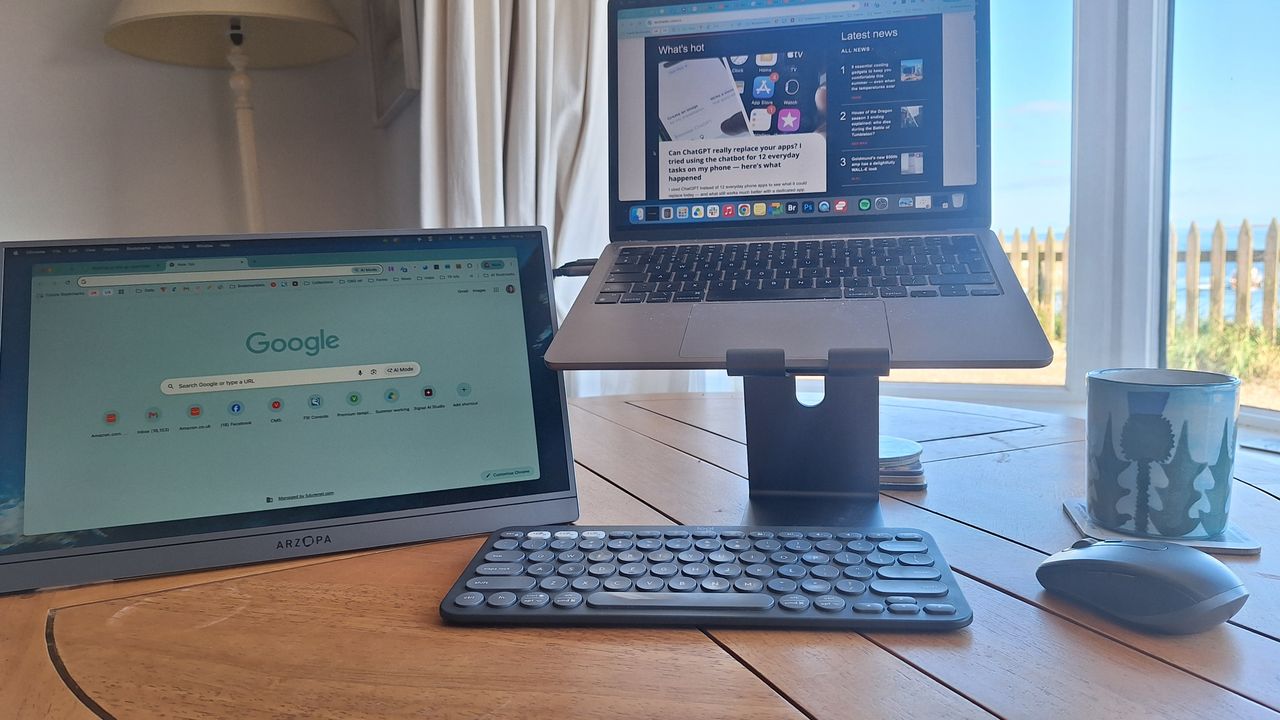
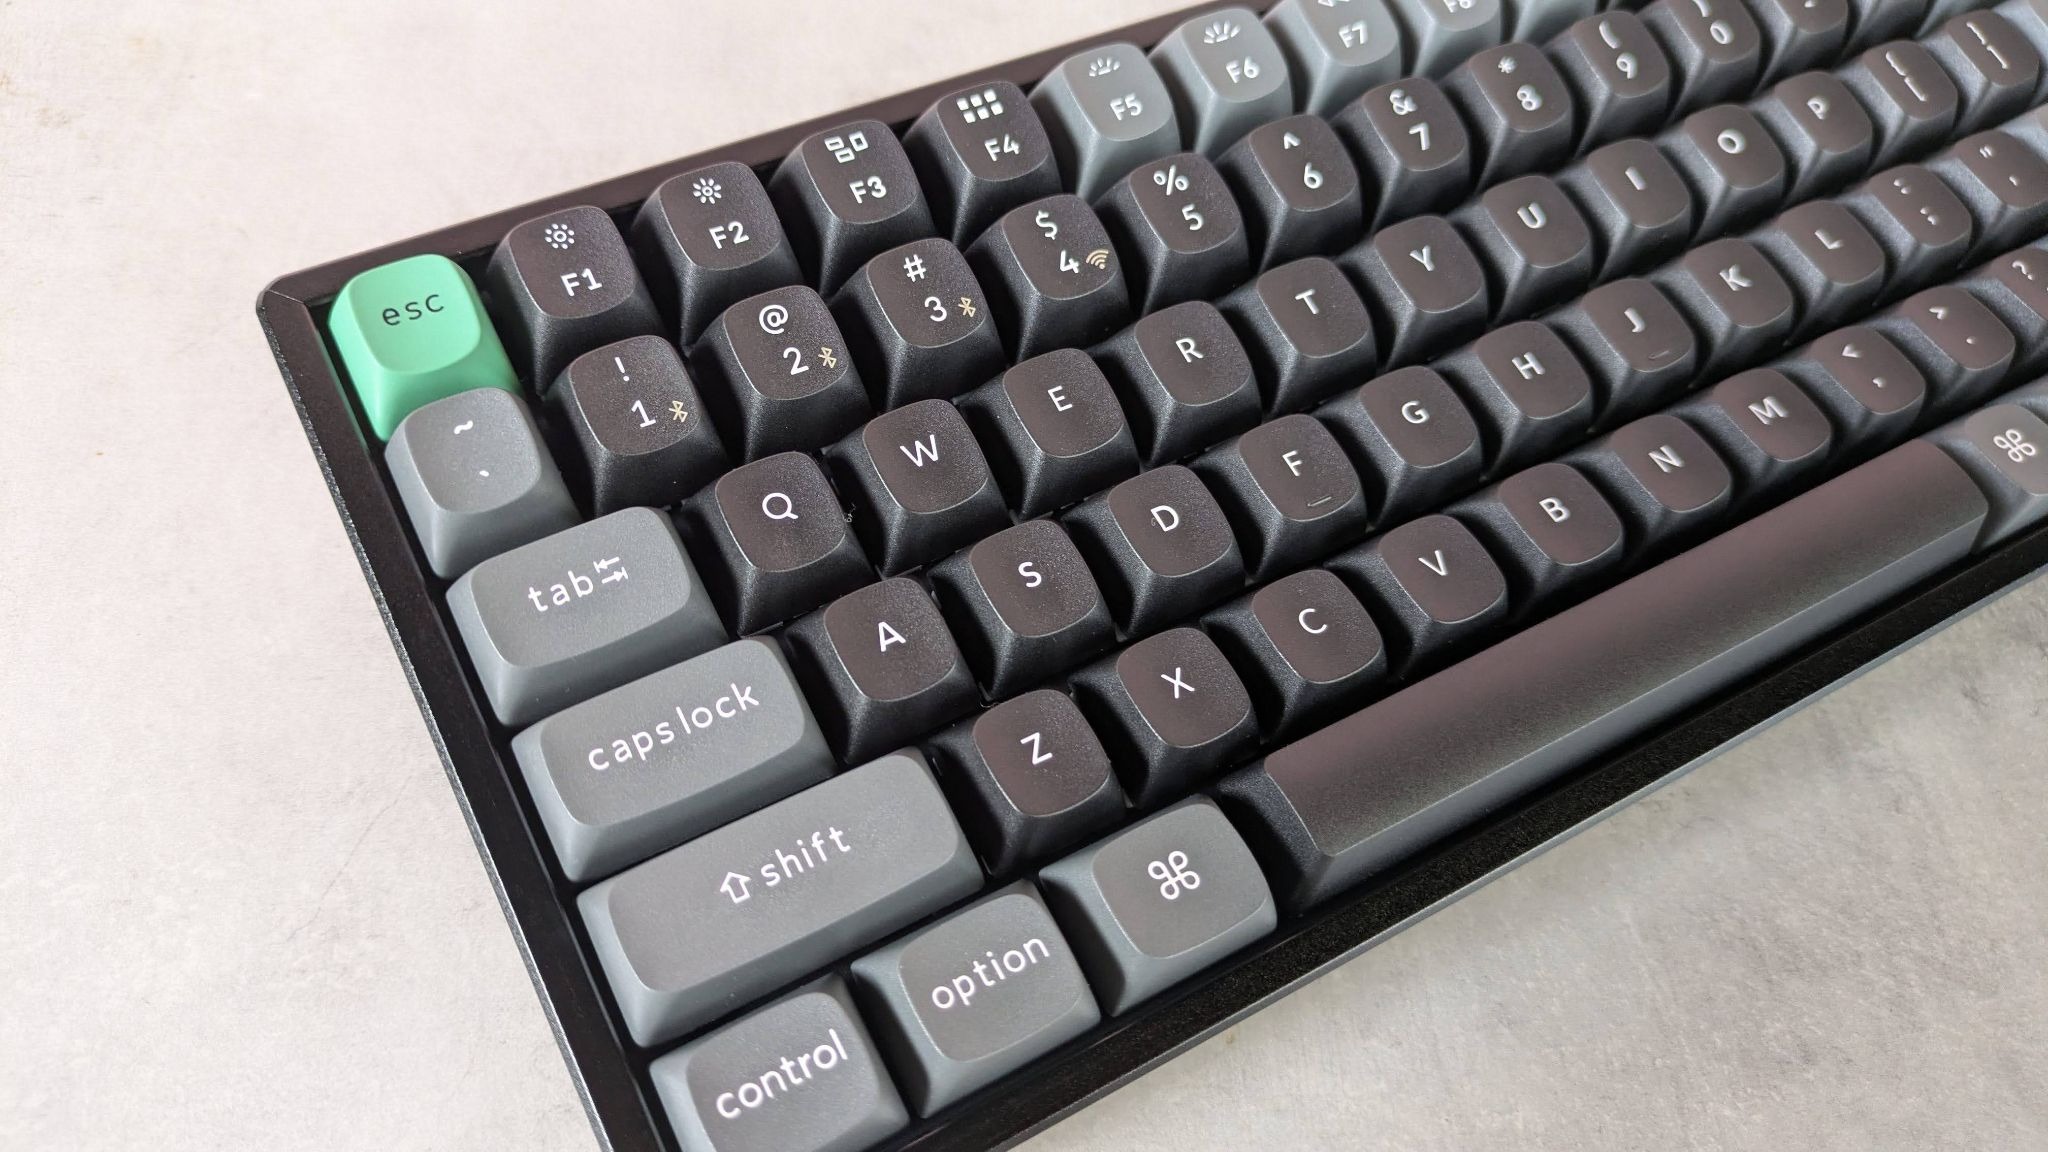
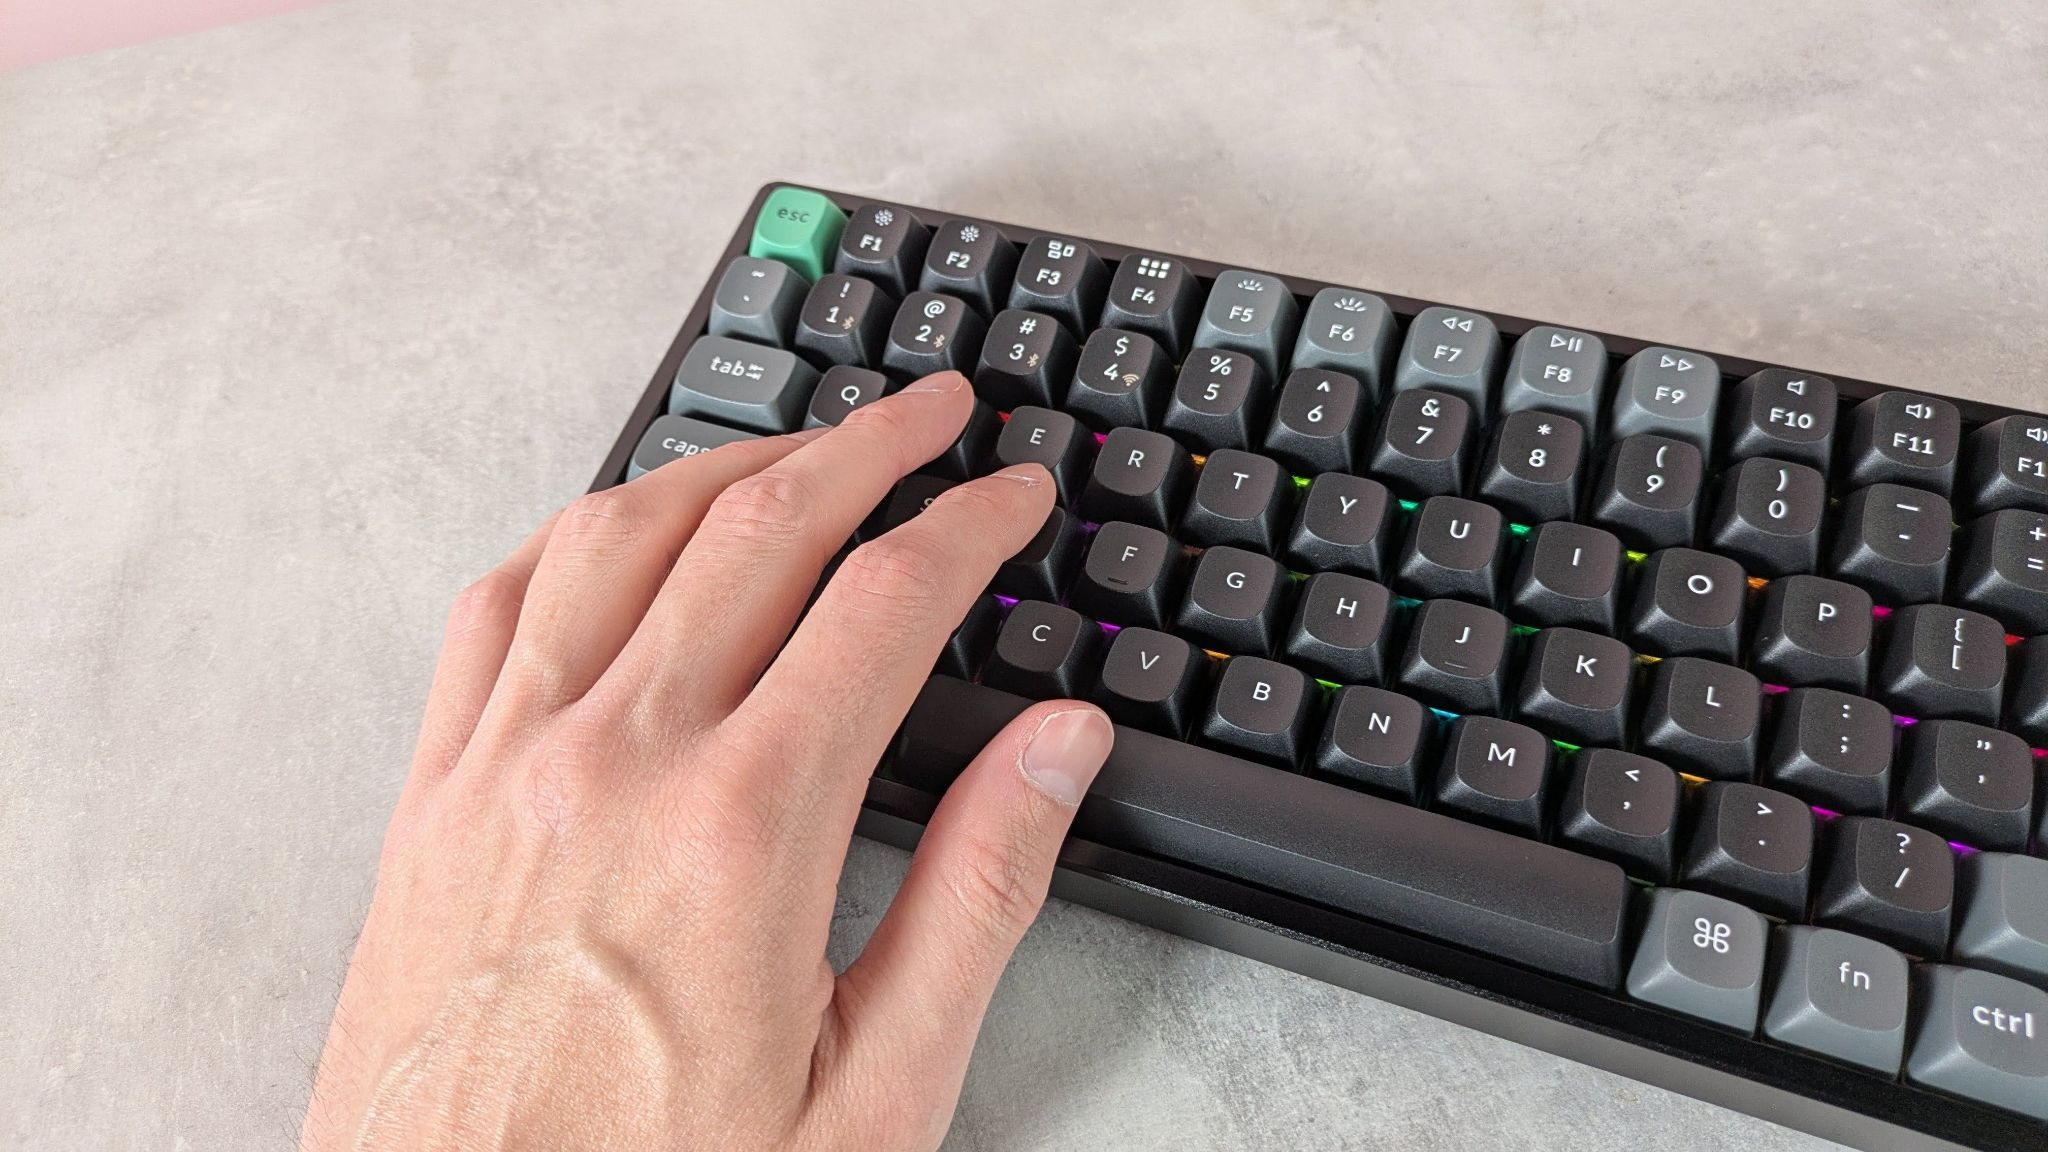
I rely on a laptop riser so that I'm not hunched over a table (my back will start hurting after around an hour, and it's all downhill from there). If my laptop is raised, I'll then add in a portable keyboard to make typing easier — my tip is to pick one with the same proportions as your regular keyboard, so your fingers know where to go — and a wireless mouse.
If I'm going to be in meetings, a great pair of noise-cancelling headphones is essential to keep things private and ensure I don't miss any info if the background noise is louder than I'd like. I also use them to help me focus in potentially distracting scenarios.
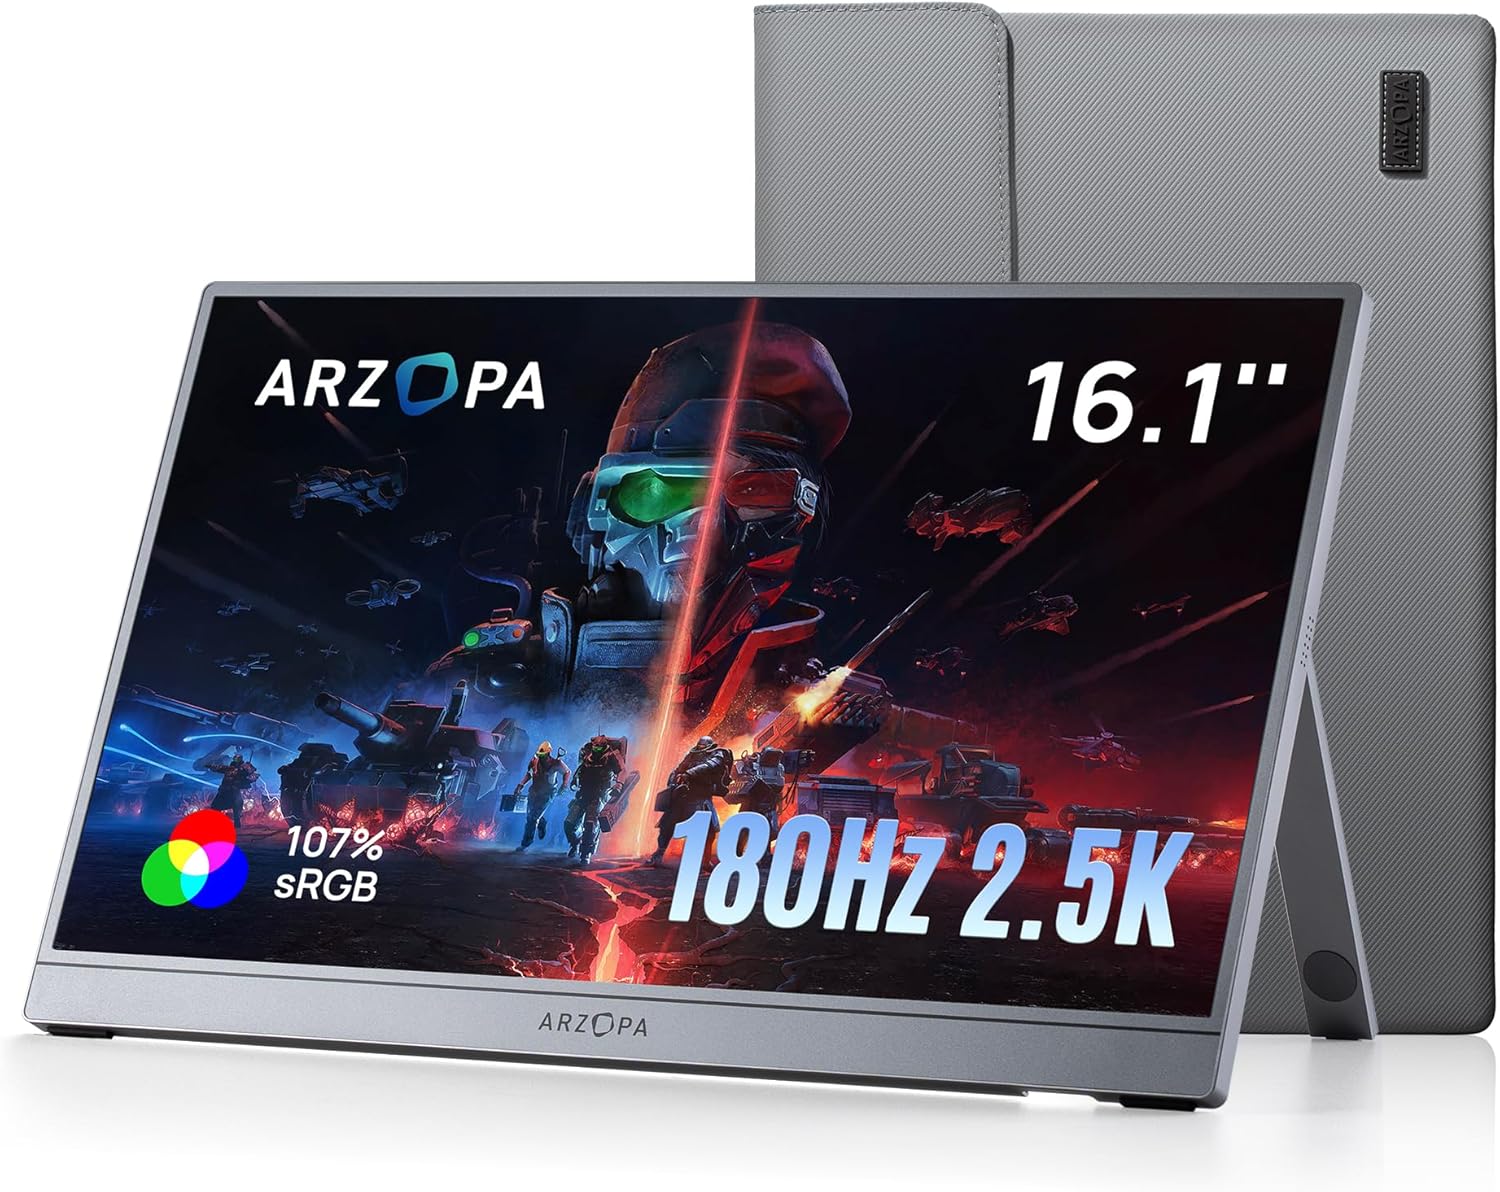
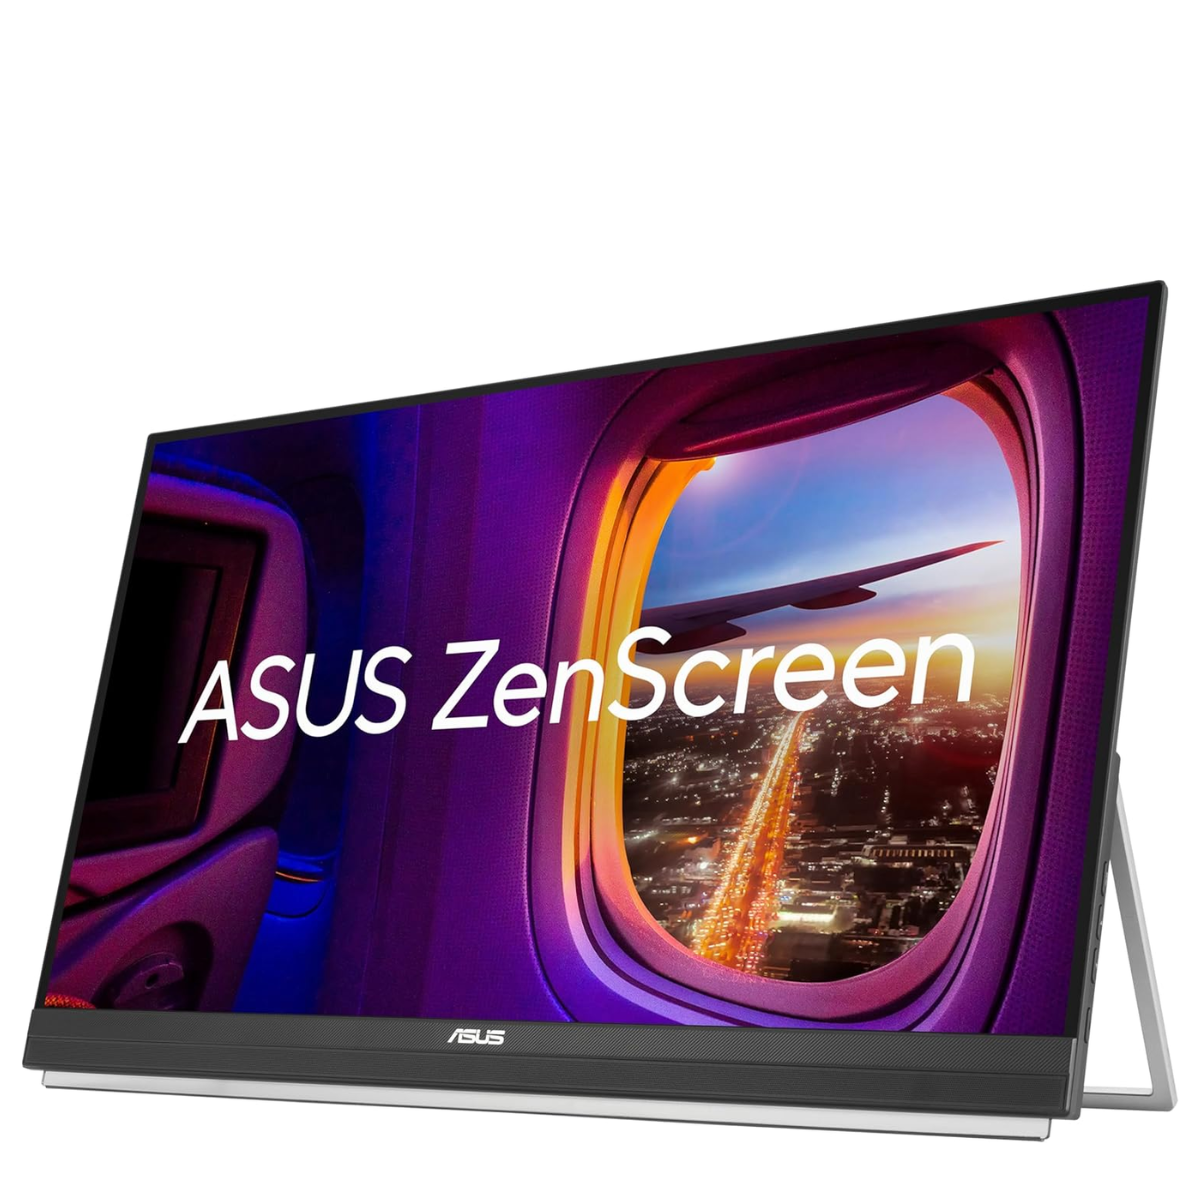
A recent addition to my own setup is a portable second monitor. It felt like a luxury when I bought it, but it's been worth every penny for me. I'm often hopping between different apps and referencing information from other sources, so having that extra screen real estate has been invaluable.
Below, I've rounded up my recommendations for an ideal remote-working setup, including premium options and budget-friendly alternatives. Not all jobs will require all this kit, so I'd recommend picking-and-mixing to suit your needs.
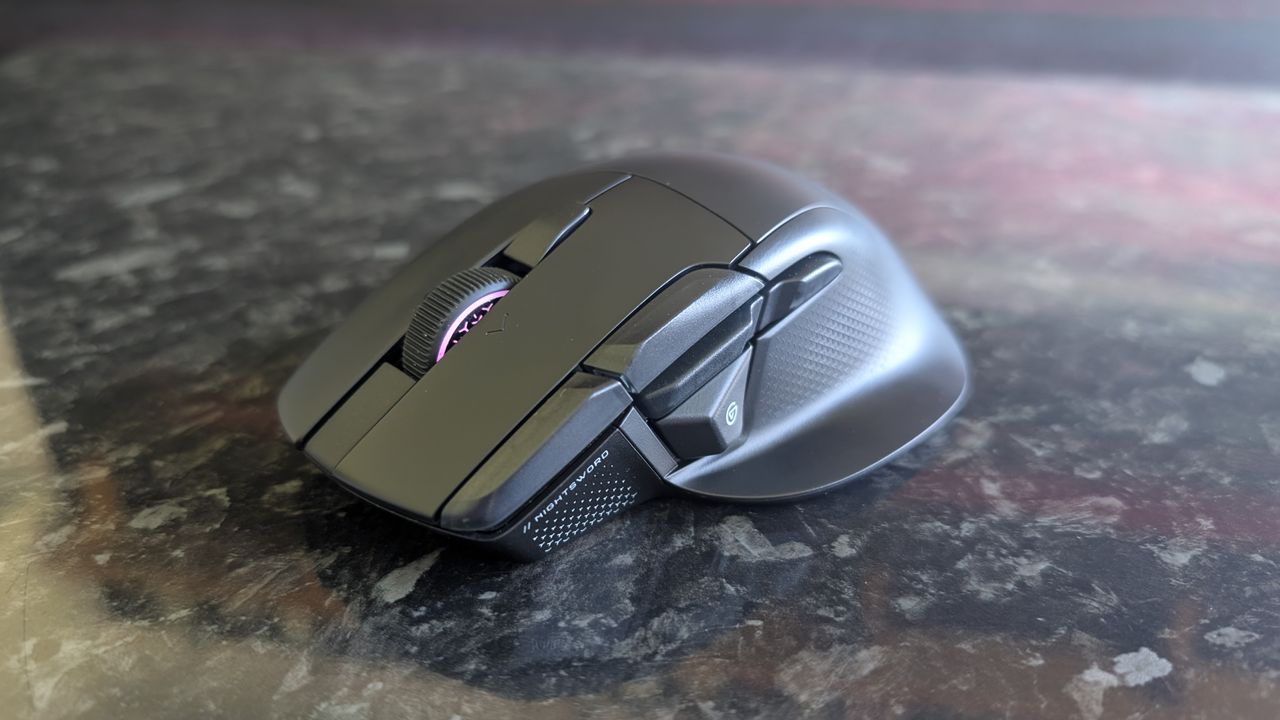
I really wanted to like the Corsair Nightsword V2 Wireless. I've had good experiences with Corsair's mice in the past – having been a big fan of both the M65 Ultra RGB and the Scimitar Elite Wireless SE – so I was hopeful that the new Nightsword would be a contender for our ranking of the best gaming mice.
For those not in the loop regarding Corsair's wide range of gaming mice, the original Nightsword launched nearly seven years ago. Needless to say, I wasn't really expecting another model, but I suppose if The Witcher 3 can get a new expansion more than a decade after its release, anything is possible.
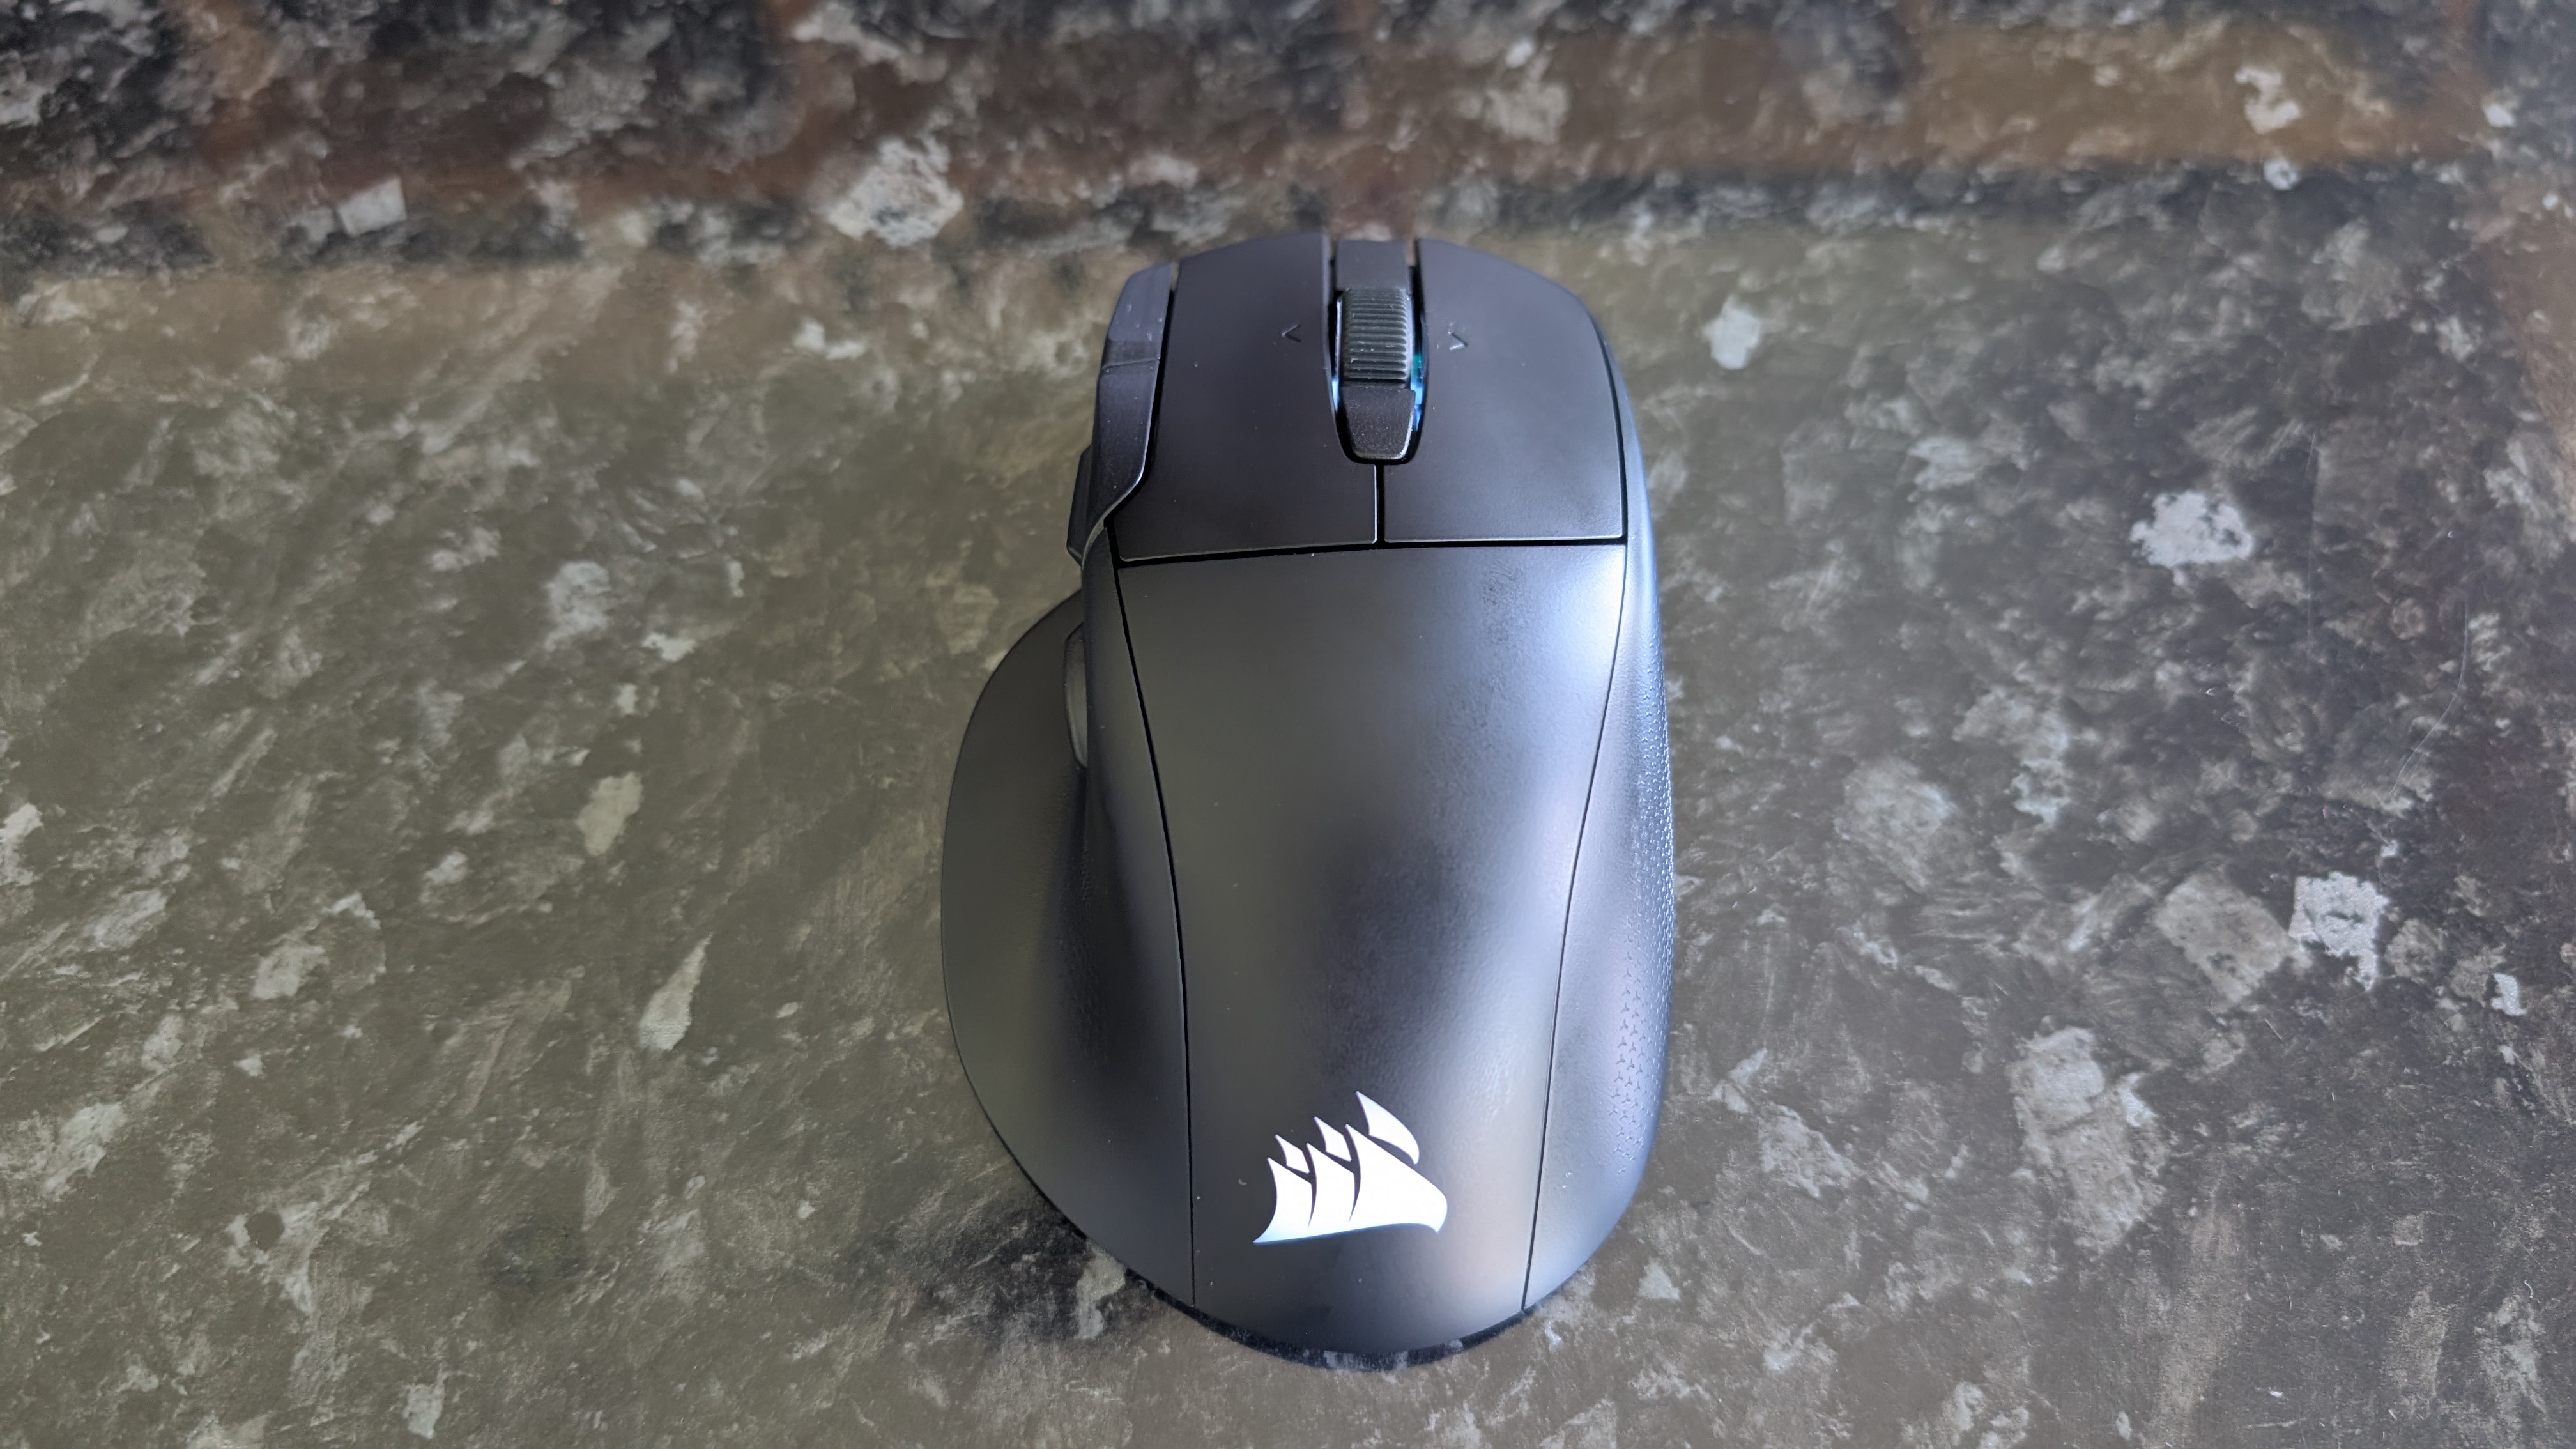
The problem I'm having with the Nightsword V2 is that it doesn't really feel like a 'version 2' of its predecessor. For starters, the design has been changed a fair bit, with the RGB lighting scaled back and the thumb button layout slightly altered. It still maintains the ergonomic overall shape with a nice, comfortable thumb rest, but it's ditched the indent pattern that covered the original mouse.
All that wouldn't cause me to dislike this mouse, though. The problem is that the Nightsword RGB had one very cool feature: adjustable weight tuning. Six mounting points and two different sets of miniature metal weights allowed you to adjust the overall weight of the mouse, with nifty software that automatically detected the mouse’s center of gravity in real time, allowing you to fine-tune your experience to make the mouse feel perfect for you.
It was one of the key selling points of the Nightsword RGB, and Corsair focused heavily on it in its marketing. But in the Nightsword V2, it's nowhere to be found; gone, reduced to atoms.
It's a real shame, because I liked that addition a lot. Not enough gaming mice have tunable weight. It made the Nightsword feel more unique, and removing that feature makes the V2 feel... well, a bit bland, if I'm being honest.
It's certainly not a bad gaming mouse, with an ergonomic chassis that sits comfortably in the hand and a high-quality sensor for fast-paced gaming, but I'd fundamentally struggle to recommend it over some other more exciting options out there. Sorry Corsair, but this one feels like a step backward, not forward.
While you could pay more for a gaming mouse these days, the Corsair Nightsword V2 Wireless certainly isn't cheap. Clocking in at $129.99 / £119.99 / AU$189, it sits towards the pricier end of the market, though the build quality and high-spec internals do at least attempt to justify the price.
Although it's a technical upgrade from the original Nightsword RGB, the removal of the tunable weight features stings even more at this price point. Considering that there are plenty of other gaming mice on the market with comparable specs, it's difficult to justify recommending the Nightsword V2 Wireless specifically over similar offerings from other manufacturers, or even Corsair itself.
The Nightsword V2 Wireless is available now in all regions, either directly from Corsair or from assorted third-party retailers.
Corsair Nightsword V2 Wireless: Design
Robust, ergonomic design
No more tunable weight
Thumb button grouping may be frustrating for some users
(Image credit: Future)
As I noted further up, this feels like a very different mouse from the original Nightsword – though at first glance, they appear quite alike.
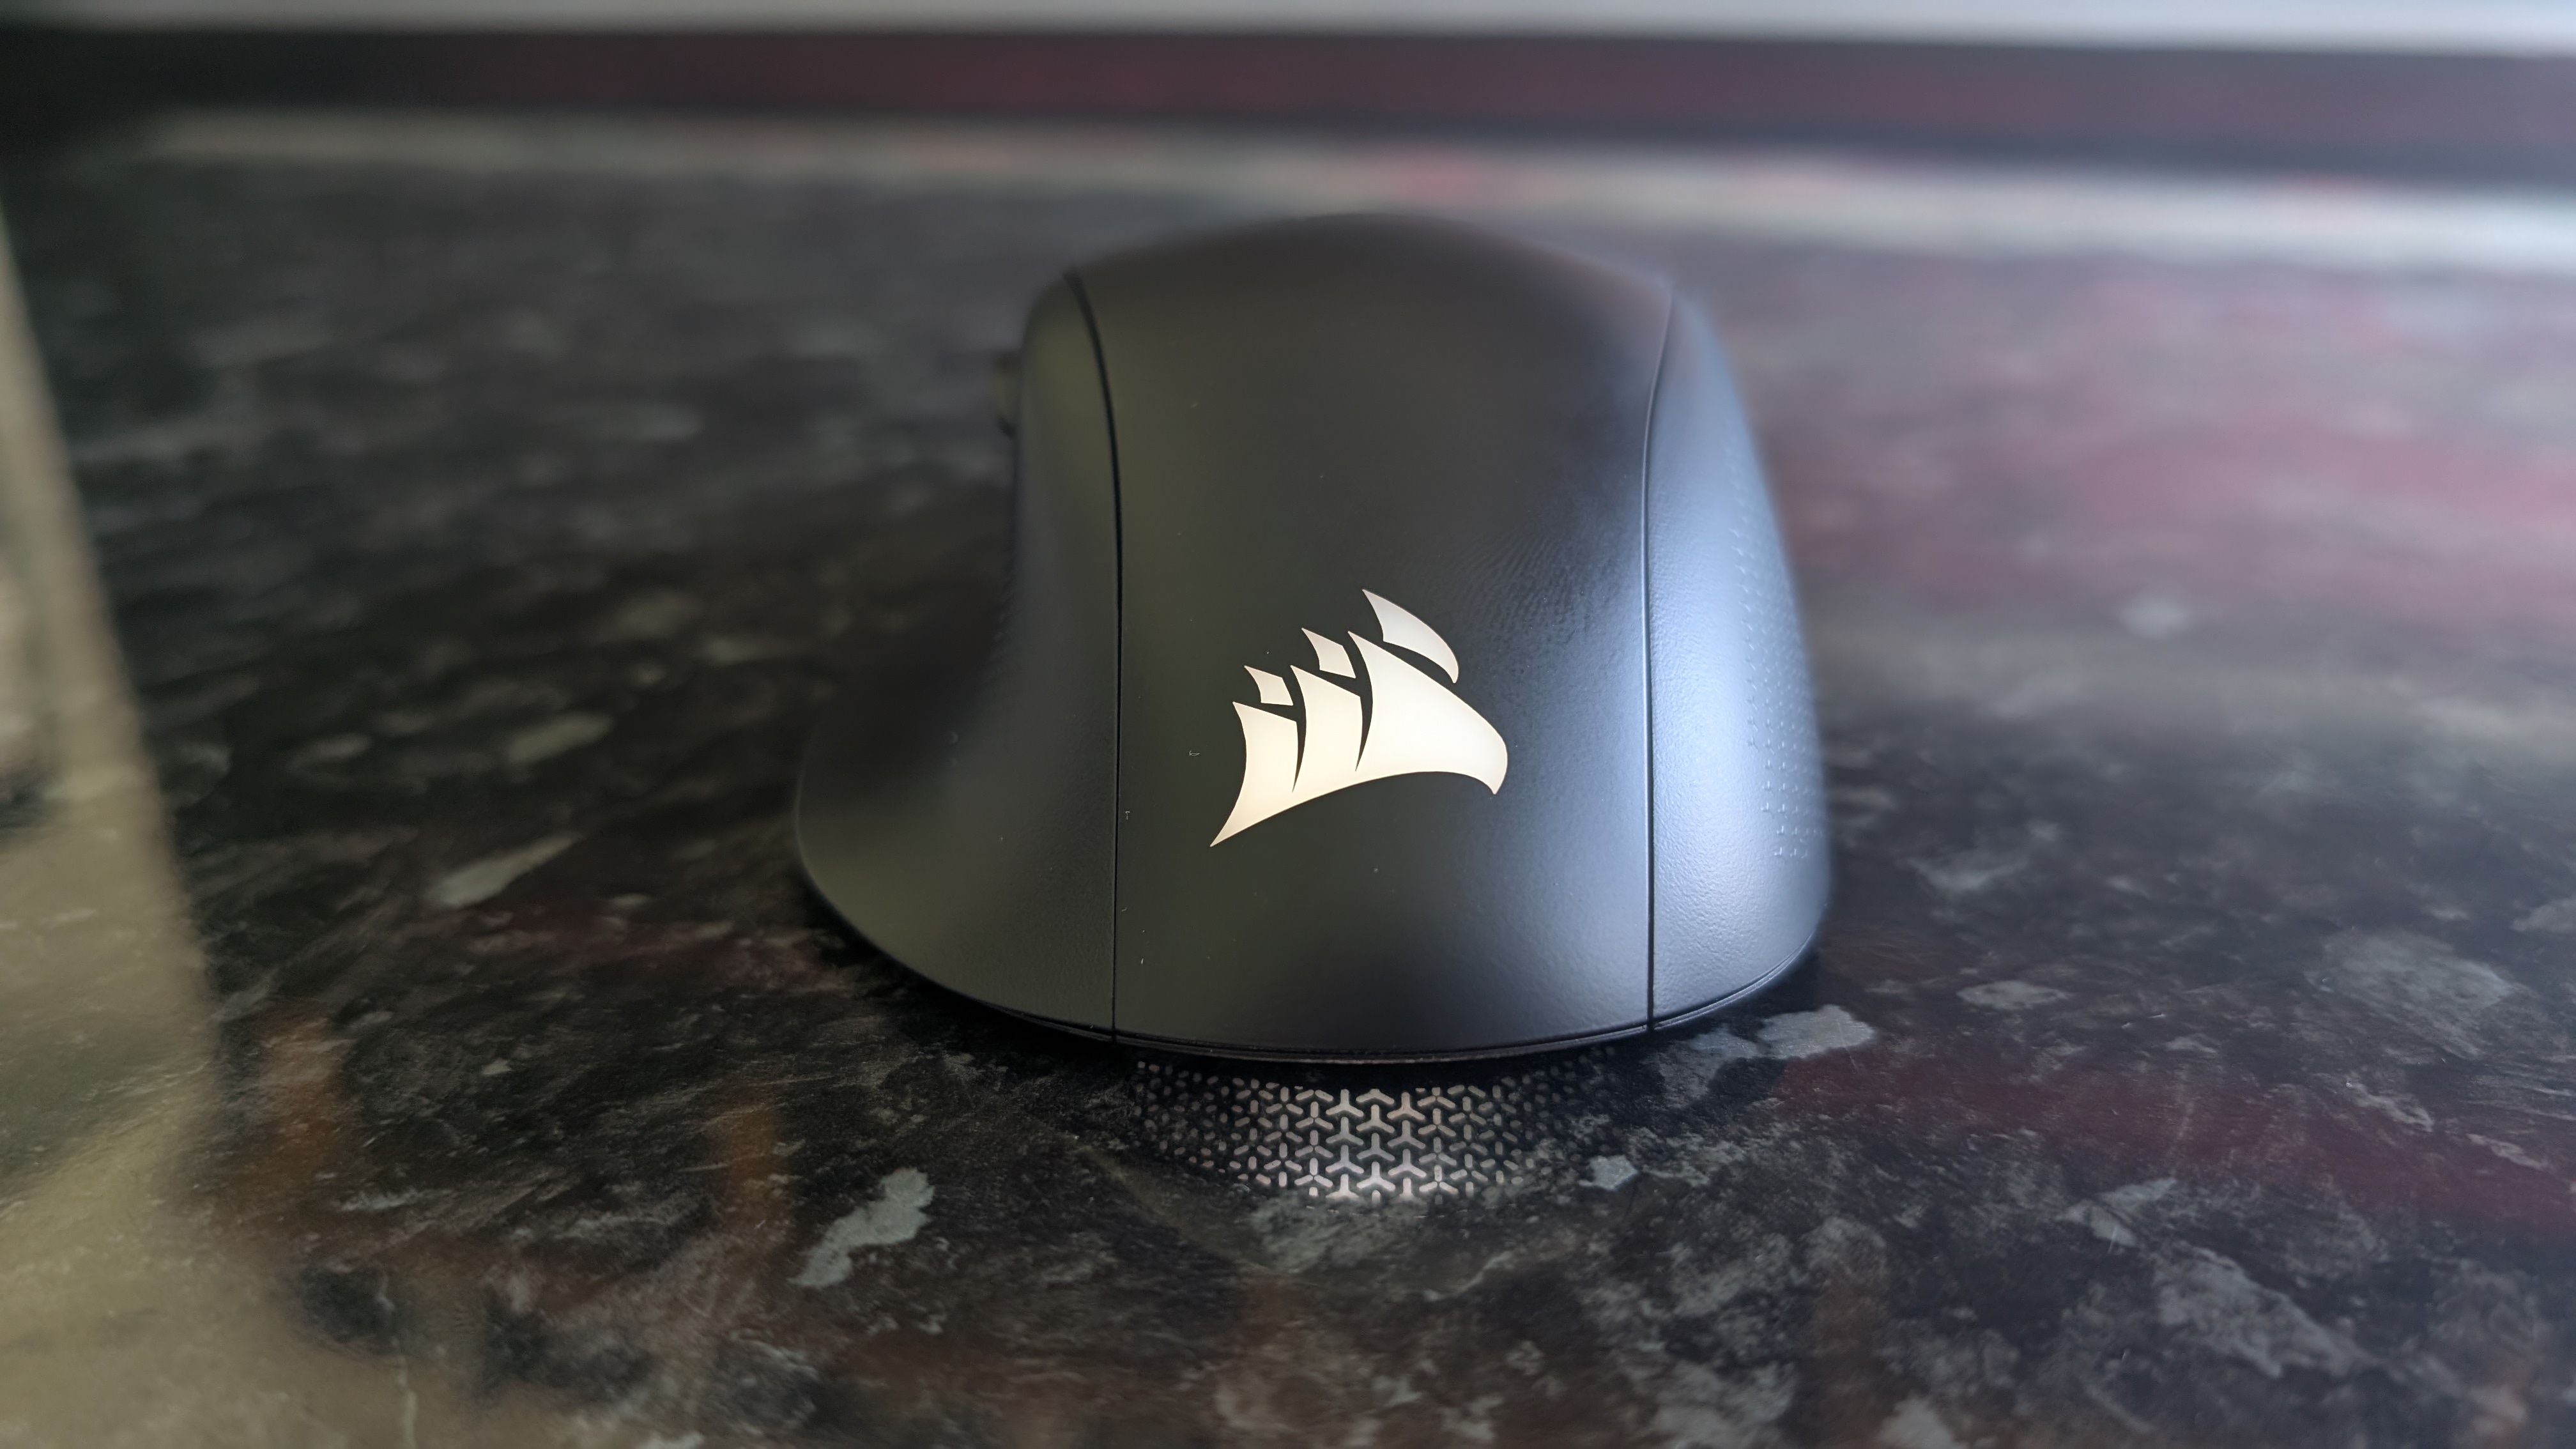
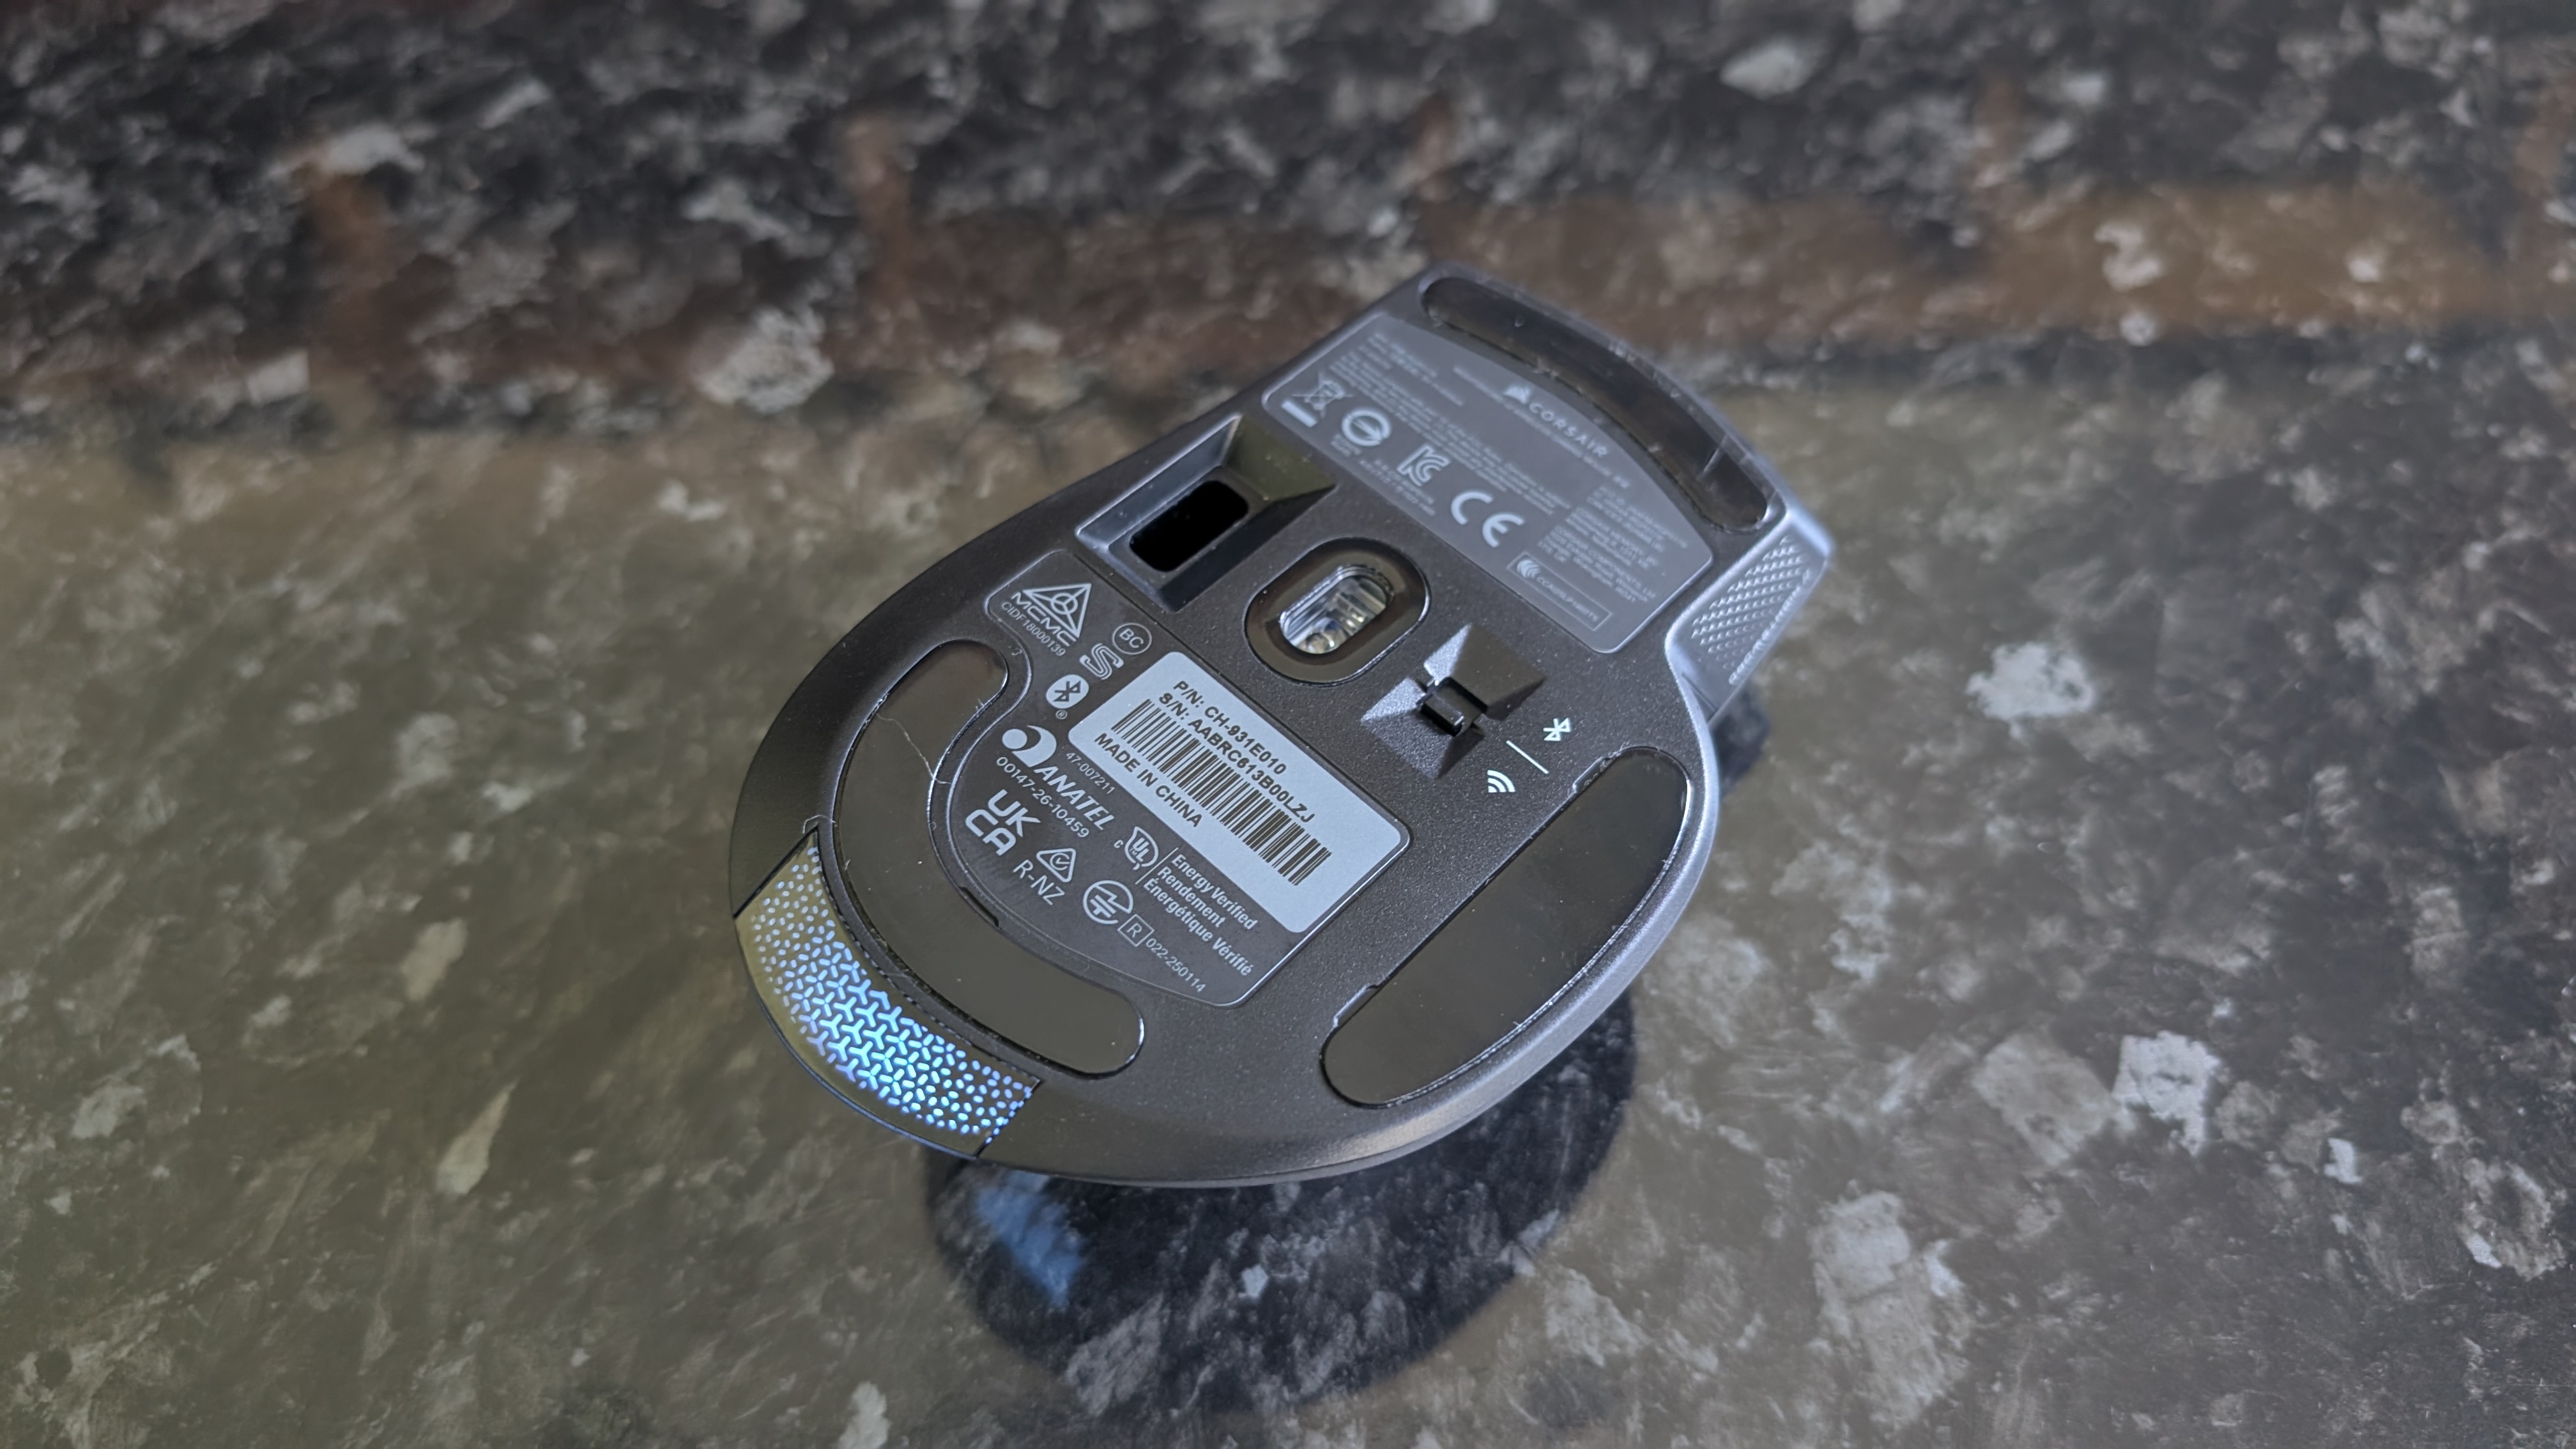
Corsair has stripped back the RGB lighting a bit for the Nightsword V2, with the only RGB zones now being the scroll wheel, the Corsair logo, and an odd little strip on the raised rear underside edge of the mouse that isn't even visible most of the time. Feels like a bit of a waste of an LED to me, but it doesn't feel worth penalizing Corsair for that.
(Image credit: Future)
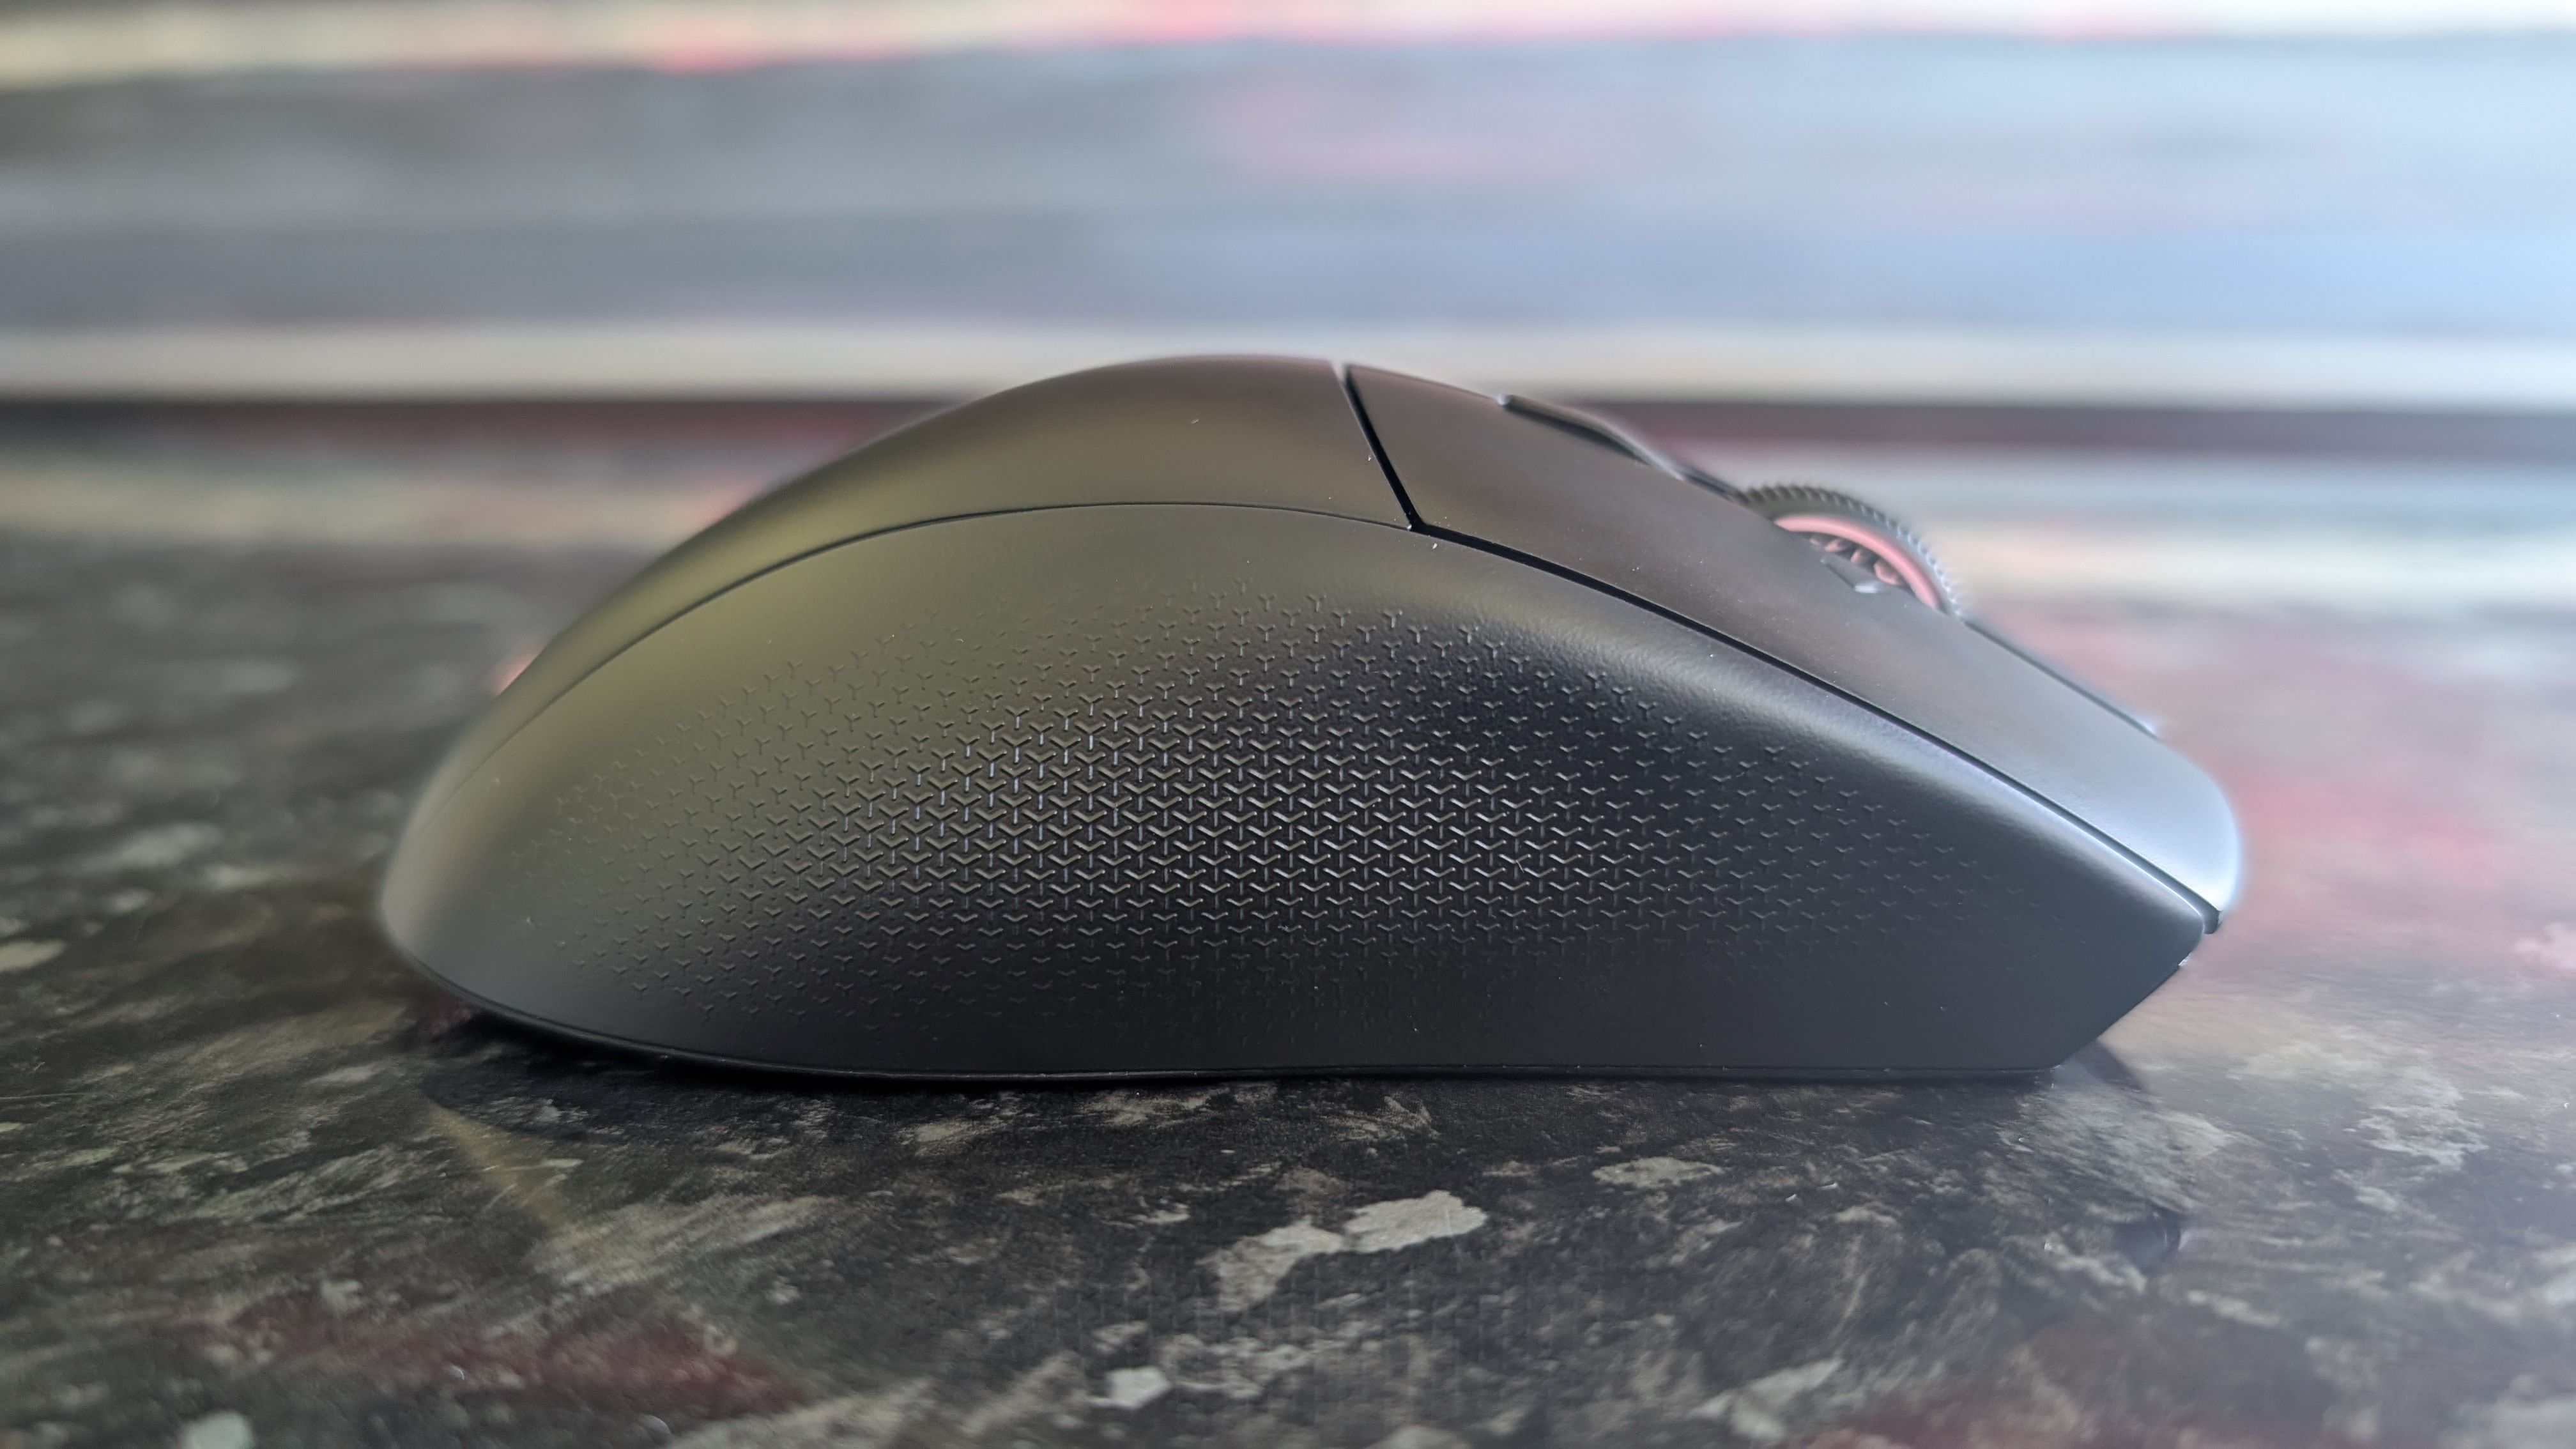
I'll start with the parts I liked. Removing the indent pattern from the Nightsword V2's predecessor was definitely a wise move, as those tiny grooves were just begging to be filled with grime after months of regular use. The main body of the mouse that rests beneath your palm now has a smooth matte finish, with a pattern of raised texturing (rather than the old indentation) on either side to help improve grip. The skates are standard PTFE, which offers a good amount of glide on traditional mouse mats and hard desktop surfaces.
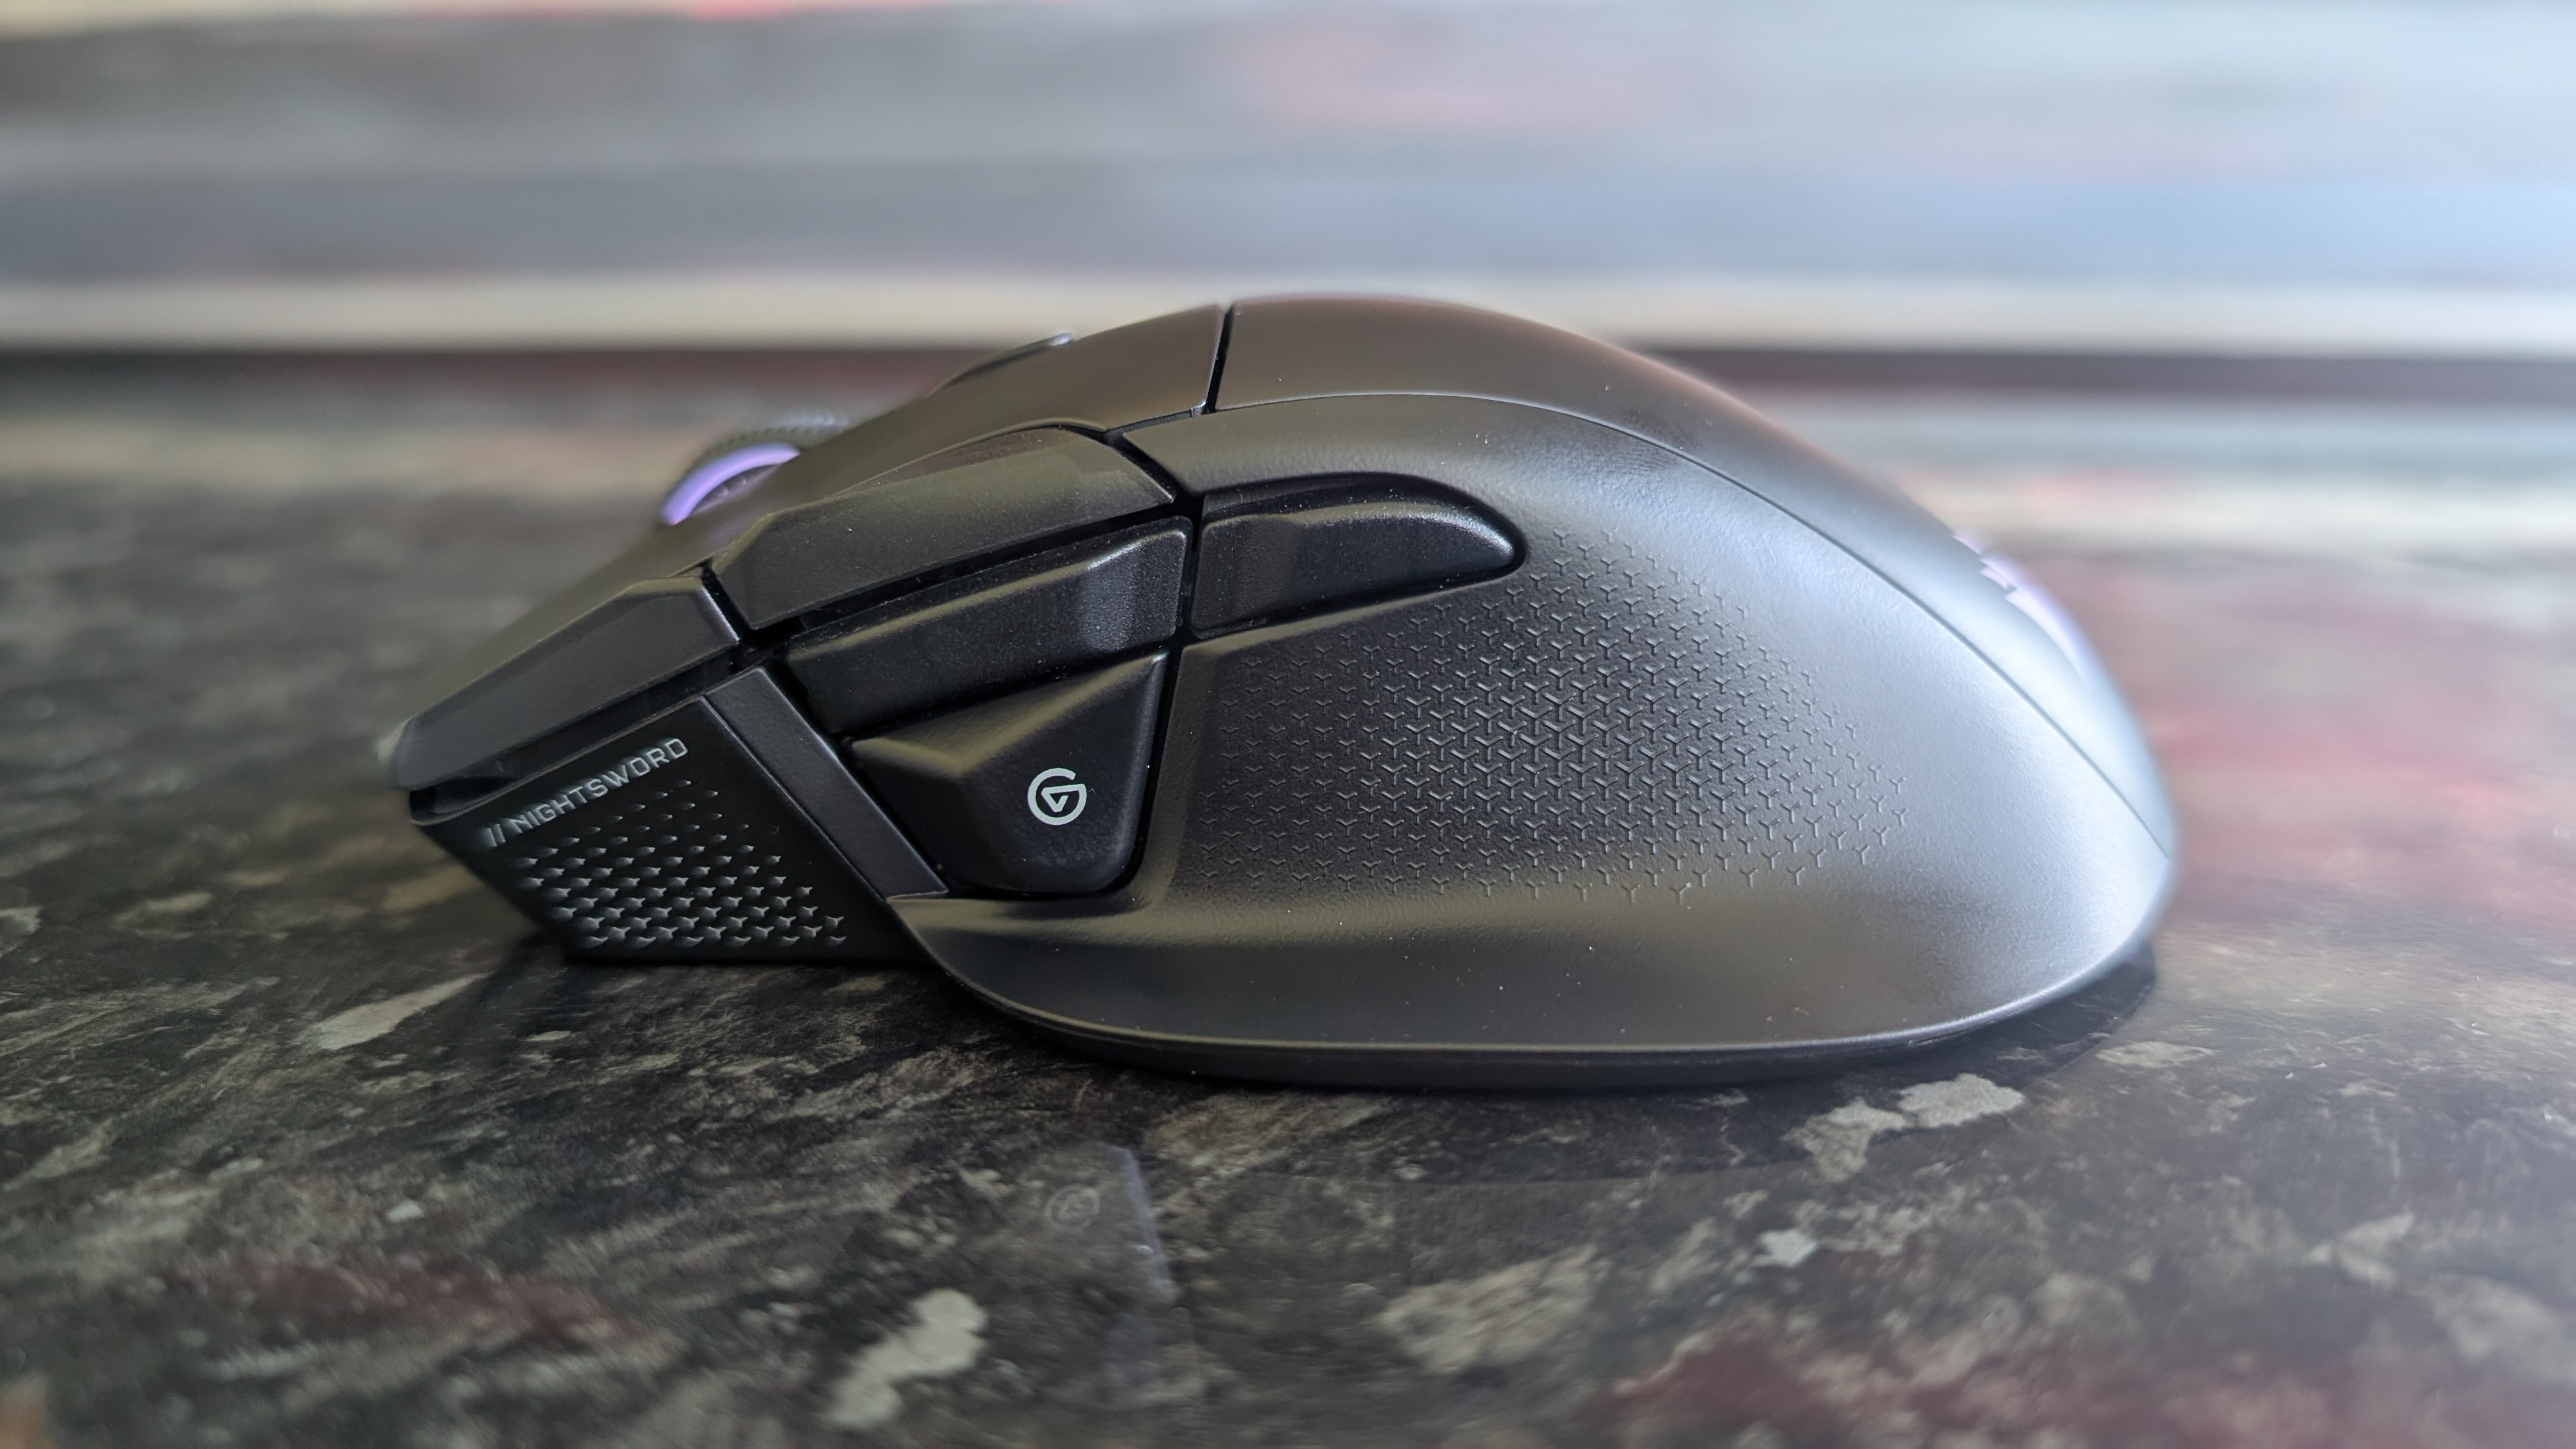
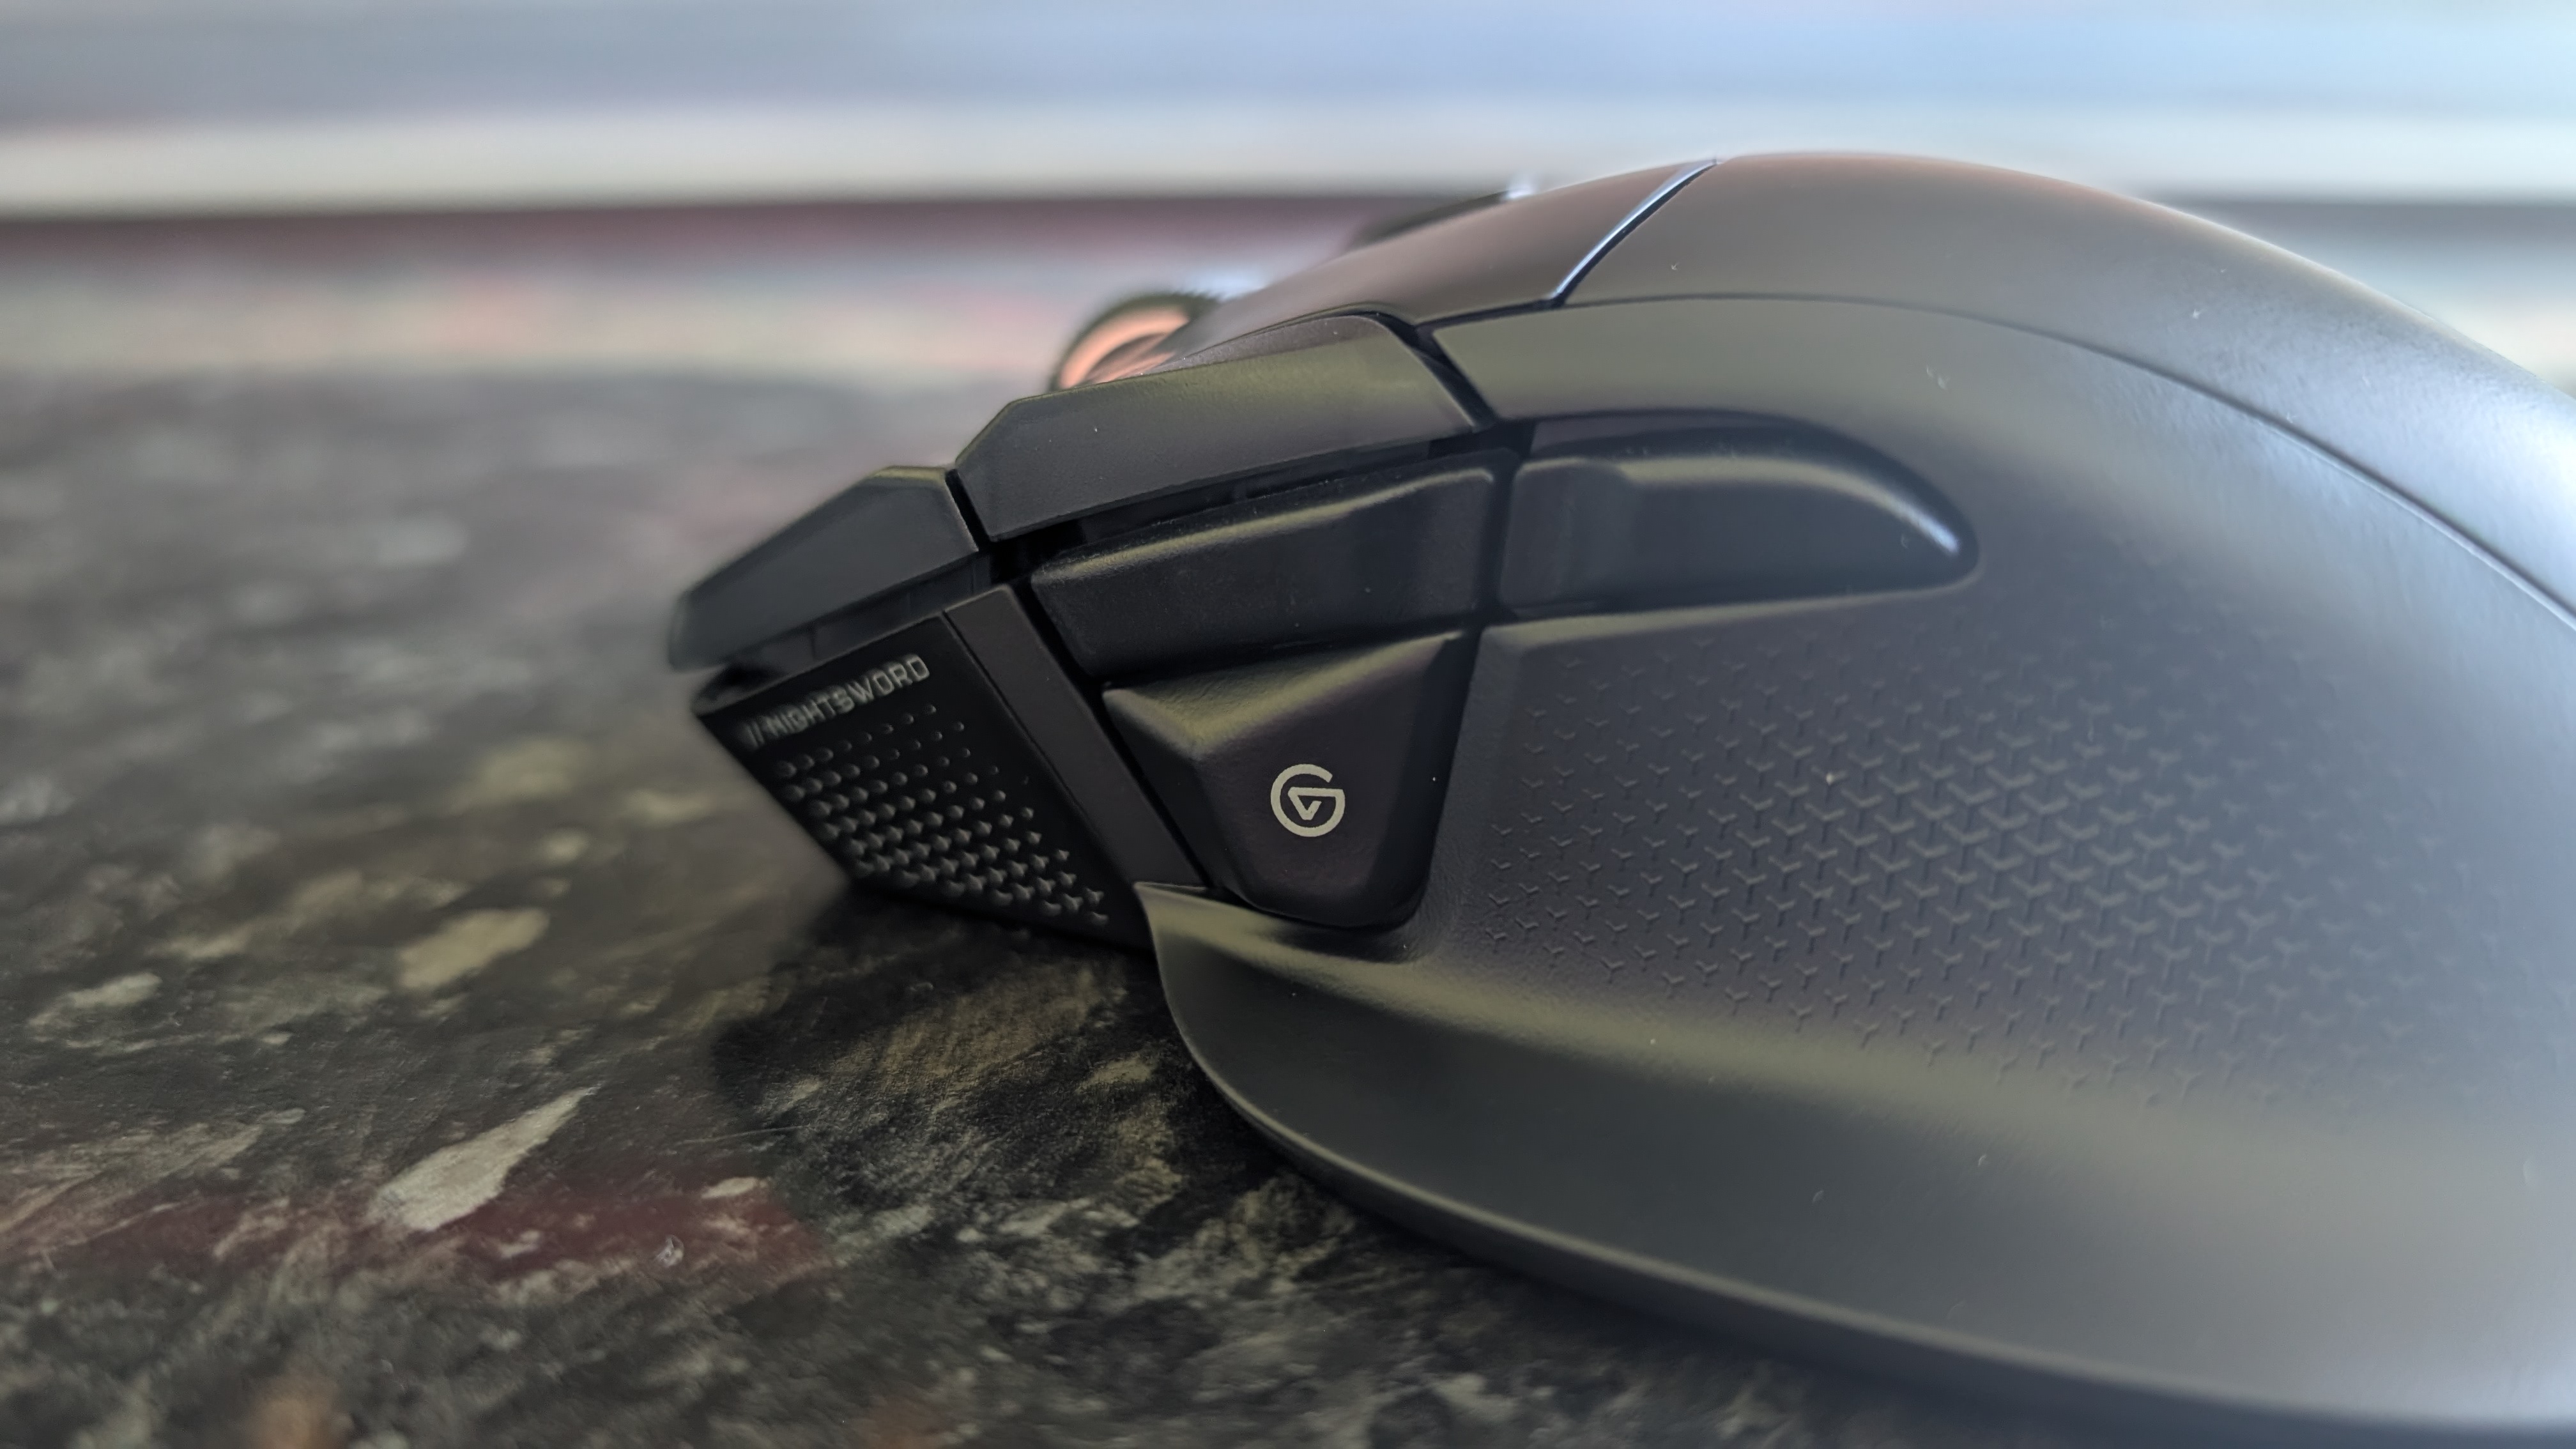
In terms of buttons, we've got 11 in total: the two main mouse buttons, a scroll wheel with both a regular click function and left-right tilt inputs, one multifunction button behind the scroll wheel, three thumb buttons (one of which is the 'sniper button'), and two extra vertically-aligned buttons beside the left mouse button, which turn the sensitivity up and down by default. All of these are fully programmable in Corsair's iCue software or Web Hub, so there's a good degree of versatility here for users who like to tweak their mouse inputs.
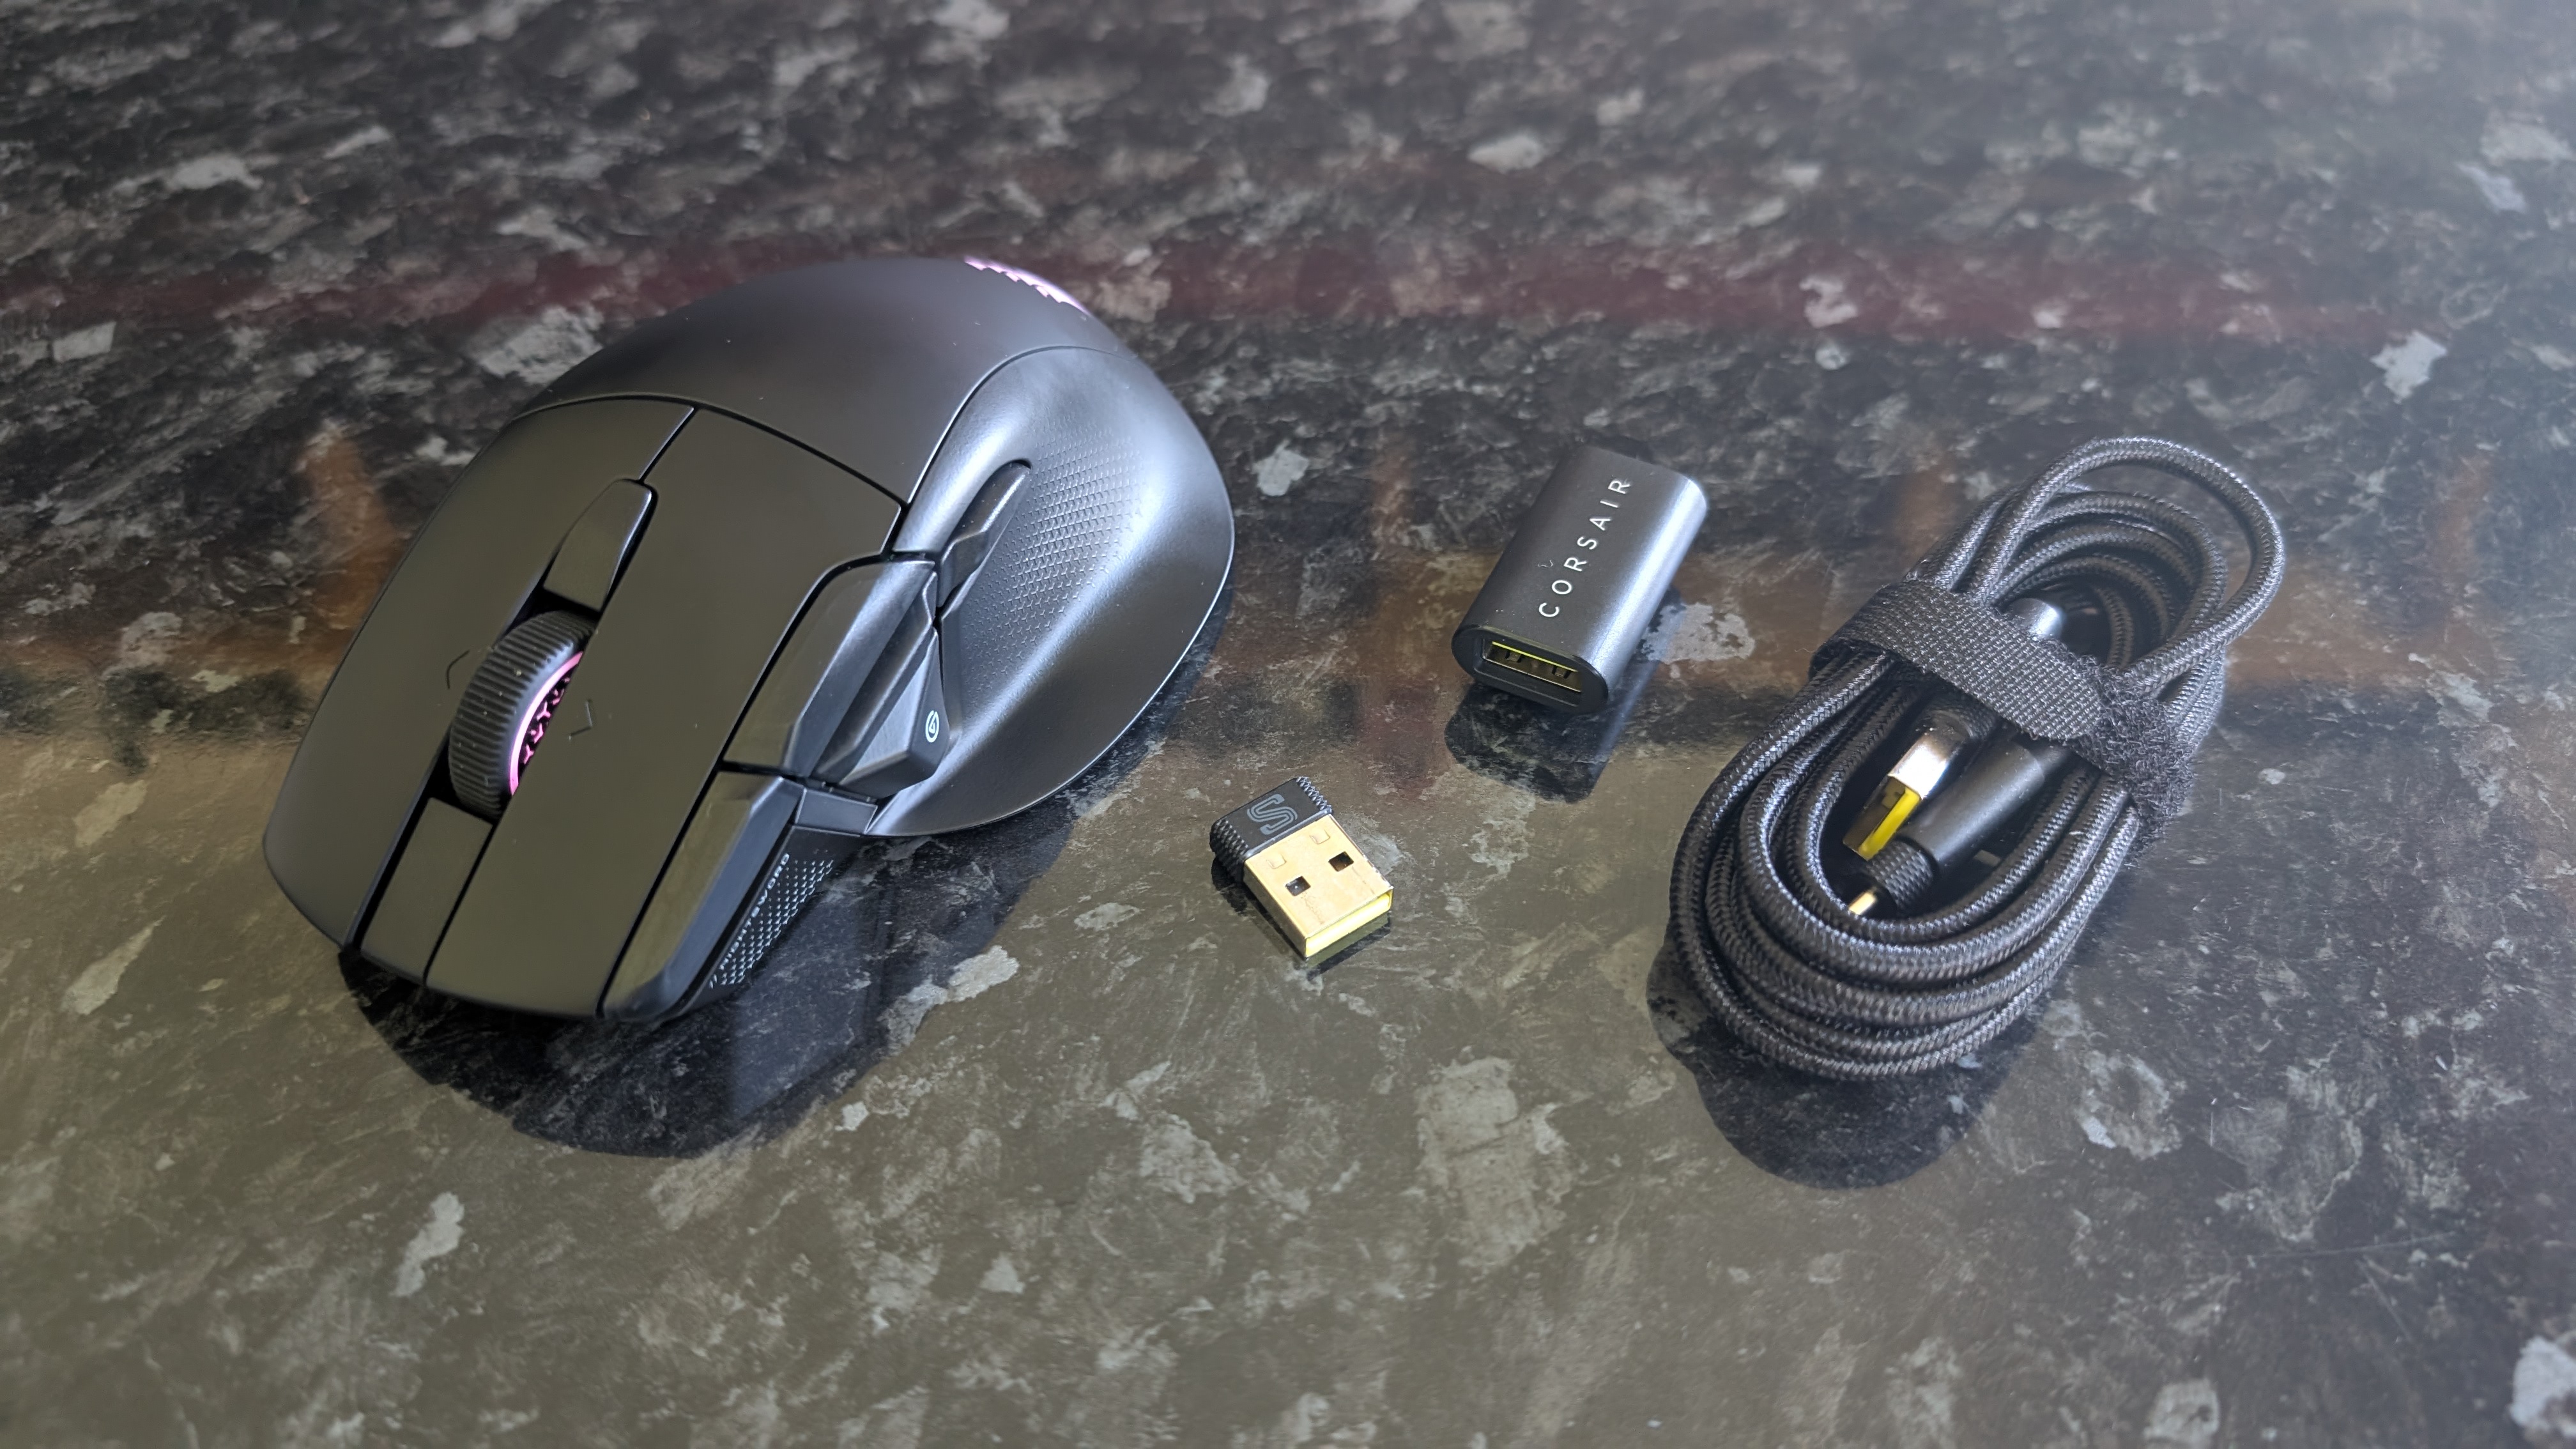
You also get plenty of flexibility in terms of sensor control and connectivity. The Corsair Nightsword V2 Wireless supports tri-mode connectivity, with a physical switch on the underside of the mouse letting you easily swap between Bluetooth, wired, and direct wireless connections (with a bundled USB-A dongle and adapter as well as a power cable). There's also a slot on the underside that can house the dongle, making it easy to take the Nightsword V2 Wireless on the go.
The Corsair Marksman S sensor supports up to 33,000 DPI, and this mouse also includes up to 8,000Hz polling rate support (though not in Bluetooth mode), both of which can be tweaked to your liking in iCue – though for my money, 8K polling is a bit of a gimmick that will only really benefit the absolute highest tier of skilled esports players.
(Image credit: Future)
The whole thing feels pretty durable and well-constructed, sitting comfortably in the hand for palm and claw grip styles. Fingertip grippers should be advised that mice with thumb rests are simply not designed for them, so you probably shouldn't have clicked on this review in the first place – go buy yourself the excellent Logitech G Pro X2 Superstrike instead.
The buttons are sturdy with a good degree of tactile feedback, though I wasn't overly impressed by the scroll wheel; there's no free-scroll mode, and it lacks the firm motion bump of higher-quality scrollers. The grouping of the buttons on the side of the mouse is also a little awkward, at least for users with large hands like me; while trying to use the sniper DPI button in Valorant and Marathon, I kept accidentally hitting the thumb button immediately above it, using a noisy ability when I was trying to quietly take aim at enemy players. Having scanned through the digital archives of several other reviewers, it seems that thumb button positioning was a bit of a frustration with the original Nightsword too, so it's a shame to see this issue hasn't been addressed.
Of course, I have to further discuss Corsair's baffling decision to eliminate the tunable weight feature of the Nightsword. As someone who loves the Logitech G502 Lightspeed Wireless so much I've bought two of them, due in part to its magnetic tunable weight system, I can't help but feel that Nightsword V2 Wireless could have been a serious competitor to my favorite mouse.
(Image credit: Future)
All the other features I like from the G502 Lightspeed are there: a thumb rest, a sniper button, tilt wheel inputs, and a dongle for low-latency wireless connectivity. But removing the weighting system means I can no longer find the perfect balance of heft and handling that I love about my G502, and I'm left simply confused as to why Corsair would remove it for this new iteration of the Nightsword.
At the end of the day, this is a mostly well-designed mouse with a few noticeable foibles, but I can't help but dream of what could have been. It no longer feels like the Nightsword has anything to set itself apart from the crowd, or even from Corsair's own selection of mice; the ergonomic design with a thumb rest is shared by Corsair's M65, Dark Core, and Ironclaw models, for example.
Oh, and as TechRadar's resident southpaw, I have to note that there's no left-handed model available here. I'm pretty sure they call us lefties because we're left out so often – even if I've personally managed to adapt to using my mouse right-handed.
Corsair Nightsword V2 Wireless: Performance
Comfortable even for lengthy gaming sessions
No noticeable input latency even in 1K polling mode
Long battery life
In practical use, the Corsair Nightsword V2 Wireless is perfectly competent and comfy to use for extended periods thanks to its ergonomic shape and thumb rest. I'm a palm-type grip user, and I didn't have any issues whatsoever with hand or finger strain even after a solid six-hour run in Marathon (the new season is about to start, and I had priority contracts to finish, alright?)
I tested the Nightsword V2 in both 1K and 8K polling rate modes, and frankly didn't notice much of a difference whatsoever – but to be clear, that's not really an outright criticism, as I found the mouse to be highly responsive both in terms of movement and clicks regardless of which polling mode I was in.
(Image credit: Future)
I prefer a fairly high DPI, especially for shooters, and the sensitivity here is great. High-skill users who want a really sensitive mouse may want to look for one with a 40K+ DPI sensor (which will probably cost you more), but the 33K Marksman S sensor in the Nightsword V2 ought to be plenty for the majority of PC gamers.
Aside from the issue I mentioned further up regarding the tight grouping of the thumb buttons leading to potential misinputs, I found that the buttons generally felt great. With optical switches for minimal input latency and improved longevity, the main mouse buttons have a decent amount of travel and a firm, satisfying click. The same goes for virtually every other button on the mouse; no cheap, flimsy feeling or wobbliness here.
I actually quite liked the feel of the sniper button (when I wasn't accidentally firing off an ill-timed energy blast instead of lining up a headshot, anyway). It has a good tactile response, so I know when it's been clicked even with my headset on during a noisy firefight, but it doesn't require much force at all to actuate, meaning that it's easy to hold down for careful aiming.
(Image credit: Future)
I did have to remap some of the default button settings, because having the DPI up/down adjustment set to the two side finger buttons just didn't feel right – I opted for the typical setting of the button behind the scroll wheel to swap between DPI presets instead.
The good news about remapping is that you no longer need to install Corsair's iCue software to tweak your peripherals. It's still available, but like a few other PC hardware manufacturers (including Razer), Corsair now offers a fully functional in-browser web app.
The Corsair Web Hub, which I mentioned earlier in this review, allows you to access all the usual software-level modifications for your Corsair devices all within an super-simple browser page. As someone who has long bemoaned the plethora of proprietary software tools for PC peripherals, it's immensely refreshing to be able to do everything I want to do in a regular browser tab, with no downloads required. I arguably can't really say that this is a point in favor of the Nightsword V2 specifically, but good work on the new Web Hub, Corsair.
Lastly, the battery life on the Nightsword V2 Wireless is seriously good, with Corsair rating it for up to 170 hours of use. Across seven days of regular use (more than eight hours a day on average, since I used the Nightsword V2 both for my daily work and gaming after hours), I didn't need to charge it once after my initial testing with the wired configuration.
Should you buy the Corsair Nightsword V2 Wireless?
Corsair Nightsword V2 Wireless: Scorecard
Value
At $129.99 / £119.99 / AU$189, the Corsair Nightsword V2 Wireless isn't cheap, though the high-quality construction helps justify the price somewhat.
3/5
Design
The ergonomic design is comfortable in the hand and whole mouse feels durable, but the thumb buttons are too close together and the lack of tuneable weight is a real shame.
3/5
Performance
The Nightsword V2 is snappy and responsive with nice tactile clicks from its optical switches, and also offers a long battery life.
4.5/5
Average rating
While it's a mechanically decent mouse that will appeal to fans of ergonomic designs, the Nightsword V2 simply doesn't do enough to stand out against the competition.
3.5/5
Buy the Corsair Nightsword V2 Wireless if…
You want something comfortable The ergonomic shape and thumb rest make the Corsair Nightsword V2 Wireless a comfy mouse to use for long gaming binges.View Deal
You want lots of buttons 11 programmable buttons (including scroll wheel tilt inputs) mean you can do a lot of different things at once with this mouse – great for MMO and MOBA players.View Deal
You don't want to charge your mouse often With up to 170 hours of battery life and customizable sleep options in the Corsair Web Hub, the Nightsword V2 can go for days and days without needing to be plugged in.View Deal
Don’t buy it if…
You liked the original Despite being a reasonably good gaming mouse, the Nightsword V2 throws away the most unique feature of the Nightsword RGB.View Deal
You're a fingertip gripper The elevated thumb positioning of fingertip-style mouse grips is ill-suited for the ergonomic thumb rest design of the Nightsword V2 Wireless.View Deal
You’re left-handed Granted, this applies to more than two-thirds of the gaming mice on the market, but it's still a shame for lefties.View Deal
Corsair Nightsword V2 Wireless: Also consider
Logitech MX Master 3S
It's a few years old now, but if it ain't broke, don't fix it. The MX Master 3S is simply one of the best ergonomic mice money can buy, making it a strong alternative to the Nightsword V2 if you're specifically looking for a mouse built for comfort. Read our full Logitech MX Master 3S review.View Deal
Razer Deathadder V4 Pro
If you're a PC gamer looking for something a little more serious, the Deathadder V4 Pro from Razer packs low-latency optical switches like the Nightsword V2 but also delivers much higher maximum sensitivity thanks to its 45K DPI sensor. Read our full Razer Deathadder V4 Pro reviewView Deal
How I tested the Corsair Nightsword V2 Wireless
As usual for peripheral reviews, the Corsair Nightsword V2 Wireless became my regular mouse for just over a week while I was testing it out, replacing my daily driver, the Logitech G502 Lightspeed Wireless.
I used it every weekday for my regular work at TechRadar, which in terms of how I use my mouse, is mostly just clicking stuff in my browser and sometimes highlighting text. More pertinently, I used it to play a whole bunch of games: Warframe, Marathon, Valorant, Overwatch, and Apex Legends all currently feature in my regular gaming rotation, and I also used it for Slay the Spire II – though I doubt it had my impact on the quality of my gameplay in that particular title. I'm still really bad at the Necrobinder.
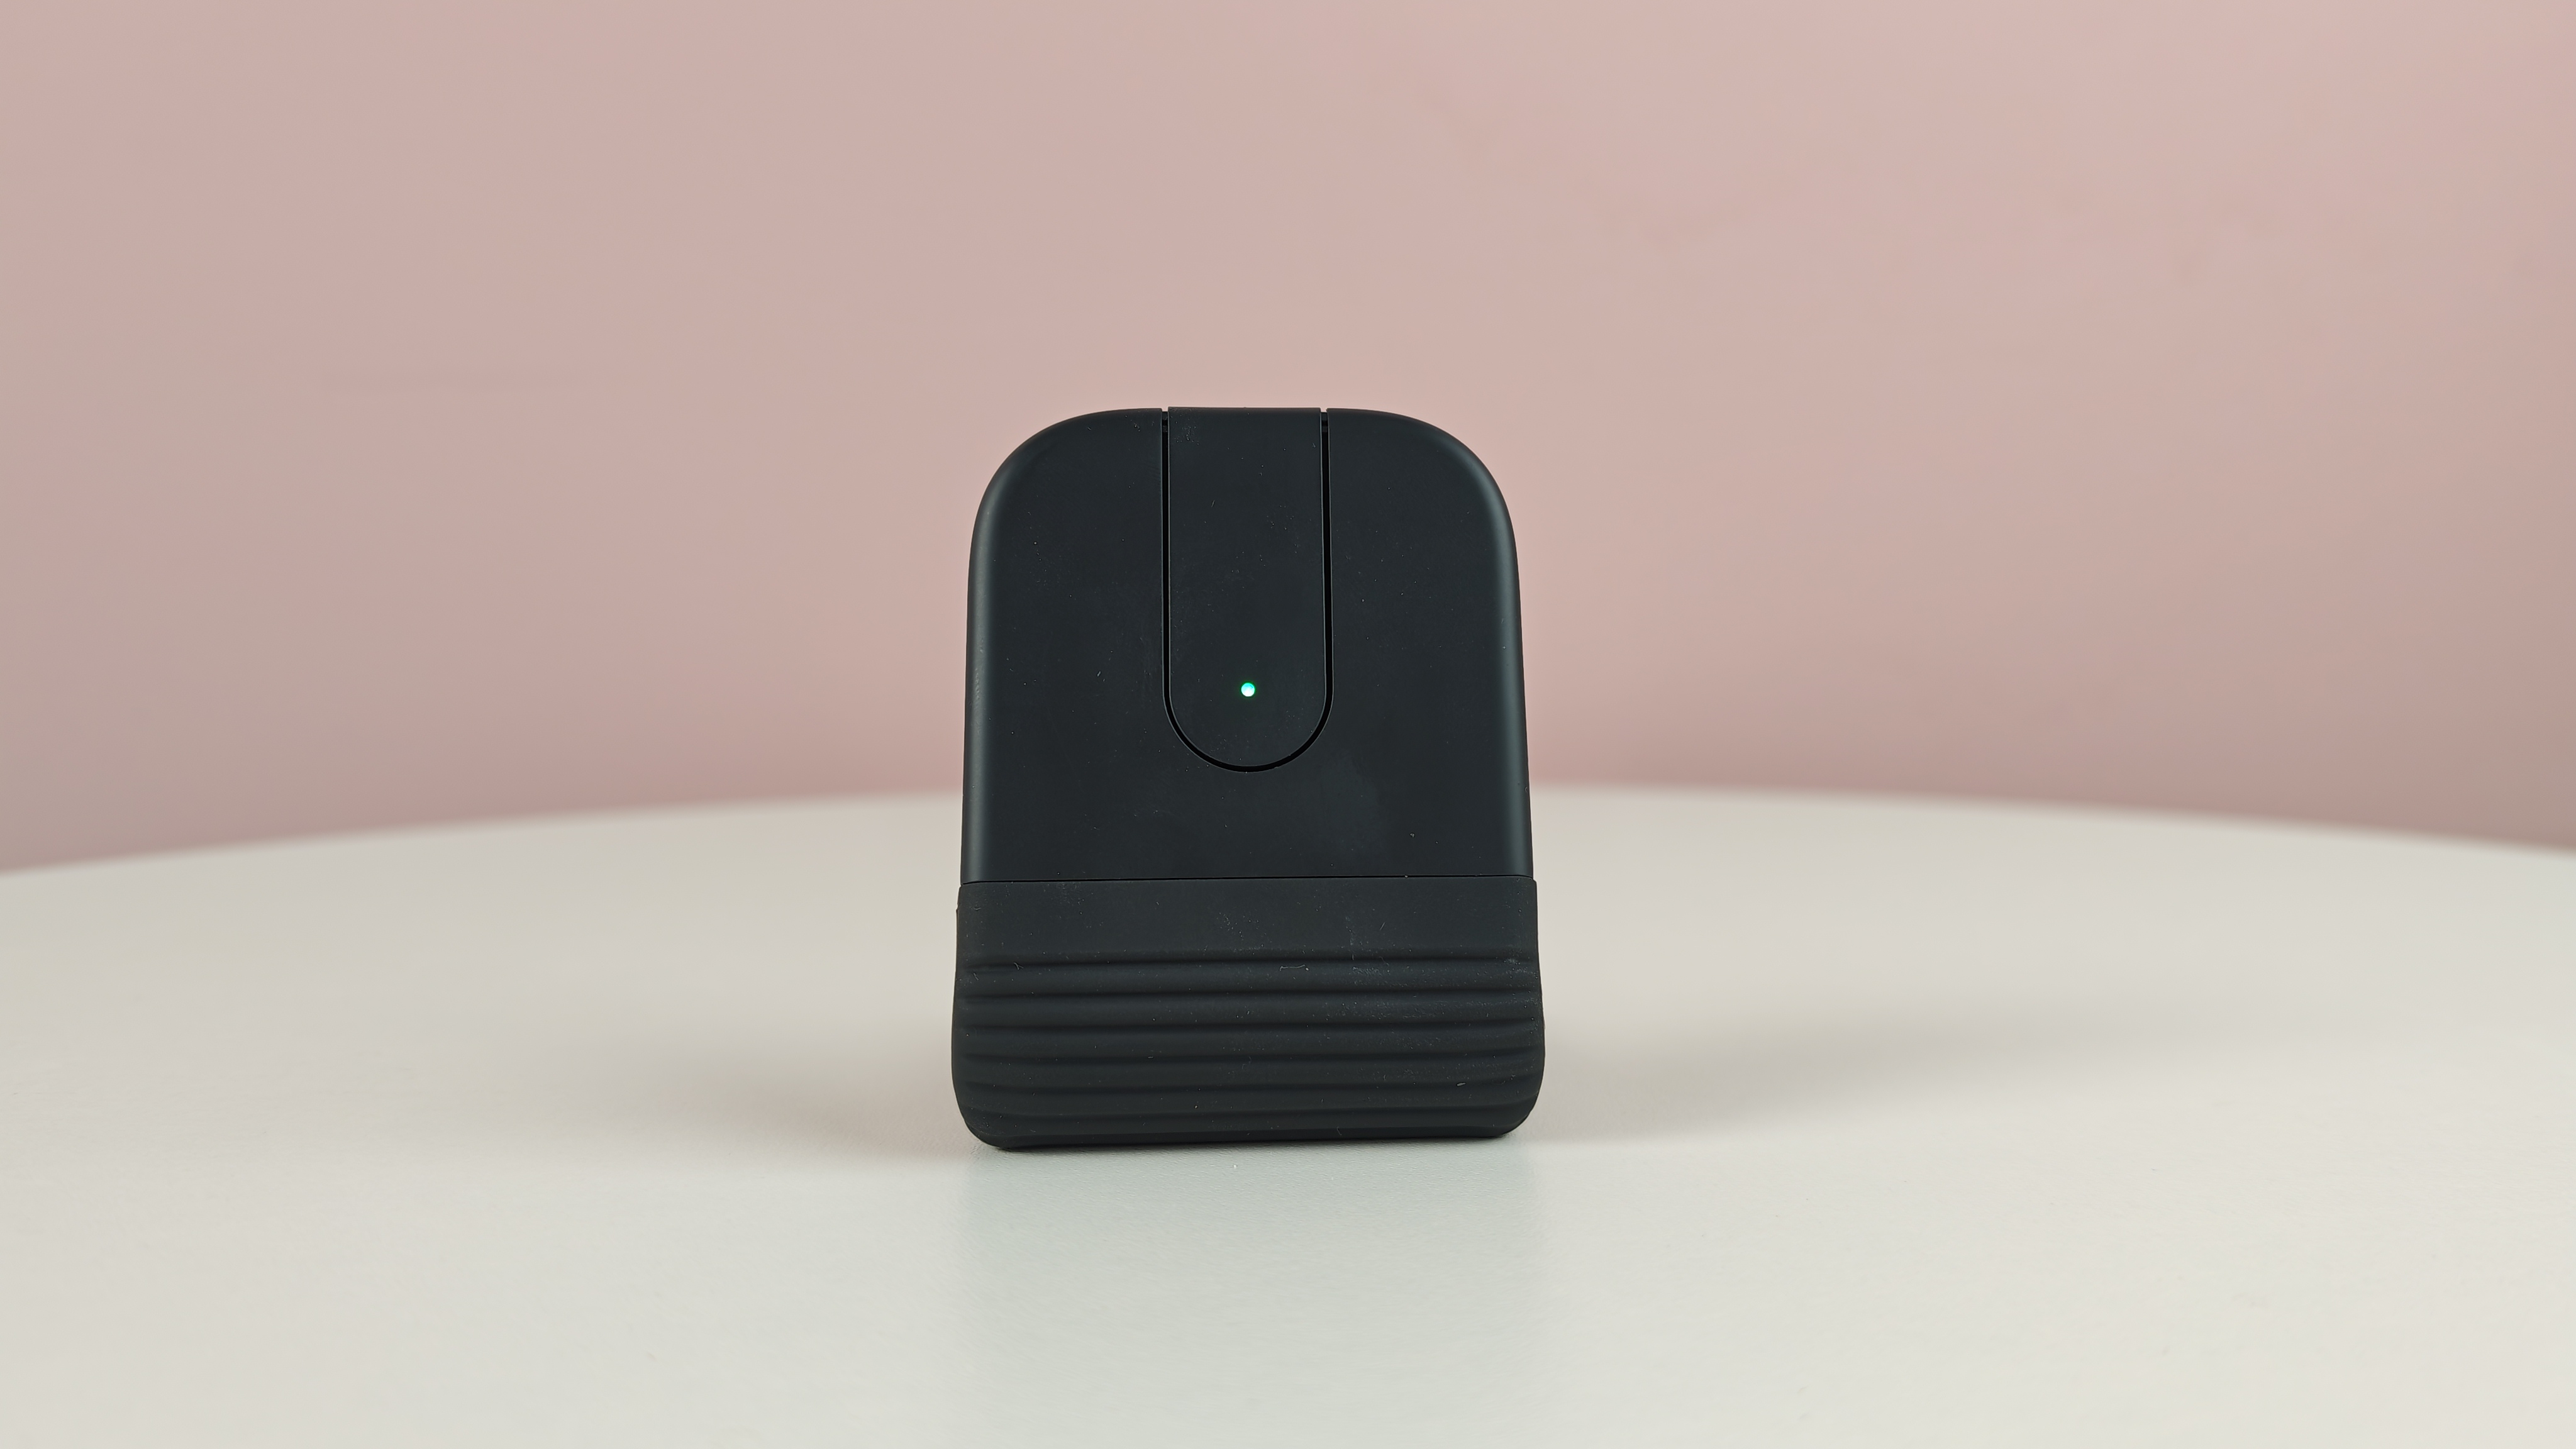
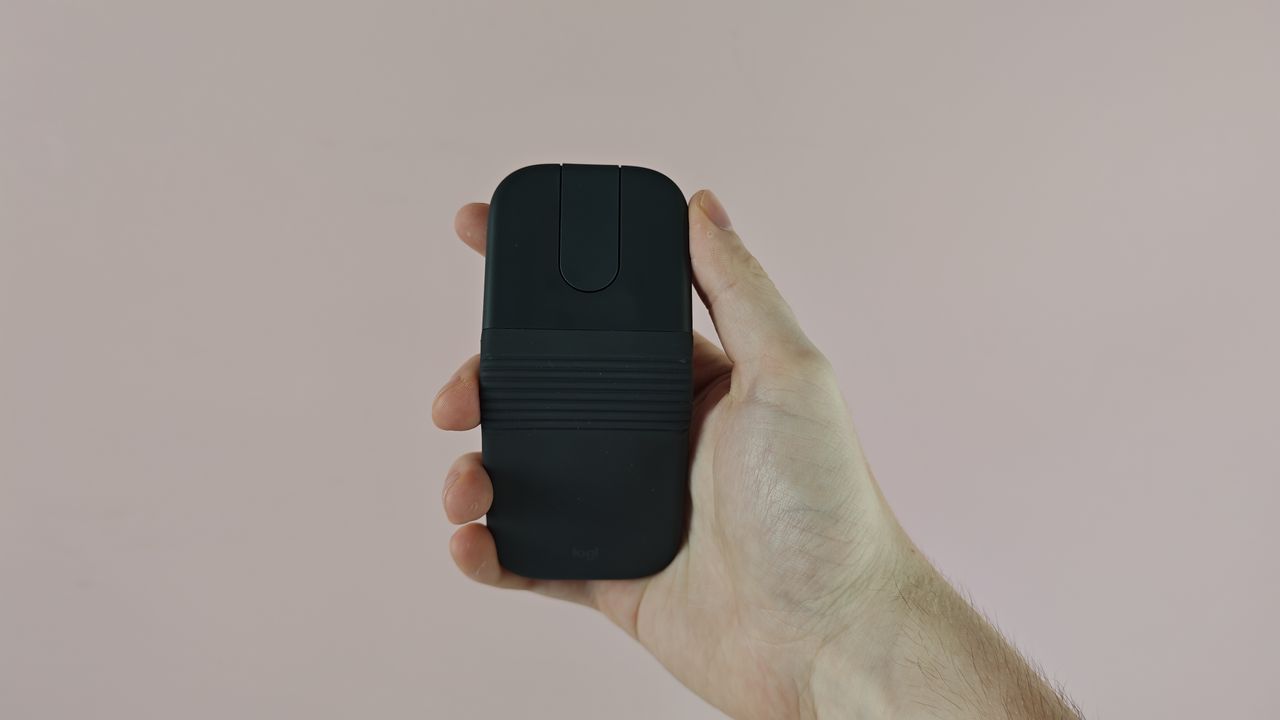
The Logitech Mobi Fold is, without question, the weirdest mouse I have ever used in my life.
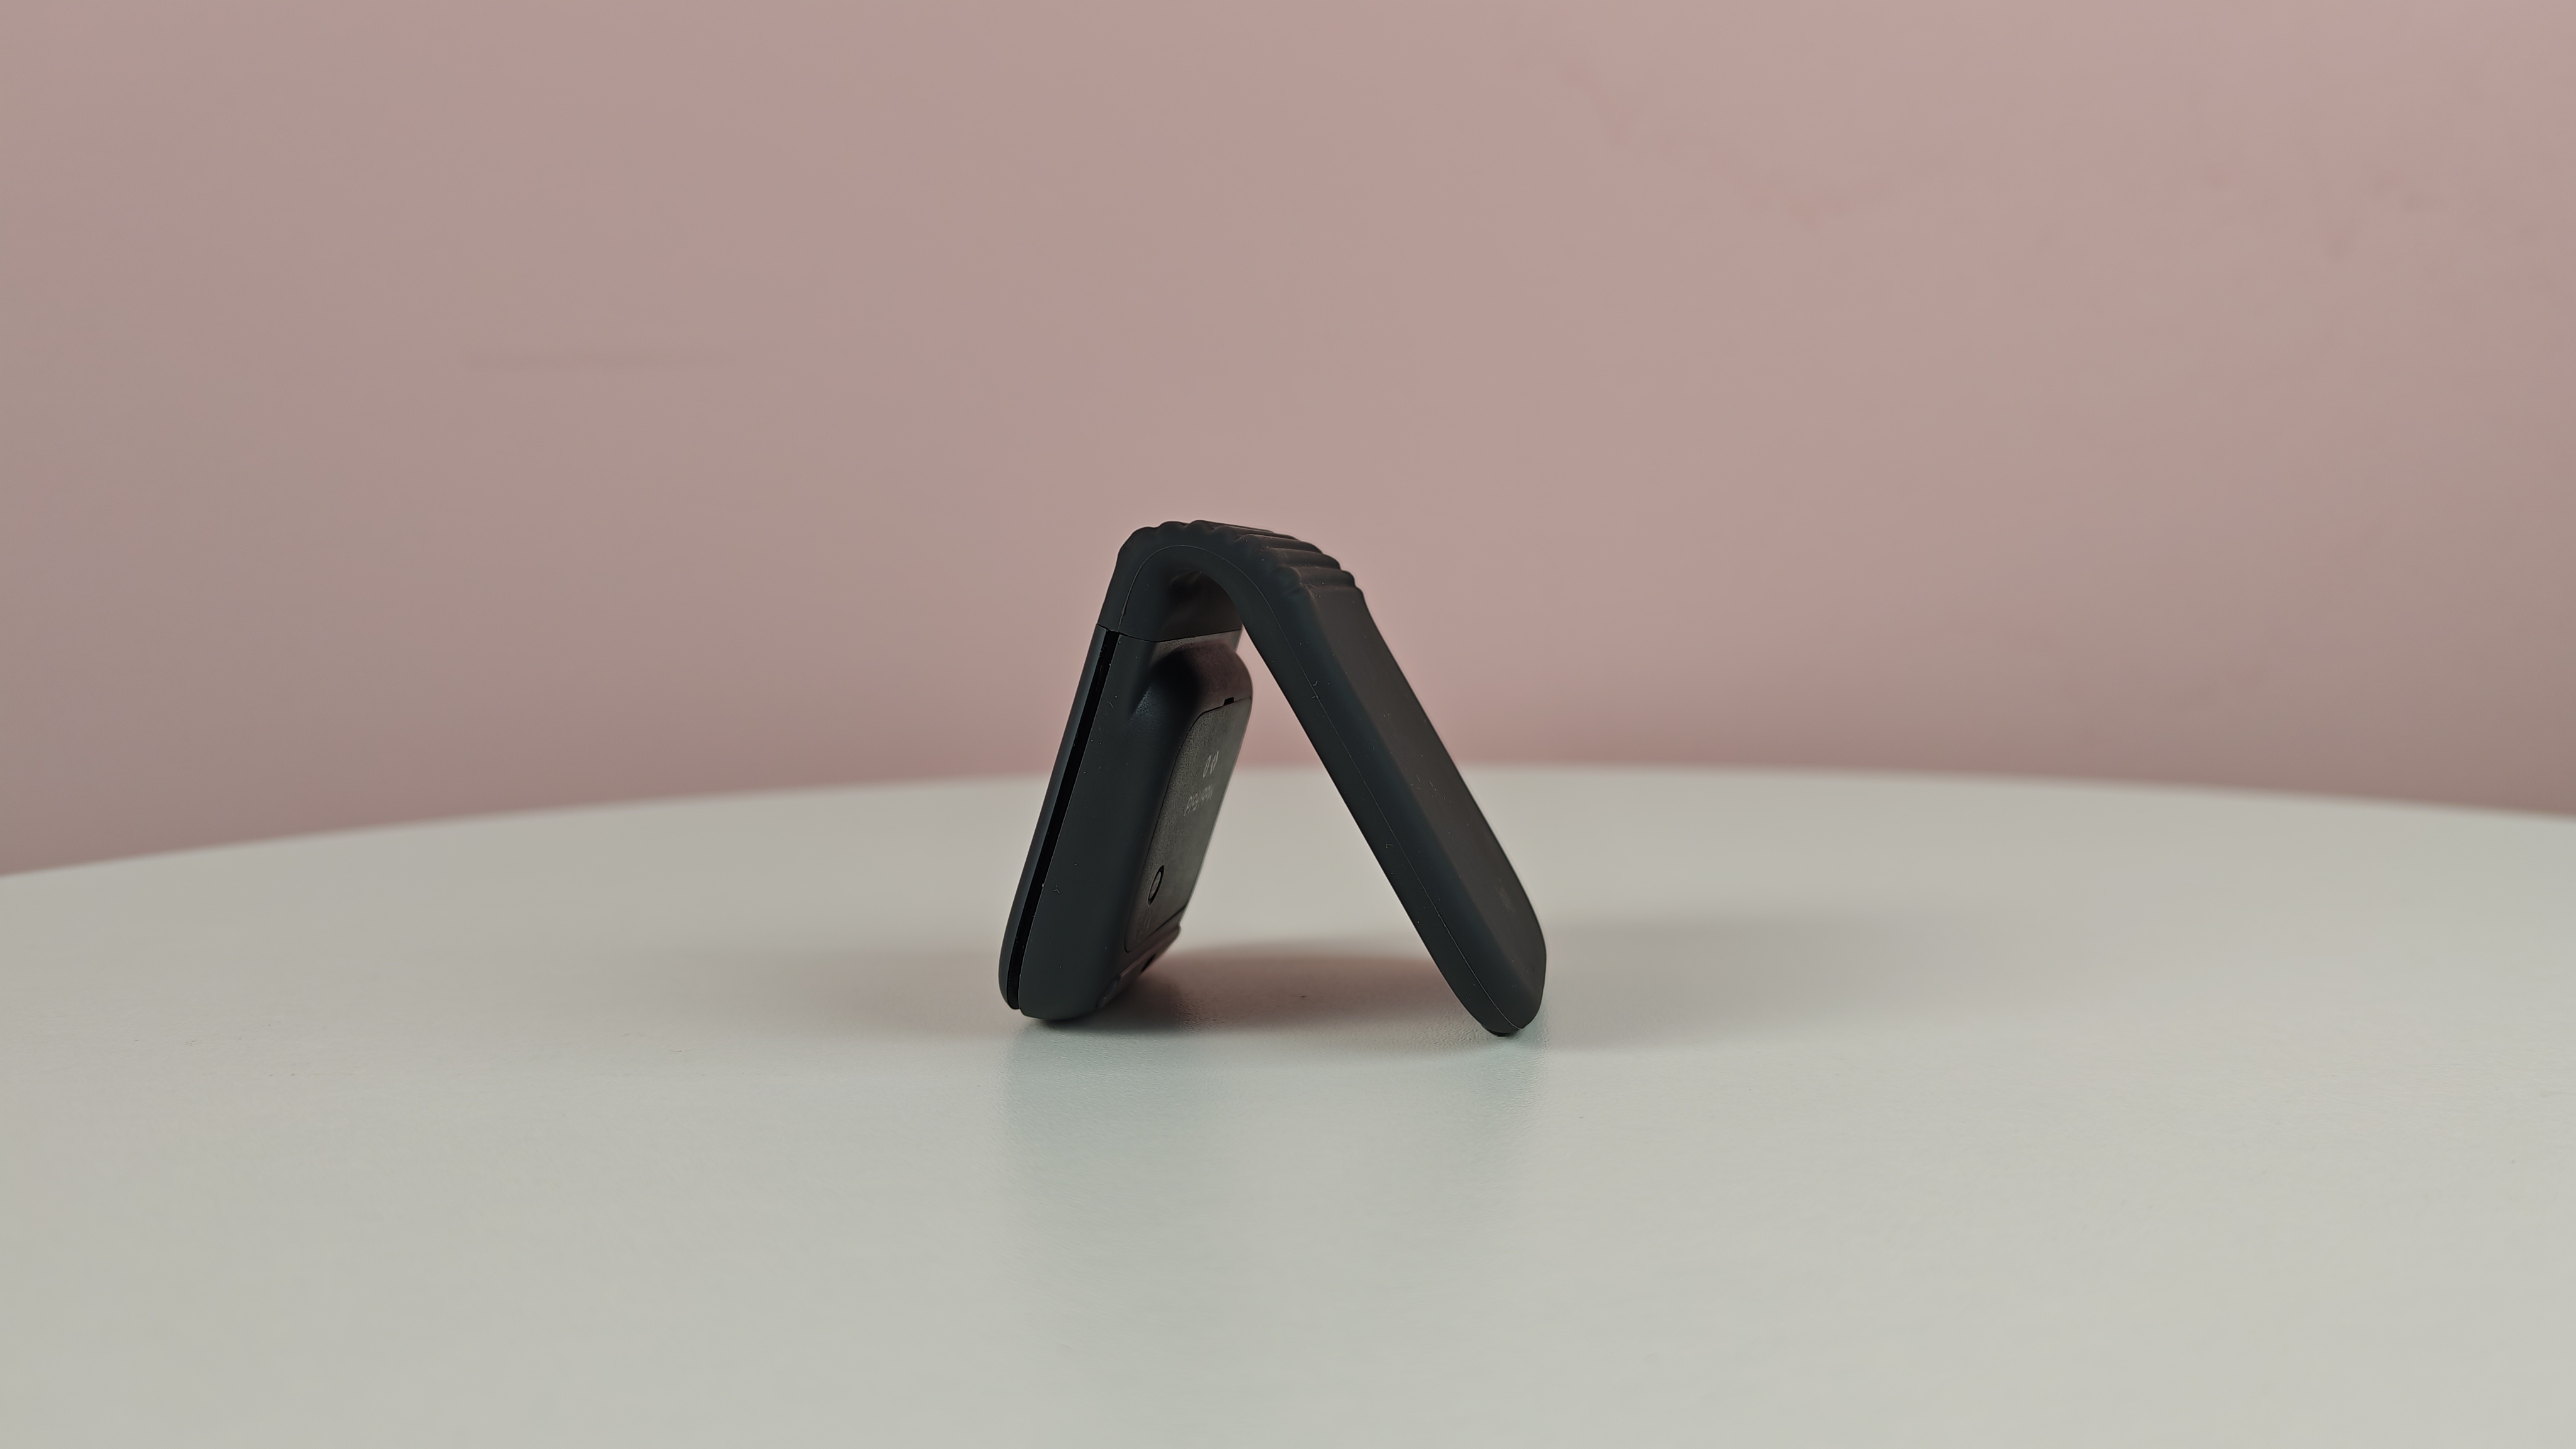
This tiny, foldable travel mouse is focused on one thing above all: portability. Just like a clamshell phone from the noughties, it can fold in half, allowing you to easily slip it into your pocket if you’re working on the go. But even though the Logitech Mobi Fold’s exceptional portability is its clear USP, I have to ask… is it actually that necessary?
After all, a lot of mice are already highly compact, and if you’re working on the go, you’ve probably got a bag to hold your laptop or tablet, right? I’d bet that your bag can fit a laptop and a mouse, so arguably, the thing that makes this mouse so special isn’t actually that game-changing.
Still, the Mobi Fold has a few interesting features to run through, and you’re surely curious as to how such a strange model feels in use. So, after using the Logitech Mobi Fold as my main mouse for a few days, here’s how I’d rate it — and whether I think it can compete with the best mice around.
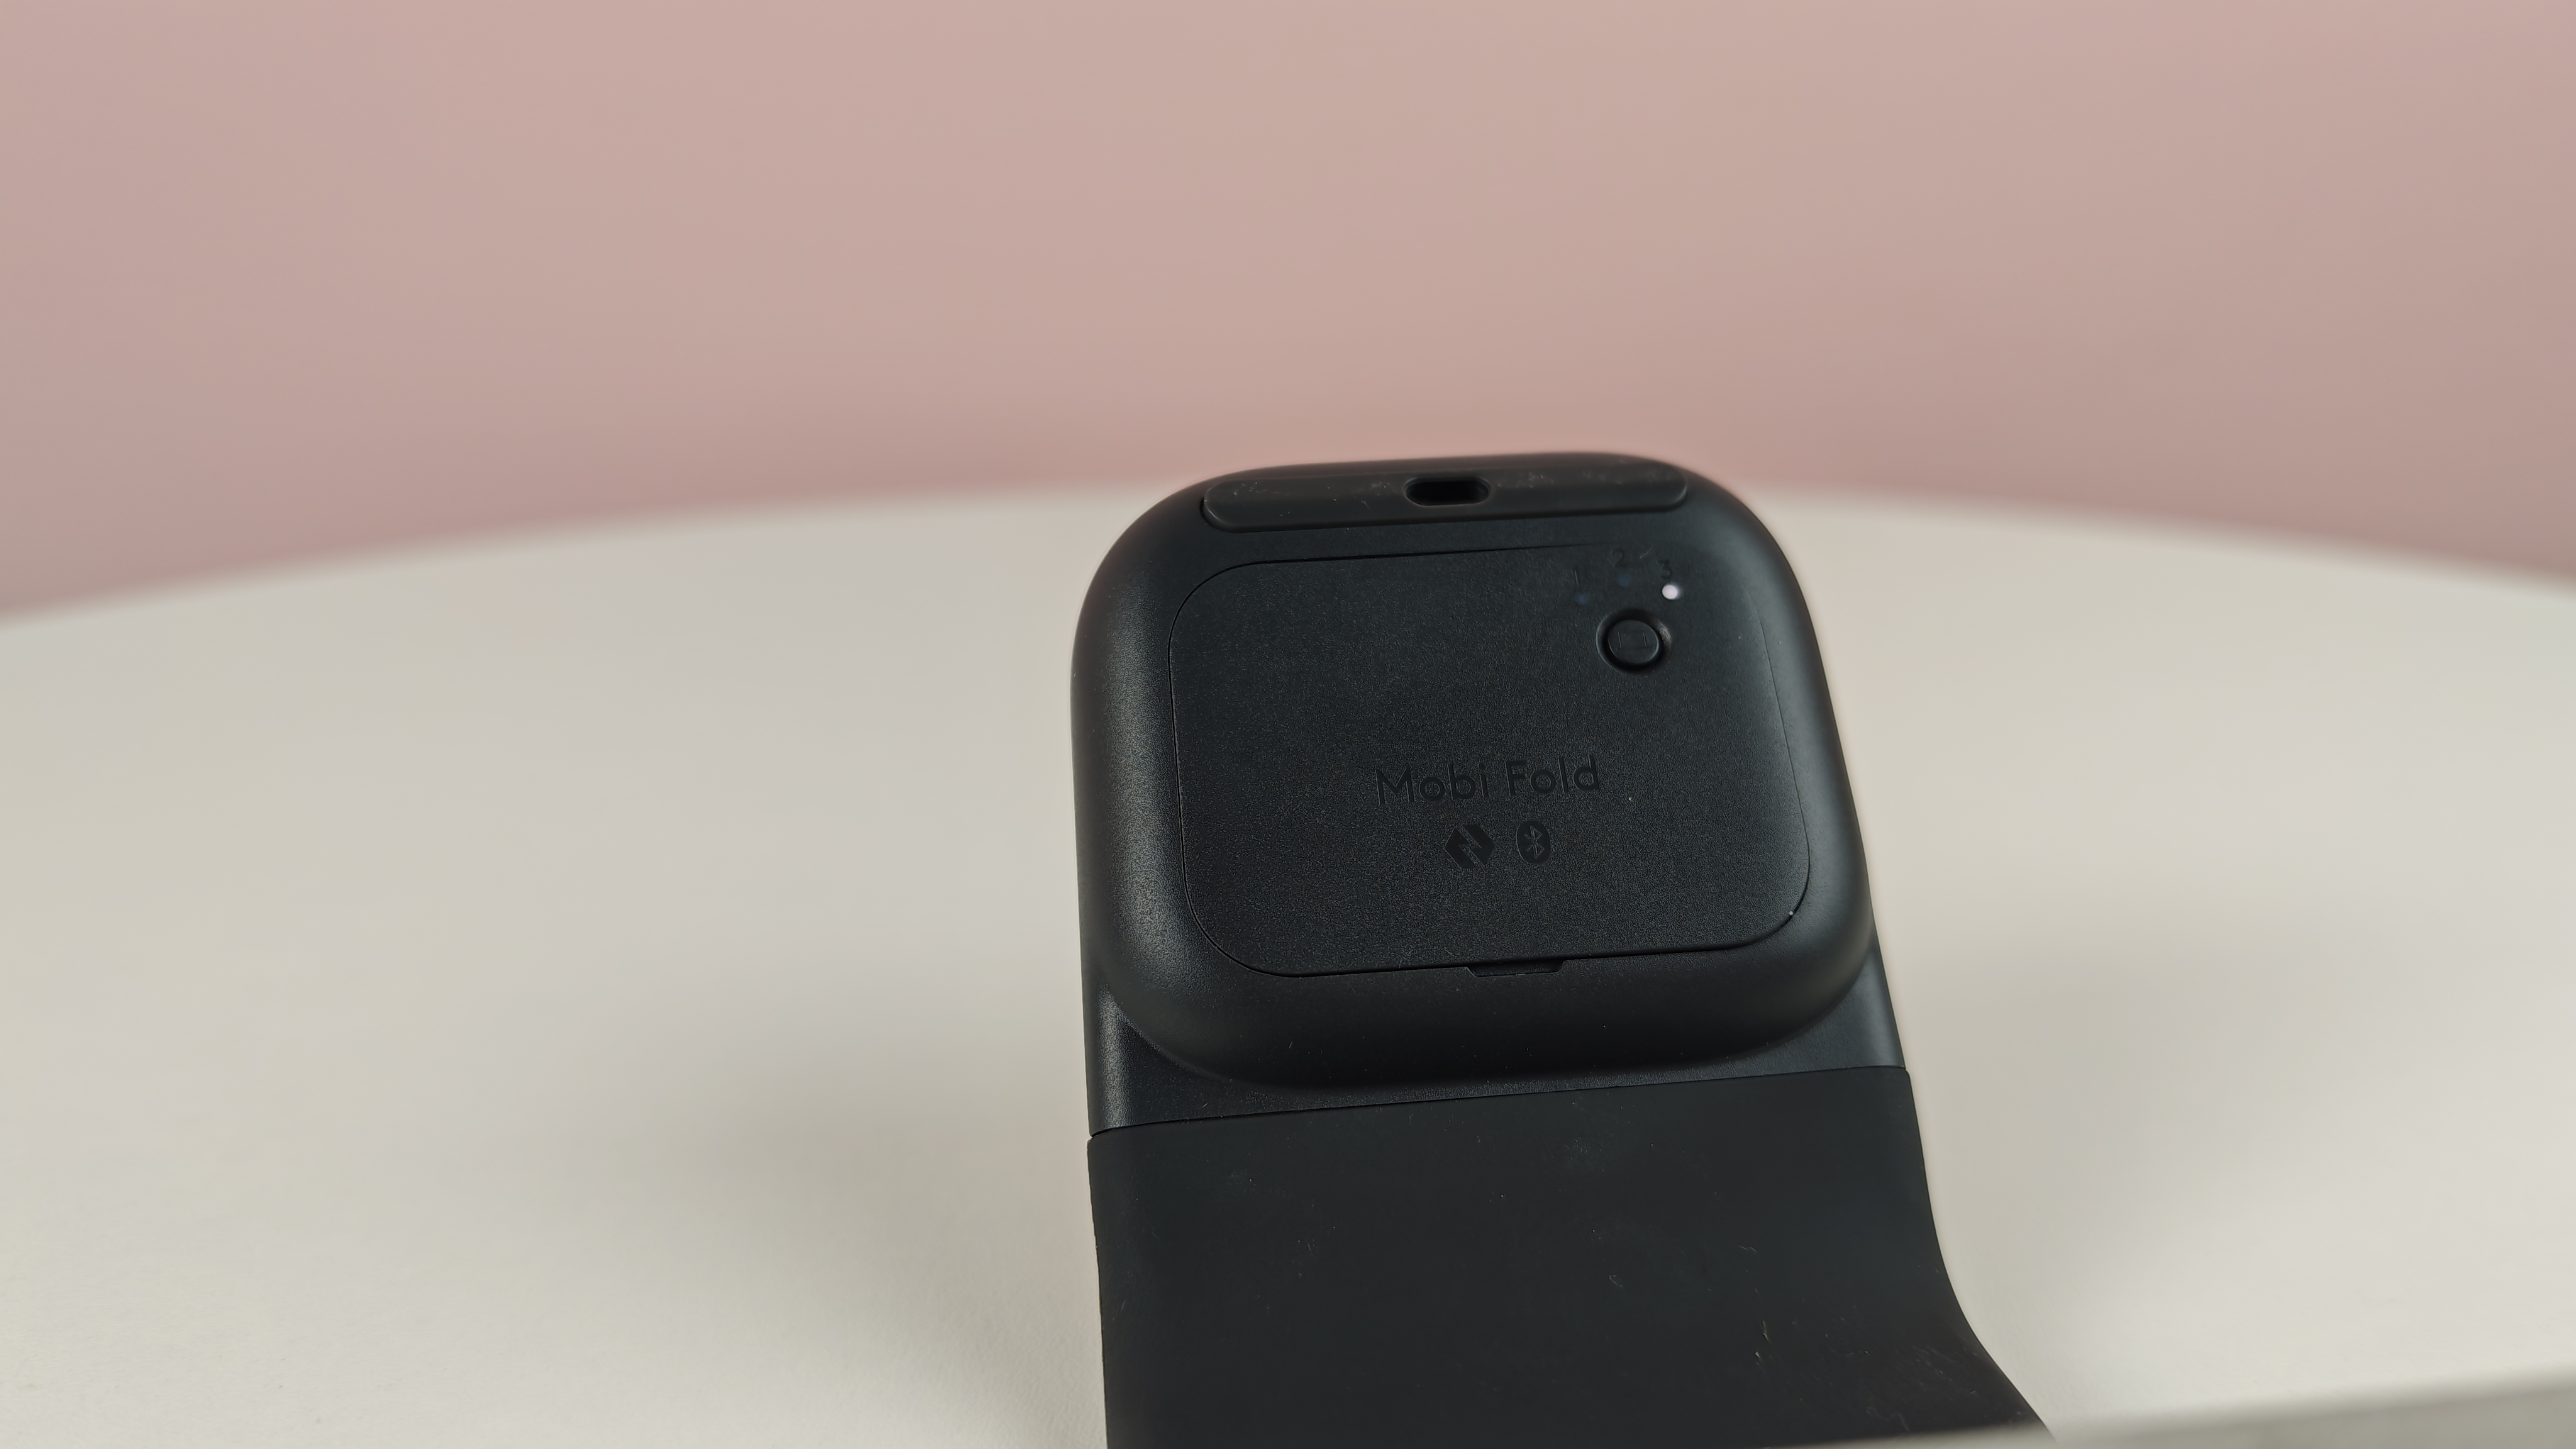
First things first, the Mobi Fold is incredibly easy to get set up. There’s a sync button on it that makes linking up to a windows laptop, Mac, or Android device incredibly seamless. There’s also an easy switch feature, making it incredibly speedy to flick between a range of devices.
But after I got set up with the Mobi Fold, and started using it to get some work done I have to say… it wasn’t amazing.
The Mobi Fold exhibits a few key issues that make it feel inferior to a standard compact or productivity mouse. First of all, it has a slightly bizarre build. Its V-shape form makes it feel awkward to grip, and when using it for extended periods, this caused me to feel some discomfort in my hand. It lacks the ergonomics of my everyday mouse, the Razer Viper V3 Pro, and even lacked its fluidity, meaning moving it across my desk felt clunky.
In addition, the touch-controlled scrolling is a bit inconsistent. It doesn’t provide the same tight control of a traditional mechanical scroll wheel, and again feels a bit lacking in terms of fluidity. Don’t get me wrong: it’s totally functional, but if you want the smooth, precise scrolling of a traditional mouse, the Mobi Fold may leave you wanting more.
My final critique is on the feel of the left and right buttons. While these are serviceable, they felt more stiff than I expected them to, especially towards the back and middle of the model. I did appreciate the muted sound of clicking the left and right buttons, but I wish they felt a bit more sensitive.
(Image credit: Future)
Despite all of this, there are some clear positives worth pointing out. First of all, the mouse offers great battery life. It supplies about 22 hours of continuous use, which easily got me through the work week, meaning I didn’t need to charge it at all during the testing period. Having said that, Logitech says that you can get an extra three hours of use from just one minute of charging, making it exceptionally practical for someone like me who often forgets to juice up their devices.
In addition, the Mobi Fold features customizable button controls through the Logi Options+ app. This enables you to adapt pointer speed, set the central touch panel to different functions (like paste, volume controls, or a keyboard shortcut), and more.
In terms of design, I’m also a fan of the rubbery texture of the mouse, which is very pleasant to the touch. It’s also worth noting that 36% of the plastics used in the Graphite colorway of the mouse I used are made from recycled materials. It’s 29% for the Lilac and Off-White variants, which look pretty stylish in my opinion.
Look, the Logitech Mobi Fold does well to stand out from the crowd. Its lightweight and foldable design undoubtedly makes it easy to travel with — even though I’d argue that standard mice are probably portable enough as they are. In addition, the customizable buttons, long battery life, and satisfying feel of the mouse are clear positives.
But for $79.99 / £69.99 / AU$129.95, the Mobi Fold ends up feeling like a relatively poor value for money option. Really, that comes down to one thing: its lackluster performance. With underwhelming ergonomics, as well as slightly stiff scrolling and buttons, the Mobi Fold feels like an idea that’s far more impressive in concept than it is in practice.
(Image credit: Future)
Logitech Mobi Fold review: price & release date
$79.99 / £69.99 / AU$129.95
Released in June 2026
Available in four colors
The Logitech Mobi Fold released in June 2026, carrying a list price of $79.99 / £69.99 / AU$129.95. That price means it’s competing in the same price bracket as great models we’ve tested, such as the Keychron M6 8K, but a lot more than our favorite ultra-compact mouse, the Logitech Pop Mouse. It's available in four colors, including Graphite, Off-White, Lilac, and Sand.
Logitech Mobi Fold review: specs
Interface
Bluetooth 5.1 LE
Battery life
22 hours (continuous use)
Buttons
4
DPI
4,000
Switches
Not stated
Weight
2.8oz / 79g
(Image credit: Future)
Should I buy the Logitech Mobi Fold?
Attribute
Notes
Score
Design
Lightweight and foldable for travel, nice material and color options, but poor ergonomics.
3/5
Performance
Functional, though clicking feels a bit stiff, touch scroll panel isn’t most precise, and uncomfortable for longer usage sessions.
2.5/5
Value
Simply too expensive for the quality on offer.
2.5/5
Buy it if…
You want something ultra-portable Perhaps the main attraction of the Mobi Fold is its ultra-compact form factor. If you want something you can slide into your pocket for on-the-go use, it doesn’t get much more convenient than this.
You want a stylish mouse One thing I won’t deny about the Mobi Fold is that it's pretty stylish. Its foldable design, its enticing color options, and its appealing silicone exterior all work in its favor.
Don’t buy it if…
You want top-tier ergonomics The slightly odd shape of the Mobi Fold can make it a little awkward to grip and use for longer periods, meaning it's not the best option if you value great ergonomics and comfort.
You’re looking for precise performance The Mobi Fold uses a touch sensor for scrolling, and it just doesn’t feel as precise as a typical mechanical scroll wheel. Pair that with slightly stiff left and right buttons and its unorthodox feel, and it falls short of some major competitors in its price range.
Logitech Mobi Fold review: also consider
Logitech Pop Mouse Logitech knocked it out of the park with the Pop Mouse, which is one of our favorite compact models you can buy. With satisfying clicks, good customization options, and easy switching, it's a certified hit — especially when you consider its modest asking price.
Keychron M6 8K This one’s a little different, but if you have the budget to grab the Mobi Fold, then you may want to consider a model like the Keychron M6 8K instead. It boasts a lightweight feel, 8K polling, fantastic ergonomics, and a feature-rich companion app, making it a brilliant all-rounder.
How I tested the Logitech Mobi Fold
Spent days using it as my main mouse
Tried out its various features
Took on the go to test its travel credentials
I spent multiple days testing the Logitech Mobi Fold, using it as my main mouse in the office and when working from home.
During my time with the Mobi Fold, I used it for general productivity, exhausted its various features, and even took it on the go to assess its on-the-go credentials. I typically had the mouse connected to my Windows PC, but I also tried it out with an Android phone.
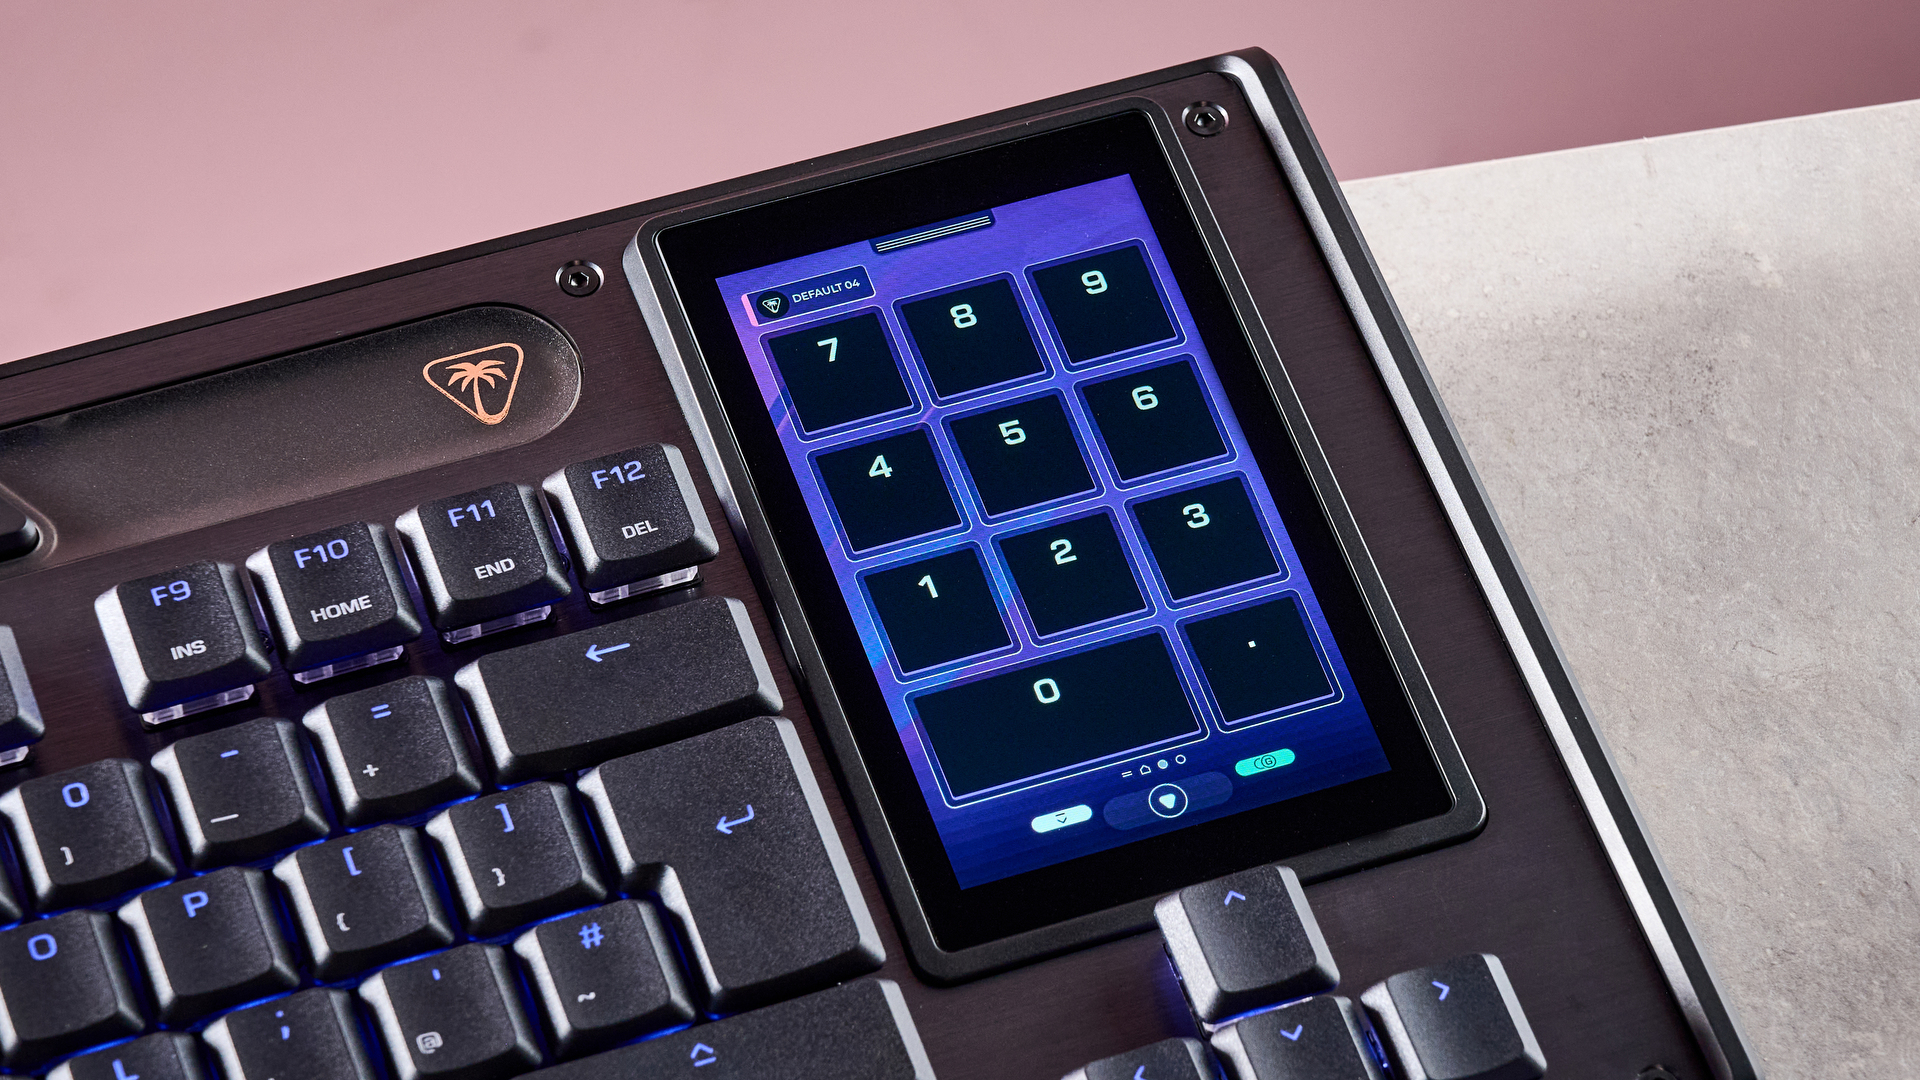
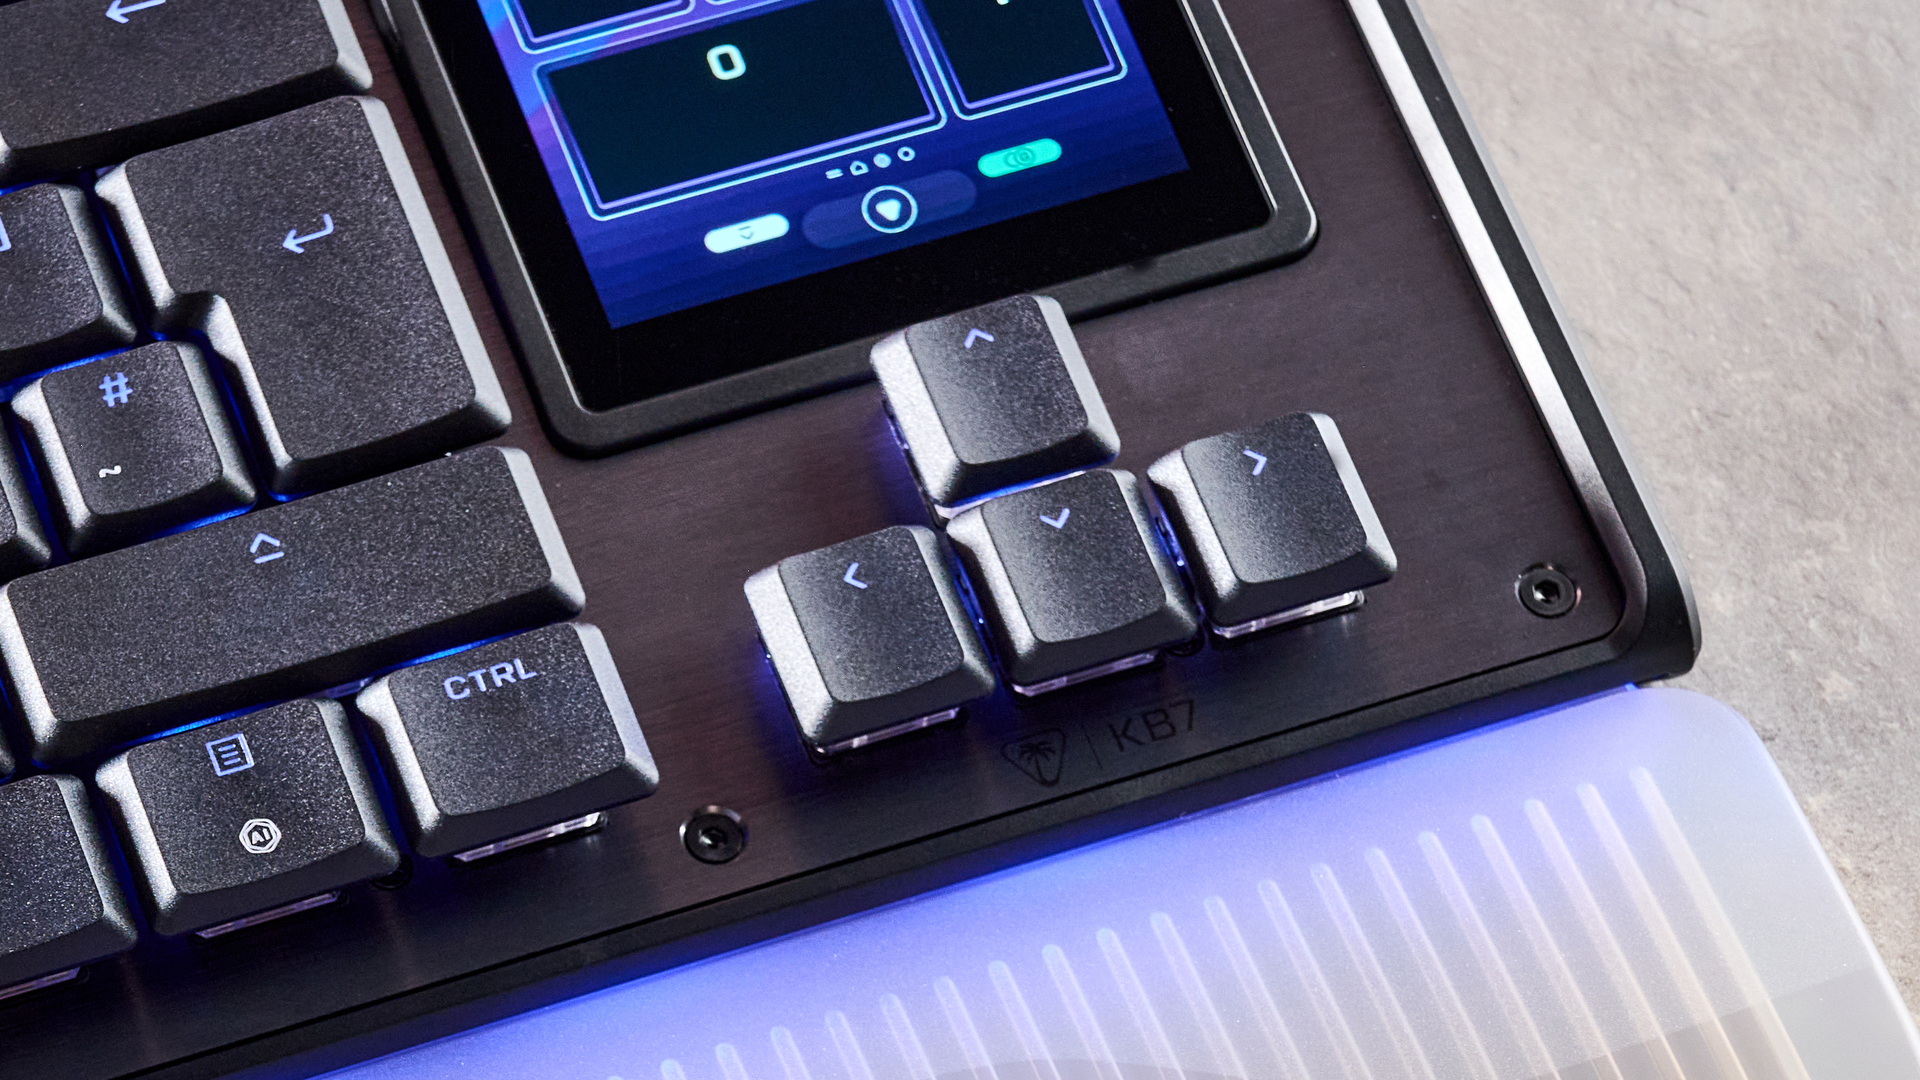
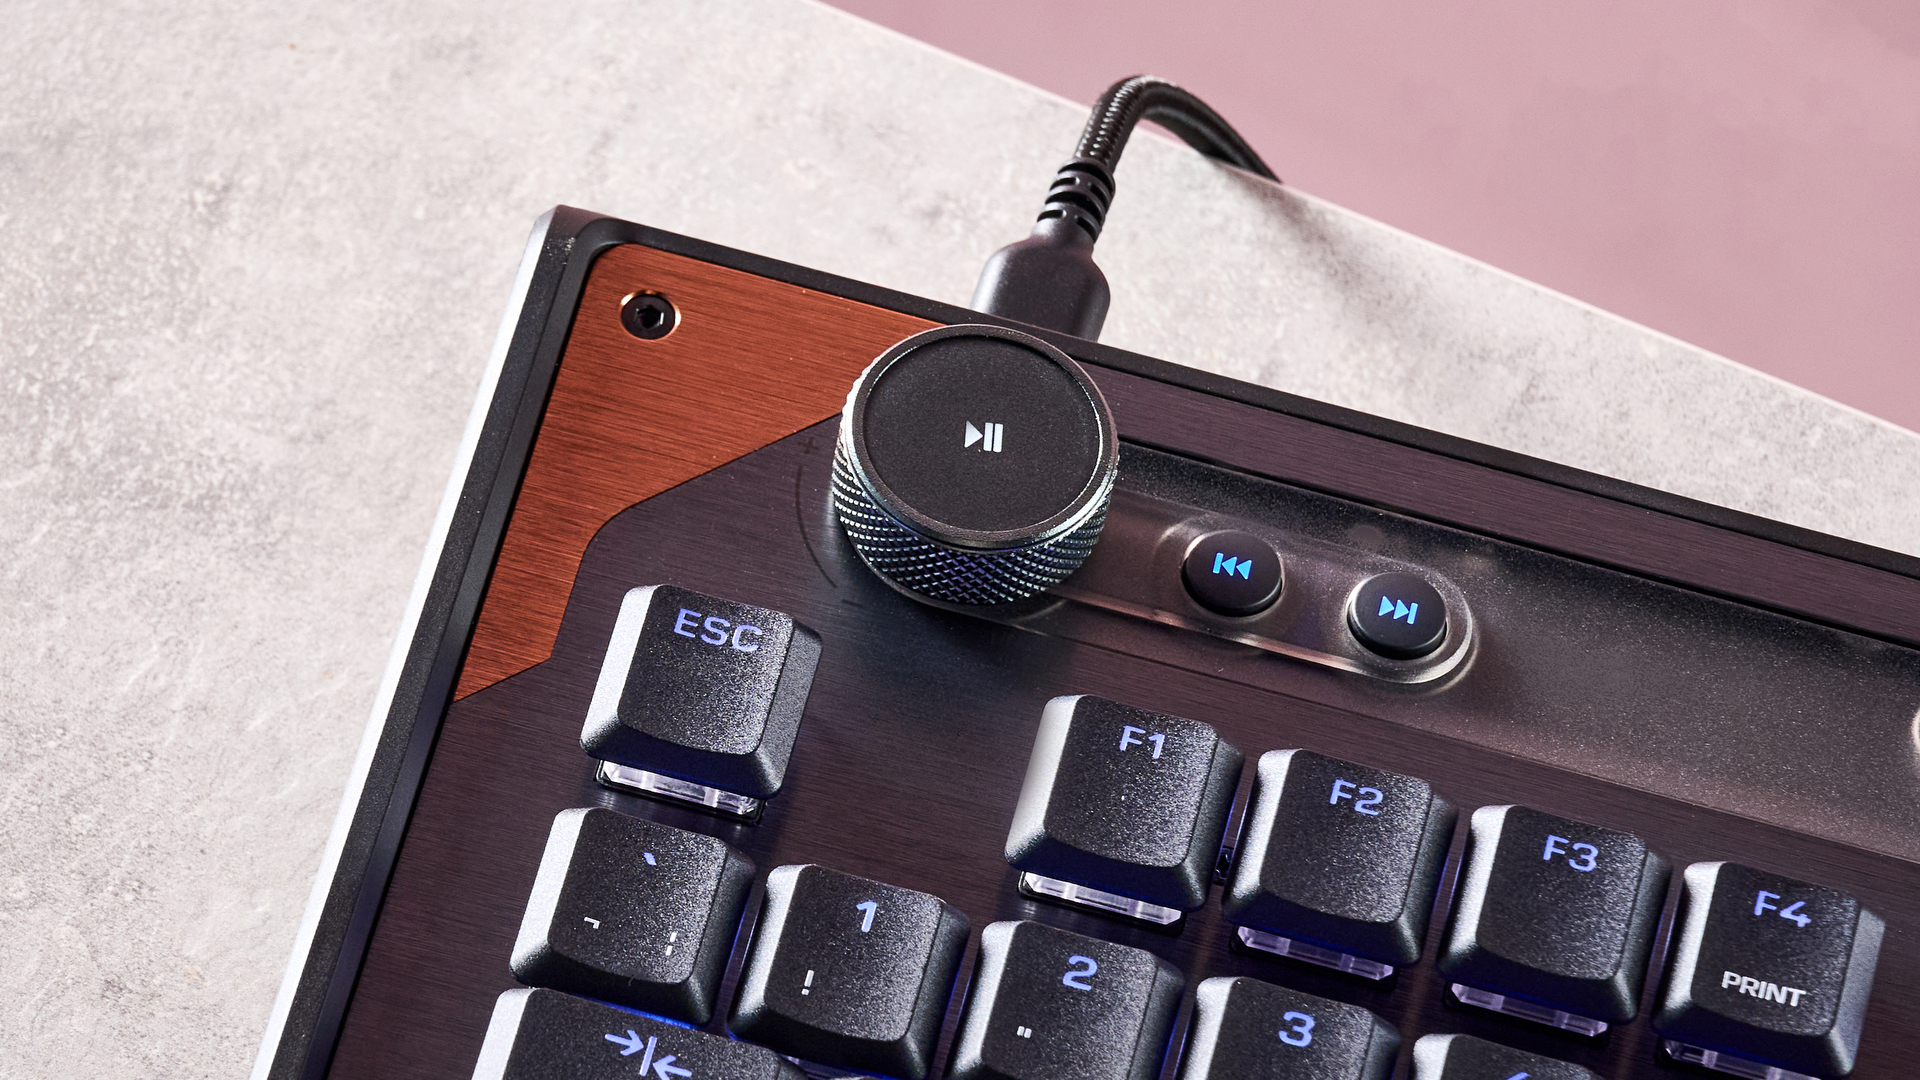
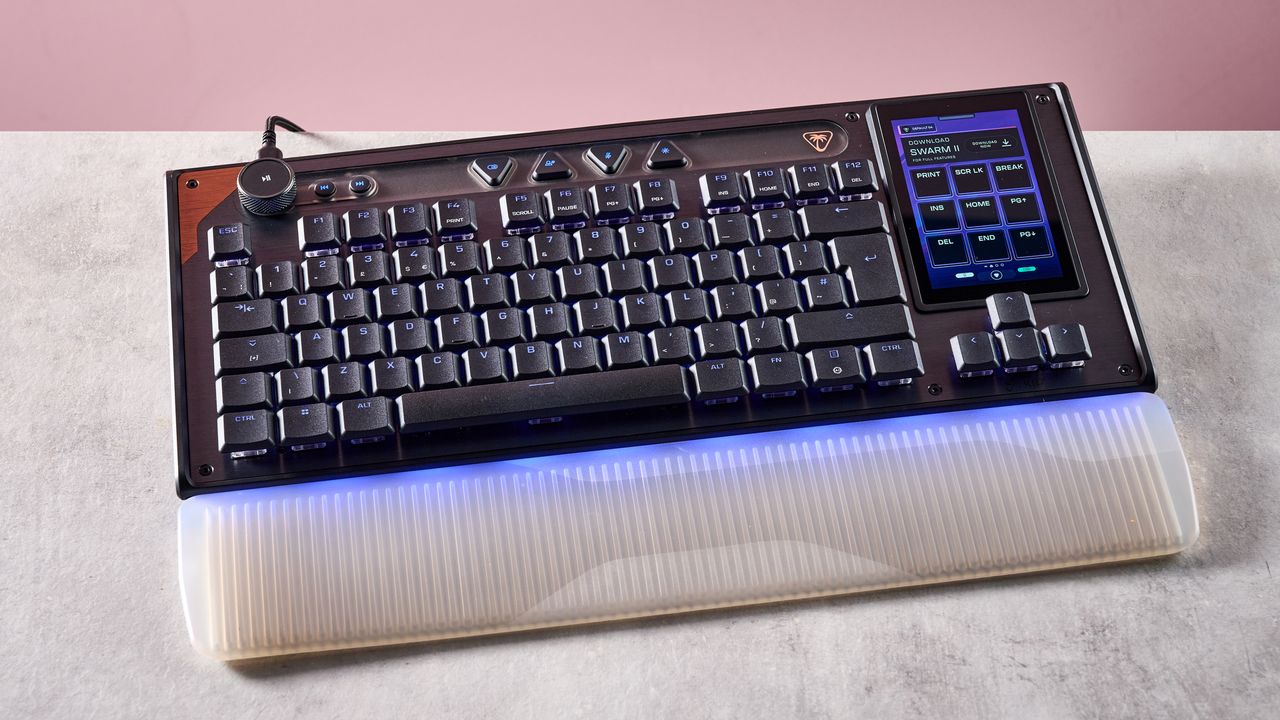
More generally, I’ve spent years testing gadgets here at TechRadar, where I serve as an in-house Senior Reviews Writer. I’ve tried out a wide array of computing accessories, such as the Turtle Beach Command Series KB7 keyboard, as well as gaming gear, premium wireless headphones, power banks, and more.
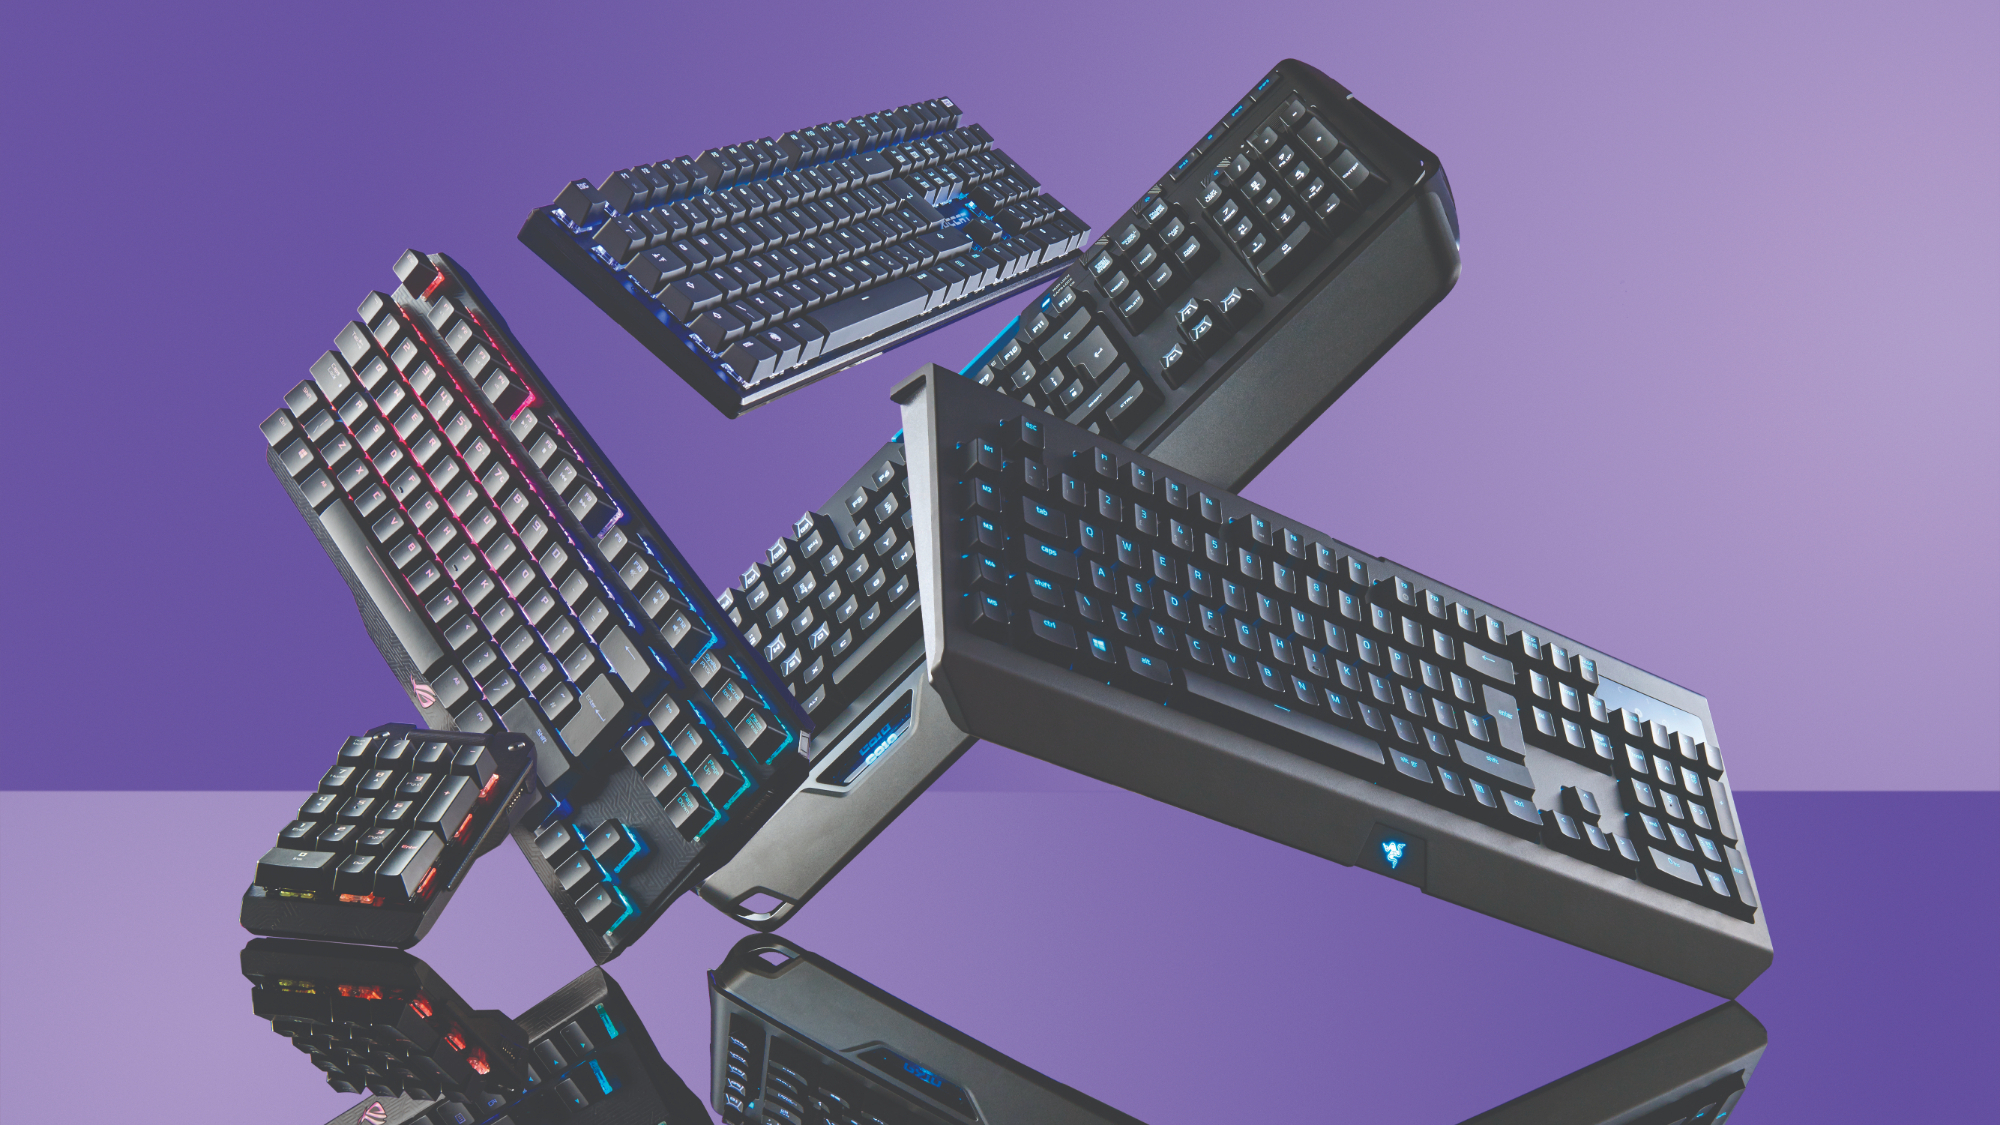
Go onto any forum or mechanical keyboard subreddit these days, and it can be a minefield as to what people recommend. It's an essential wall of noise with regards to size, shape, switch type and even more that can be daunting if you're a first-timer or you're someone getting back into the hobby after years of being out of it.
I was speaking to a fellow tech journalist at Computex 2026 a few months ago, and he raised this exact point with me. After being out of the hobby for several years, he'd come back to find it being more confusing than ever before, which completely switched him off.
Likewise, I've often thought we've reached a state of choice paralysis compared to where the hobby was, say, a decade ago. Back then, you had only a handful of switch choices, and while we've since seen the democratisation of hot-swappable sockets, machined aluminium chassis and open-source software, it can be horribly overwhelming when it comes to the decisions that actually matter — layout, switch feel, and budget.
Before I go any further, let me give you my credentials – I've been a tech journalist for the best part of a decade, reviewing keyboards from brands big and small, and I've been involved in the mechanical keyboard hobby since before it hit the mainstream. I've seen this market go from a small niche to something that can feel genuinely impenetrable if you're coming to it fresh.
To be truthful, it doesn't have to be that complicated. Underneath all of that noise, choosing your first mechanical keyboard still comes down to a few simple decisions, which I'll guide you through below.
(Image credit: Future)
1. Pick a size
It might seem a bit of a strange, but a good starting point is thinking about what size of keyboard you'd like. I don't mean the physical dimensions of the 'board, rather the layout and arrangement of the keys.
Keyboards can come in all shapes and sizes, ranging from the typical full-size 100% down to ridiculously tiny 40% keyboards. So, let's divide them into categories.
Firstly, we've got between 60% and 65% layouts, which eschew a lot of features, such as a function row, nav cluster and number pad in the name of saving as much desk space as possible. These layouts have been popularised by gamers who need desk space for sweeping mouse movements and find the elements mentioned above quite redundant. Between the two, a 65% layout adds arrow keys and some navigation keys, which I think are non-negotiable for productivity work, but your mileage may vary.
Moving up a tad, we go to between 75% and TKL, or tenkeyless, keyboards. These bring back the function row and navigation cluster, giving you a lot more functionality than smaller layouts, while still chopping off the number pad. Personally, this is my favourite option, and I think a strong middle ground if you want to save space without sacrificing too much. I use this kind of layout a lot of the time, for what it's worth.
Then, you can go bigger, up to 96% and full-size 100% options that give you everything and the kitchen sink, number pad and all. It's what you're most likely used to, and if the number pad has become non-negotiable, then it's one of your only options. Opting for a 96%, also known as a '1800 layout', keyboard can give you the number pad while moving some keys around to save a little bit of desk space, if you want a slight compromise.
(Image credit: Future / Alex Blake)
2. Pick a switch
This is perhaps the most difficult section, as each switch feels different, and we've got so many options these days it can be hard to know what's best for you. Muddying the waters further, the old color categories aren't quite as clear cut as they used to be.
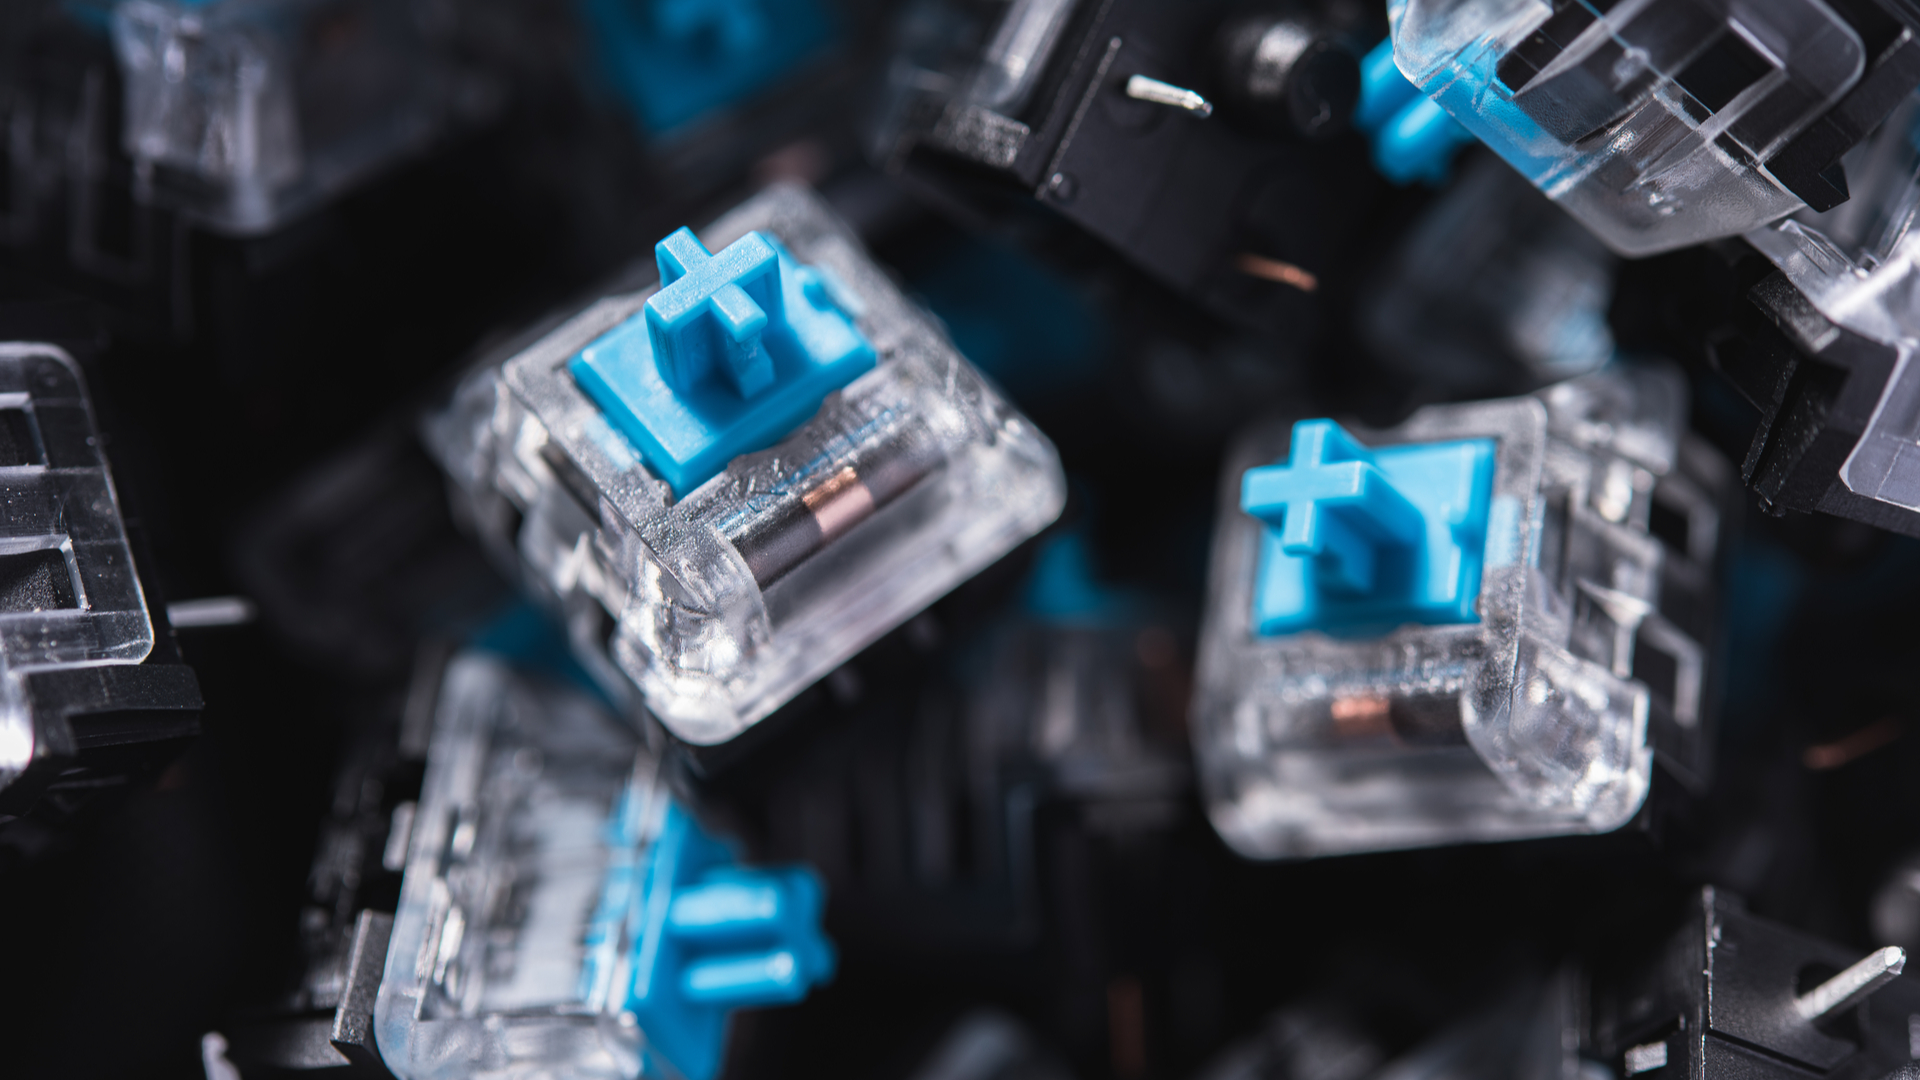
For instance, a Red switch would usually be light and linear, a Black switch a heavier linear switch, a Blue switch tactile and loud with an audible click and a Brown switch soft tactile, with a slight bump halfway down the keypress.
Now, however, we've got switches named after everything from all the colors of the rainbow to planets, birds and more besides, and it can be so difficult to understand the minutiae behind how each switch feels.
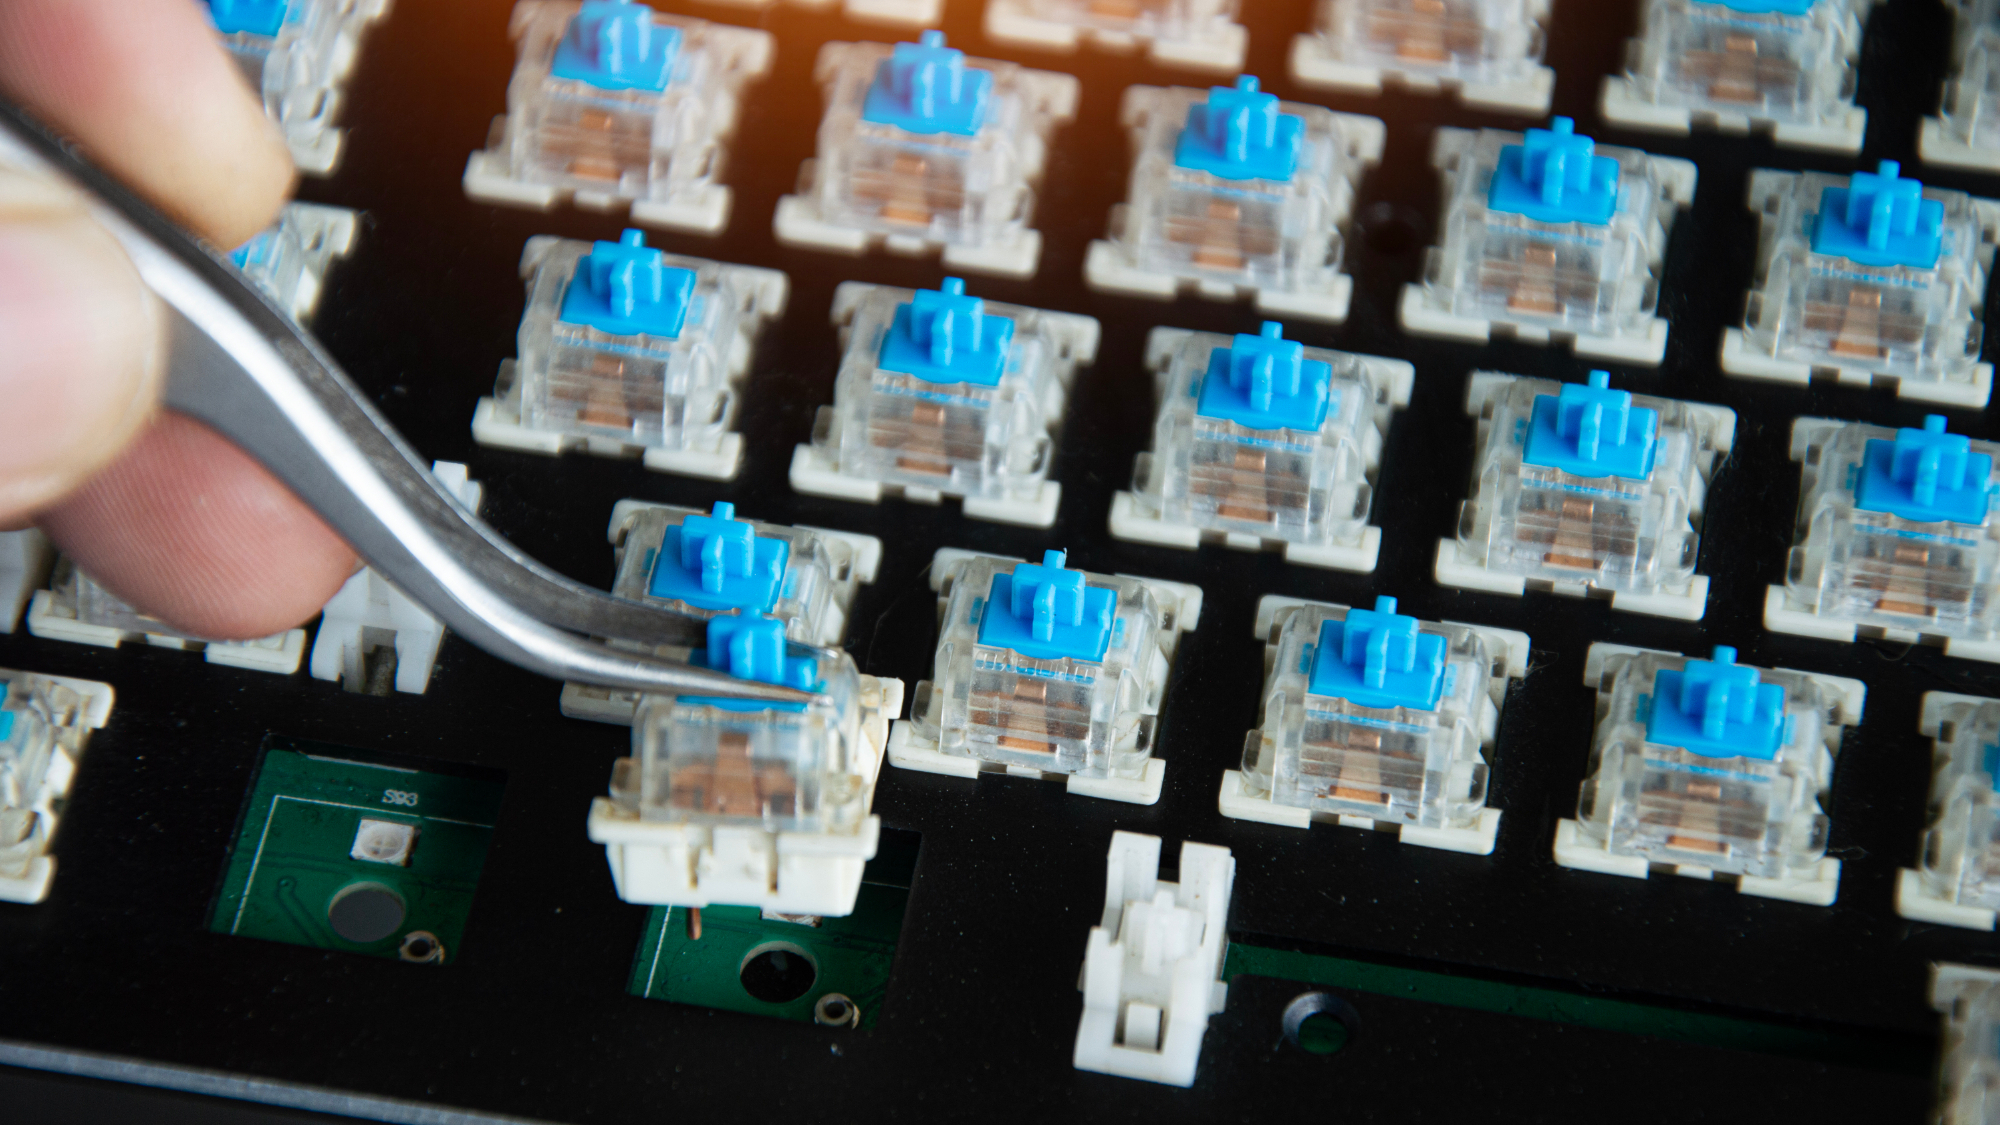
My genuine advice is to order a switch tester – there are lots of them floating about on the internet – which can give you a range of different types of switch in one convenient place, and help you decide what you like.
(Image credit: Thedavidpen / Shutterstock)
When you've selected a tester, pay attention to how each switch feels – the worst thing you can do is bash each of them in turn with as much force as you can. Pay close attention to how it feels under finger with regard to consistency of the operating force as you go down the travel, and whether you like something that's linear with a smooth keypress or tactile, be it with a click or a bump.
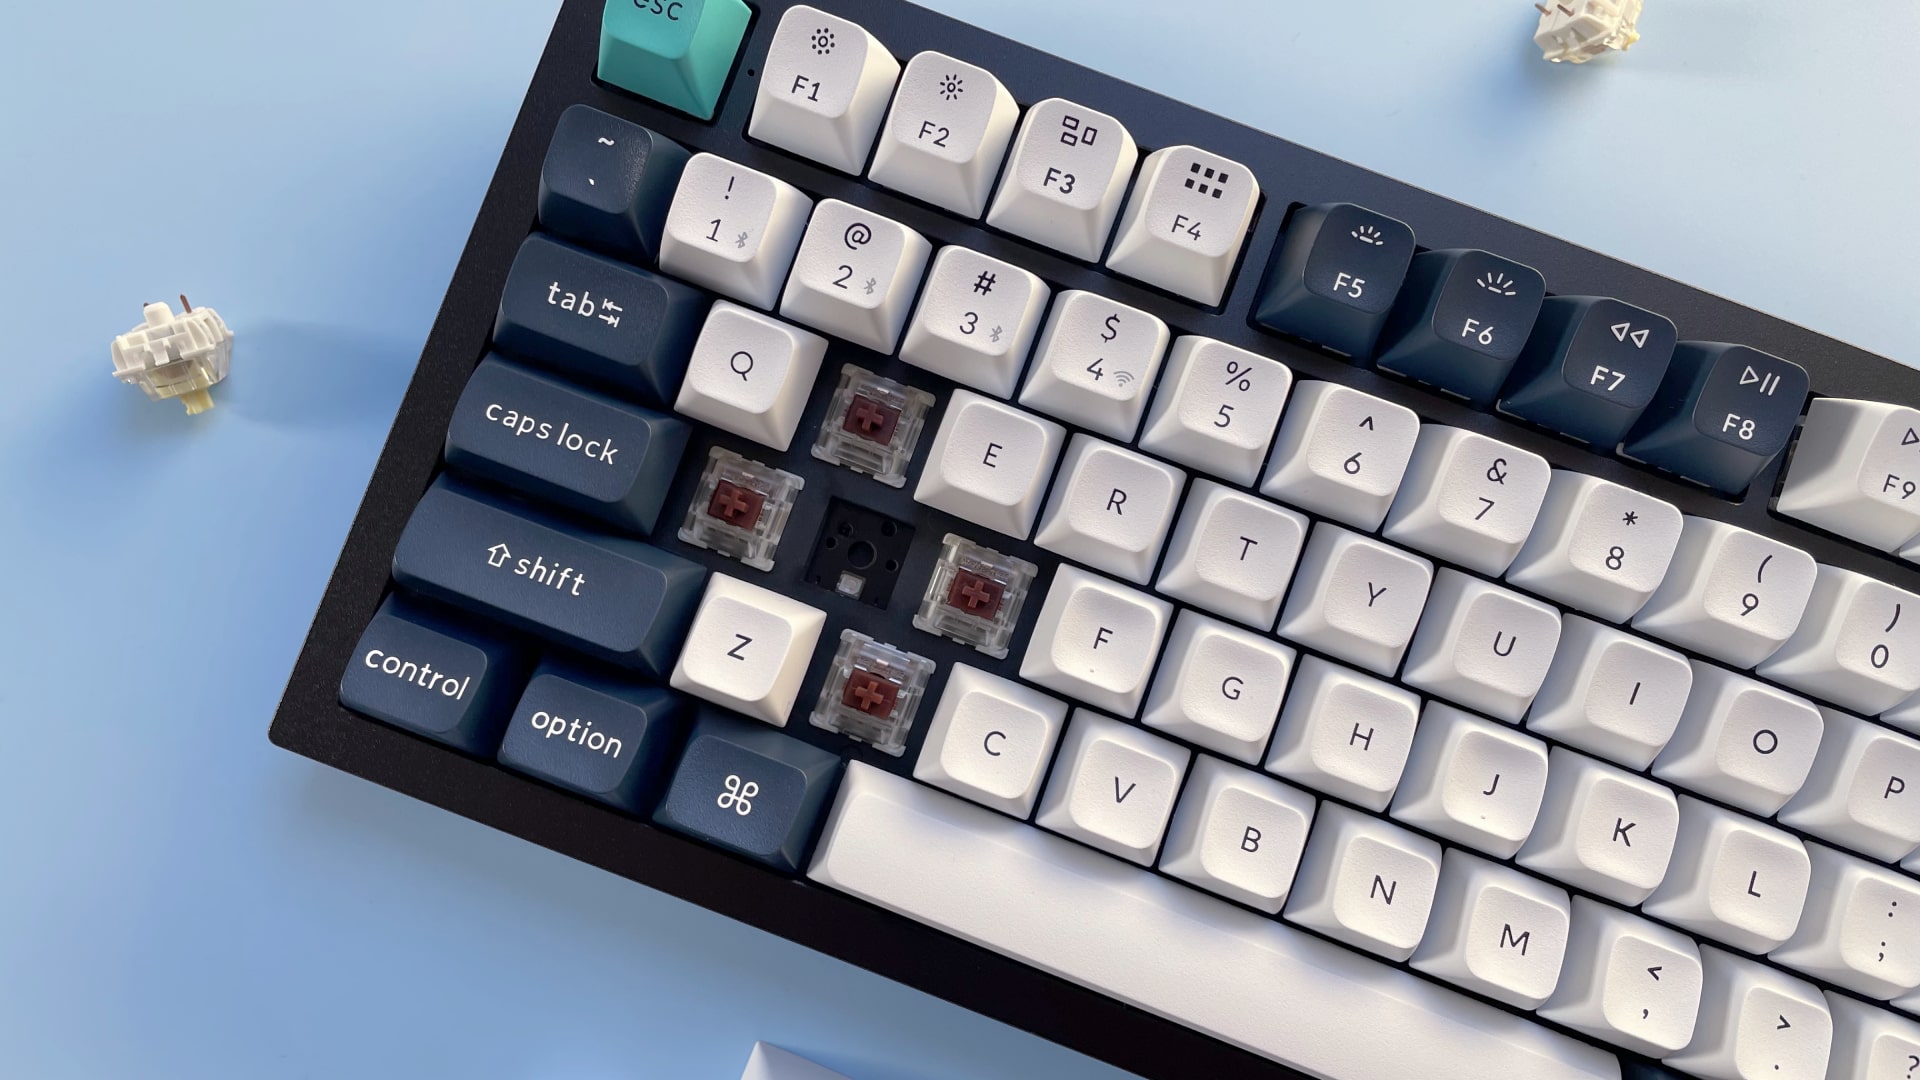
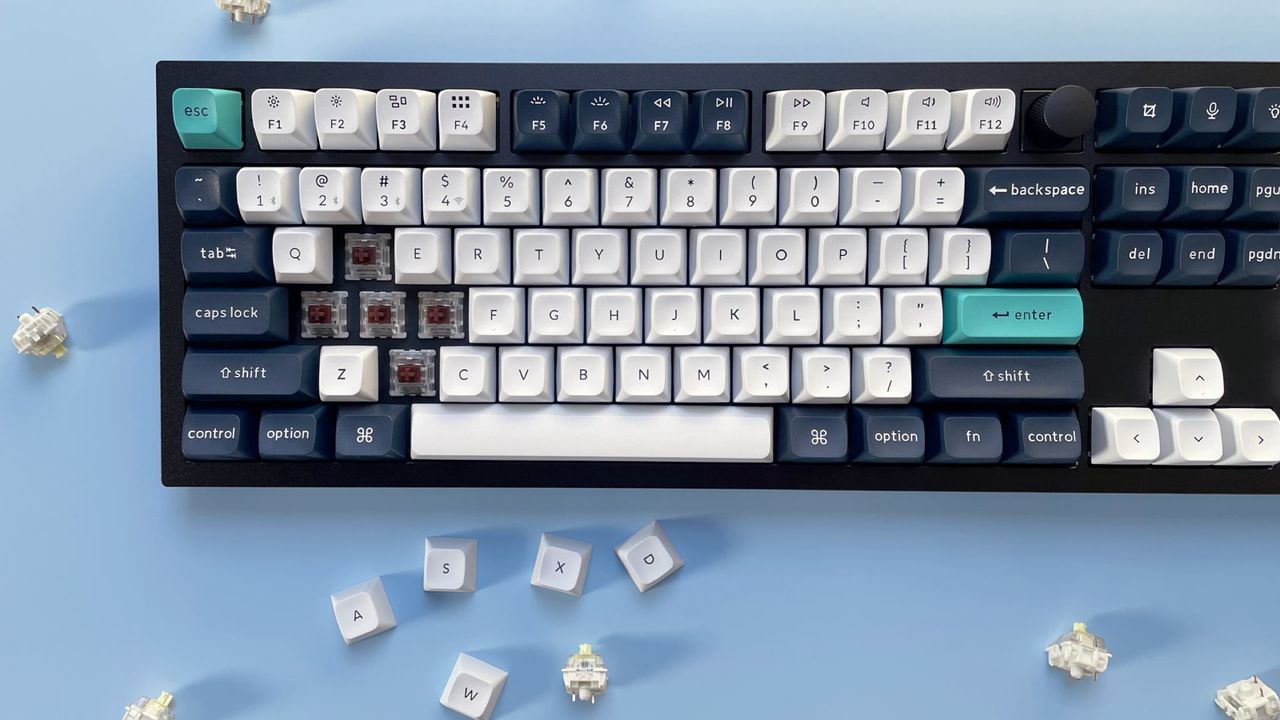
Once you've honed in on a switch you like, then you can do some digging into which keyboard features those switches. Or, if you're up for a little bit of work, then you can pick up a bare-bones chassis with a hot-swappable PCB – this means it comes with no switches or keycaps, which you'll need to supply yourself.
Going for something hot-swappable is a key piece of advice I think – it saves the hassle of soldering, and gives you more freedom and choice. It's also dead easy to assemble a keyboard this way, even if you haven't done it before. Each switch will have little pins on the underside – line these up with holes in the PCB and push straight down until you hear it click into place. I recommend picking up more than enough switches to give you some spares in case you bend pins when putting them into the hot-swap sockets on the PCB.
The point here is that everybody has a different preference for switches and how they feel. There are other considerations, such as lubrication, which can make a switch feel smoother, and the acoustics of a case and how this plays into the sound signature you'd like, but that's getting into the weeds a little. It's important to make sure your case doesn't have any rattle or ping and has some form of sound dampening, but that's as far as I'd go at this point.
(Image credit: tanit boonruen / Getty)
3. Set your budget
Pricing is arguably as integral as any other point of consideration for choosing a keyboard, as your budget can decide what kind you end up getting. It's worth going in with a list of features you'd like; good things to look for include PBT keycaps, good wireless connectivity and a sturdy chassis.
It's possible to get some excellent affordable choices (i.e. around £50–£70 / $60–$80) that seem to pack in everything when it comes to features: hot-swappable switches, versatile wireless connectivity, addressable RGB lighting and all the rest of it, but outside of a few options, some seem to sacrifice build quality by being mostly plastic, which can feel quite cheap and scratchy. At this tier, I'd do your research carefully and lean towards boards with a reputation for punching above their weight rather than just grabbing whatever looks good on paper.
Spending a little more and going into the very low triple figures is likely to net you a strong choice from the likes of Keychron with advanced software support and a machined aluminum chassis. That aluminum build makes a tangible difference in practice — it adds rigidity, dampens unwanted noise and gives the keyboard a solidity that plastic boards rarely match. I'm a great lover of the likes of the Q1 Pro and others from its range, which are an excellent starting point in the mid-range.
Beyond that, you can go further into the hundreds with something fully custom or a pre-built choice from the array of boutique manufacturers you'll find online. This isn't what I'd recommend to someone just starting out in the hobby — rather, it's something to consider if you're already knee-deep and have some spare cash to put towards making something truly personal. But it's worth knowing that world exists, because once you've caught the bug, it's a very natural place to end up.
(Image credit: Shutterstock / Roman Samborskyi)
Final thoughts
There are some elements here, such as even more niche layouts, that I haven't even touched on in this article, which proves how deep the mechanical keyboard hobby goes. However, that isn't the point of this article – it's just a (reasonably) quick explainer of key things to look for when you're picking up your first mechanical keyboard.
If you're ready to start shopping, I've looked at plenty of options at a range of prices I feel are worth your time over the years, while the wider TechRadar crew has reviewed hundreds of keyboards that are worth a mention. The Keychron Q1 Pro is a strong starting point (or there's the Q1 Ultra 8K if you want even more features at a premium price). Likewise, at a more affordable price point, the Gamakay TK75 V2 and Epomaker P65 are well-reviewed choices that tick the right boxes in my book. For a more comprehensive overview, our best keyboards guide is regularly updated and a good place to browse.
Ultimately, though, you can go in any direction you want to, and that's the beauty of this hobby. Just stick to some of the advice given here, and you should be in good stead to get a keyboard that's feature-rich, has the feel you're looking for, and at a price that isn't out of your budget.
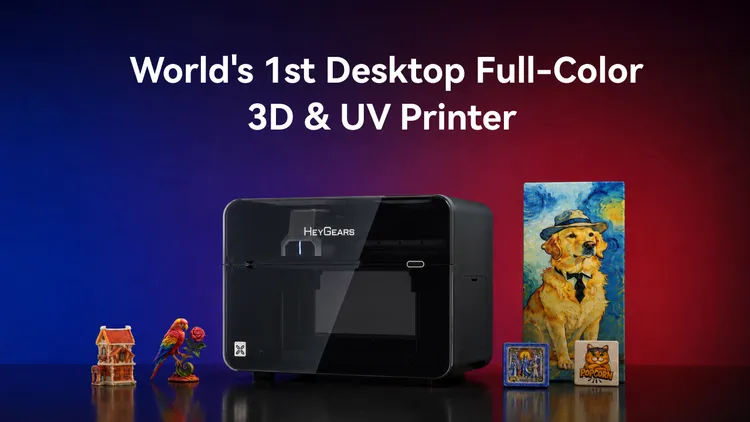
There is a world of massive, expensive industrial printers that can deliver high-quality, full-color 3D prints. Until now, such hardware hasn't been available for desktops. But the latest launch from HeyGears is shaking that up. The new HeyGears G1 Series leans on over a decade of the company’s experience making high-quality 3D resin printers to produce the world’s first desktop printer that offers both full-color 3D and UV printing, all for as little as a tenth of the cost of the industrial solutions.
The new HeyGears G1 Series just launched through a Kickstarter campaign. Having unlocked the $10M stretch goal, you can now grab it at the best Super Early Bird price and get the free Stretch Goal Reward. The G1 Series is broken down into a few configurations.
(Image credit: HeyGears)
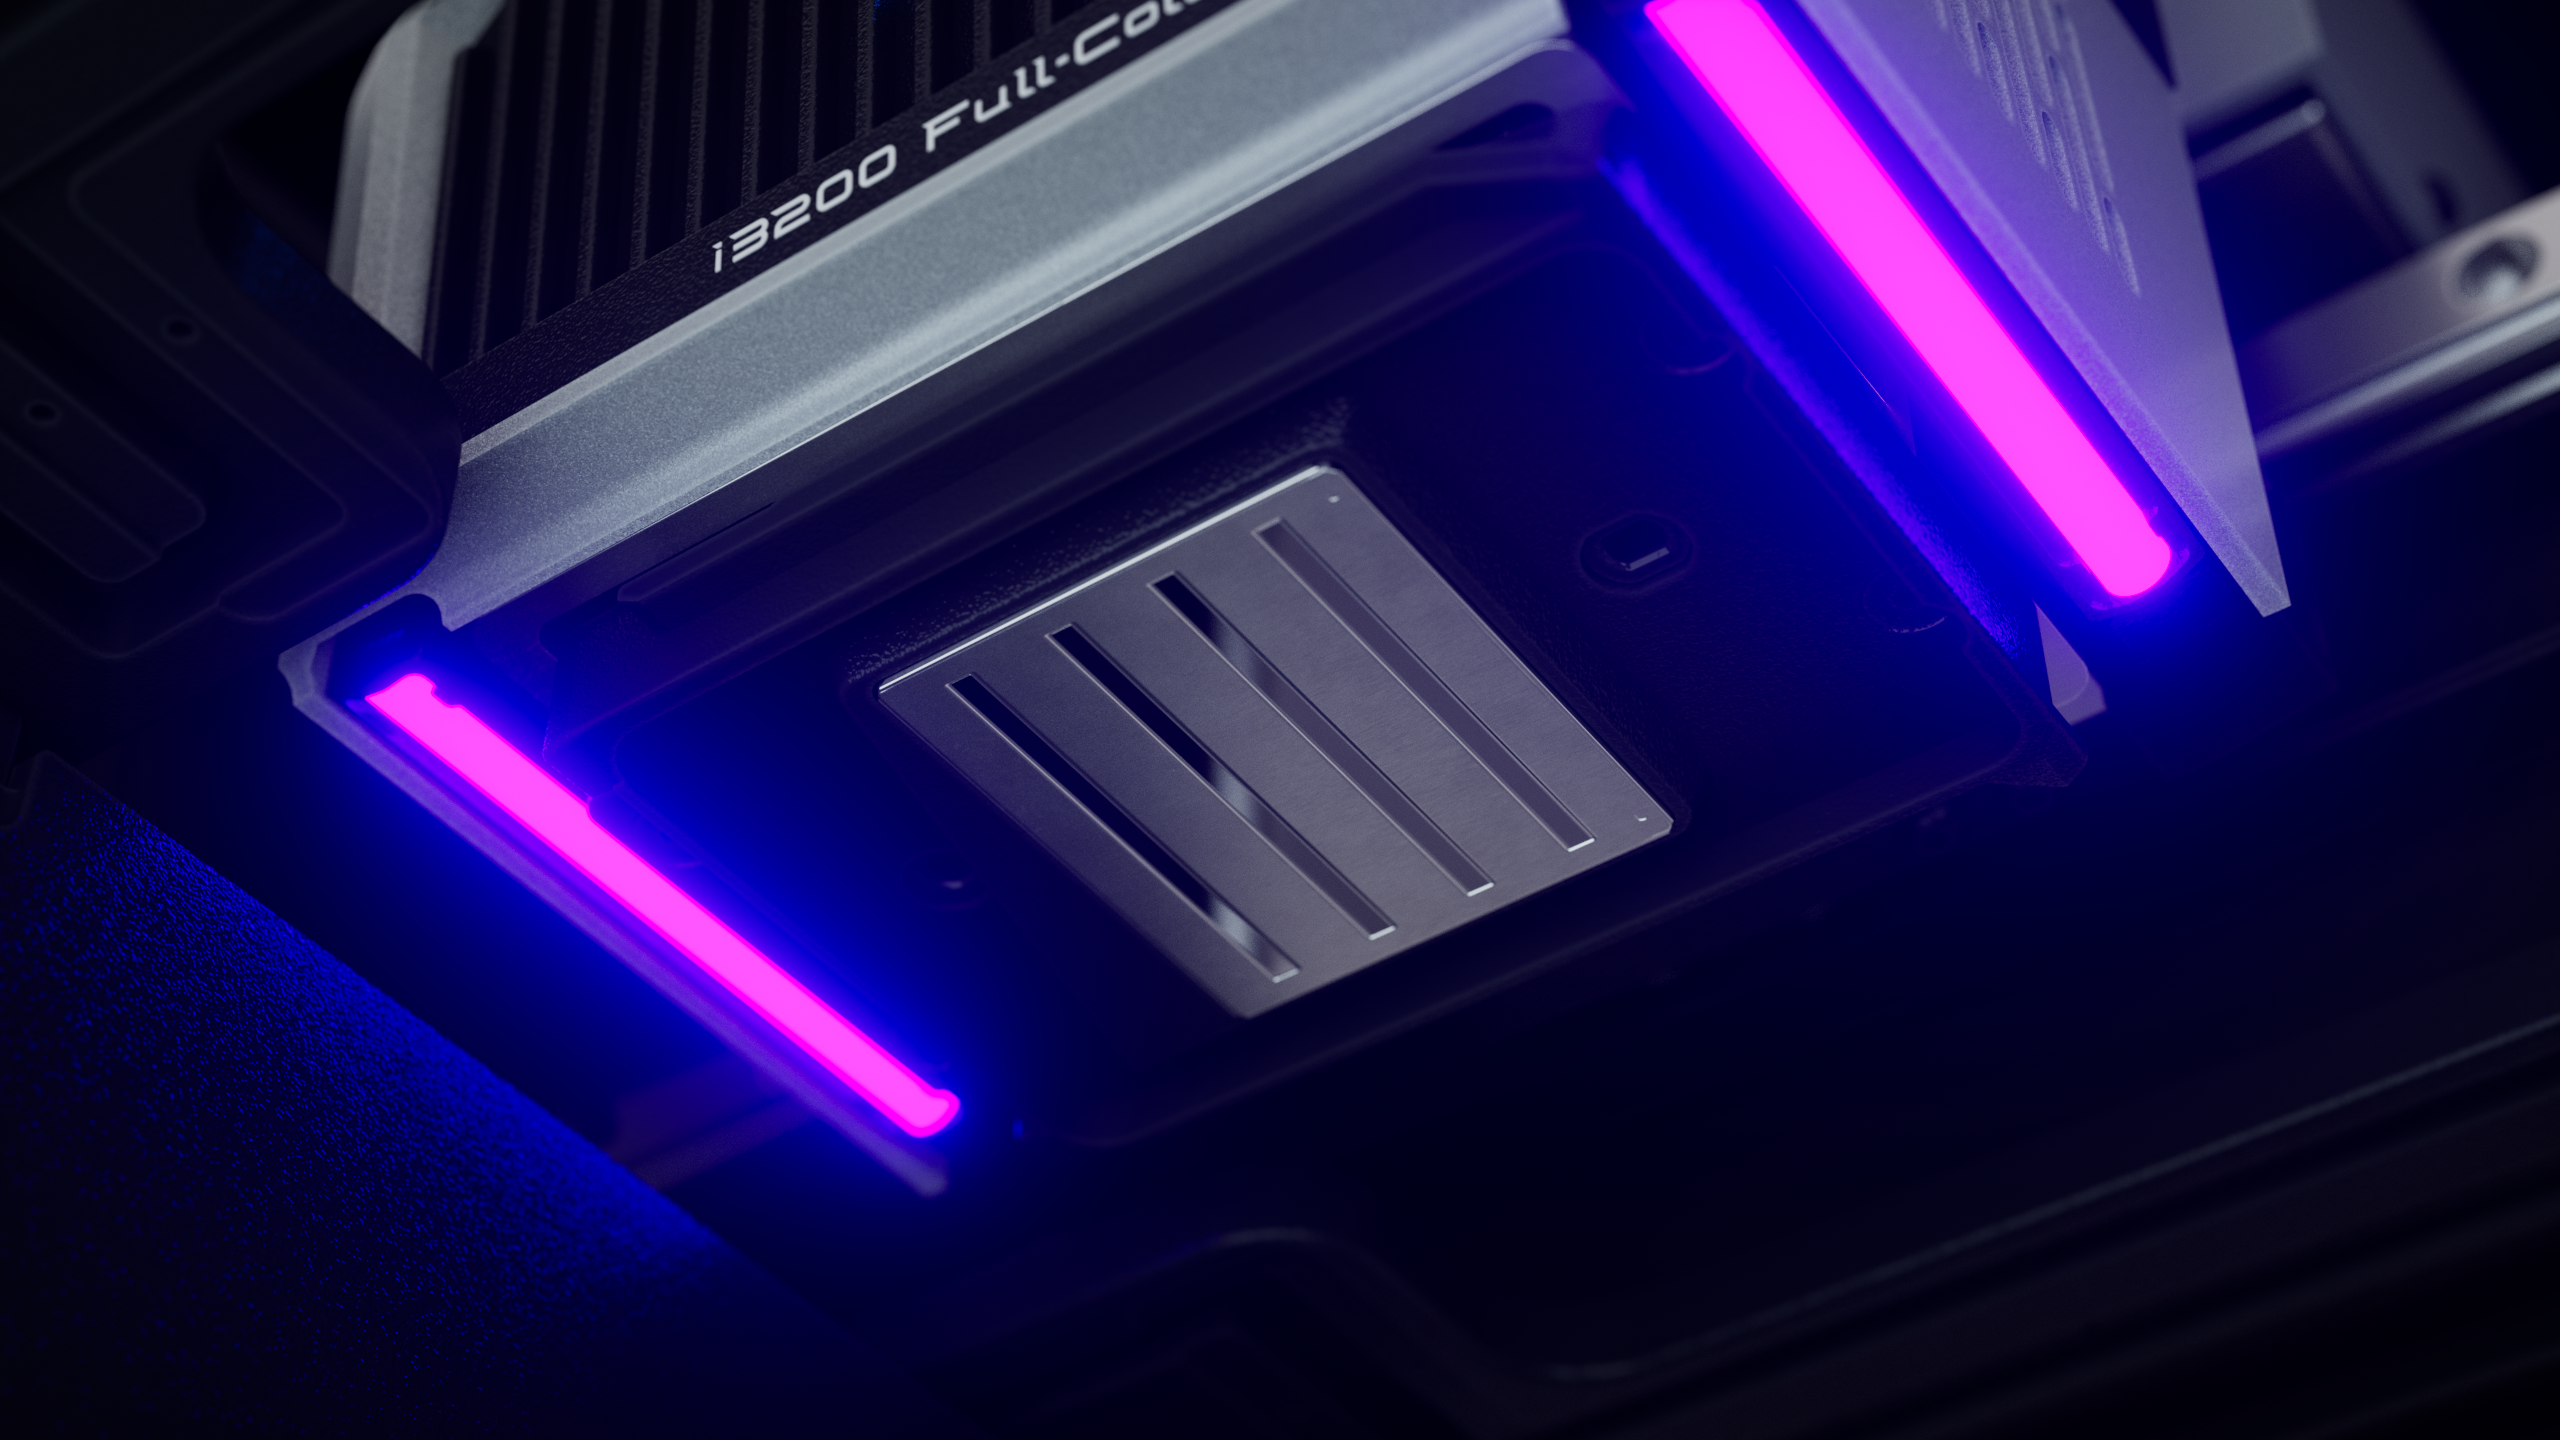
At the top, there’s the HeyGears G1X Full-3D Pack. It brings together full-color 3D, flat and cylindrical UV, and 3D textured relief capabilities into a single machine. The G1X offers a 1440 x 2400 DPI Epson I3200-U1HD printhead for ultra-fine detail and high resolution.
The printer can support a 330 x 420 x 130mm printing volume when combined with the resin station. It can also print onto over 400 materials, including wood, metal, ceramic, and glass. It also supports transparent resins for stunning effects.
(Image credit: HeyGears)
HeyGears is also offering a G1X Starter Pack that includes the printer and Epson I3200 printhead to get you started with high-fidelity flat and cylindrical UV and 3D-effect UV printing. A base G1 Starter Pack that uses a 720x900 DPI printhead is also available. The system is modular, though, so even if you start with a HeyGears G1, you can swap the printhead and add the resin station and other accessories down the line to upgrade it to a G1X Full-Color Pack.
With the fully loaded model, you get a truly advanced suite of capabilities. Not only can the HeyGears G1X handle full-color 3D printing, but it can help with preparation and post-processing work. HeyGears’s software can help you design 3D models or create 3D effects automatically. With water-soluble resins for supports, finishing prints can be as simple as taking them from the print tray and soaking them.
(Image credit: HeyGears)
In addition to the lower price to purchase, the HeyGears G1 Series is designed with functions to help lower the cost of ownership over time. HeyGears’s ink and resin are priced competitively, costing less than those from other printer models. The Epson I3200 printhead is designed to run for up to 24 months. And the G1 Series has a quad-layer anti-clogging system to keep ink and resin in prime condition for prints and prevent drying out during idle periods.
You can get your hands on the HeyGears G1 Series through the Kickstarter campaign here. The campaign runs through September 11, 9 A.M. PDT, and it offers bundles and early incentives on the G1 Series.
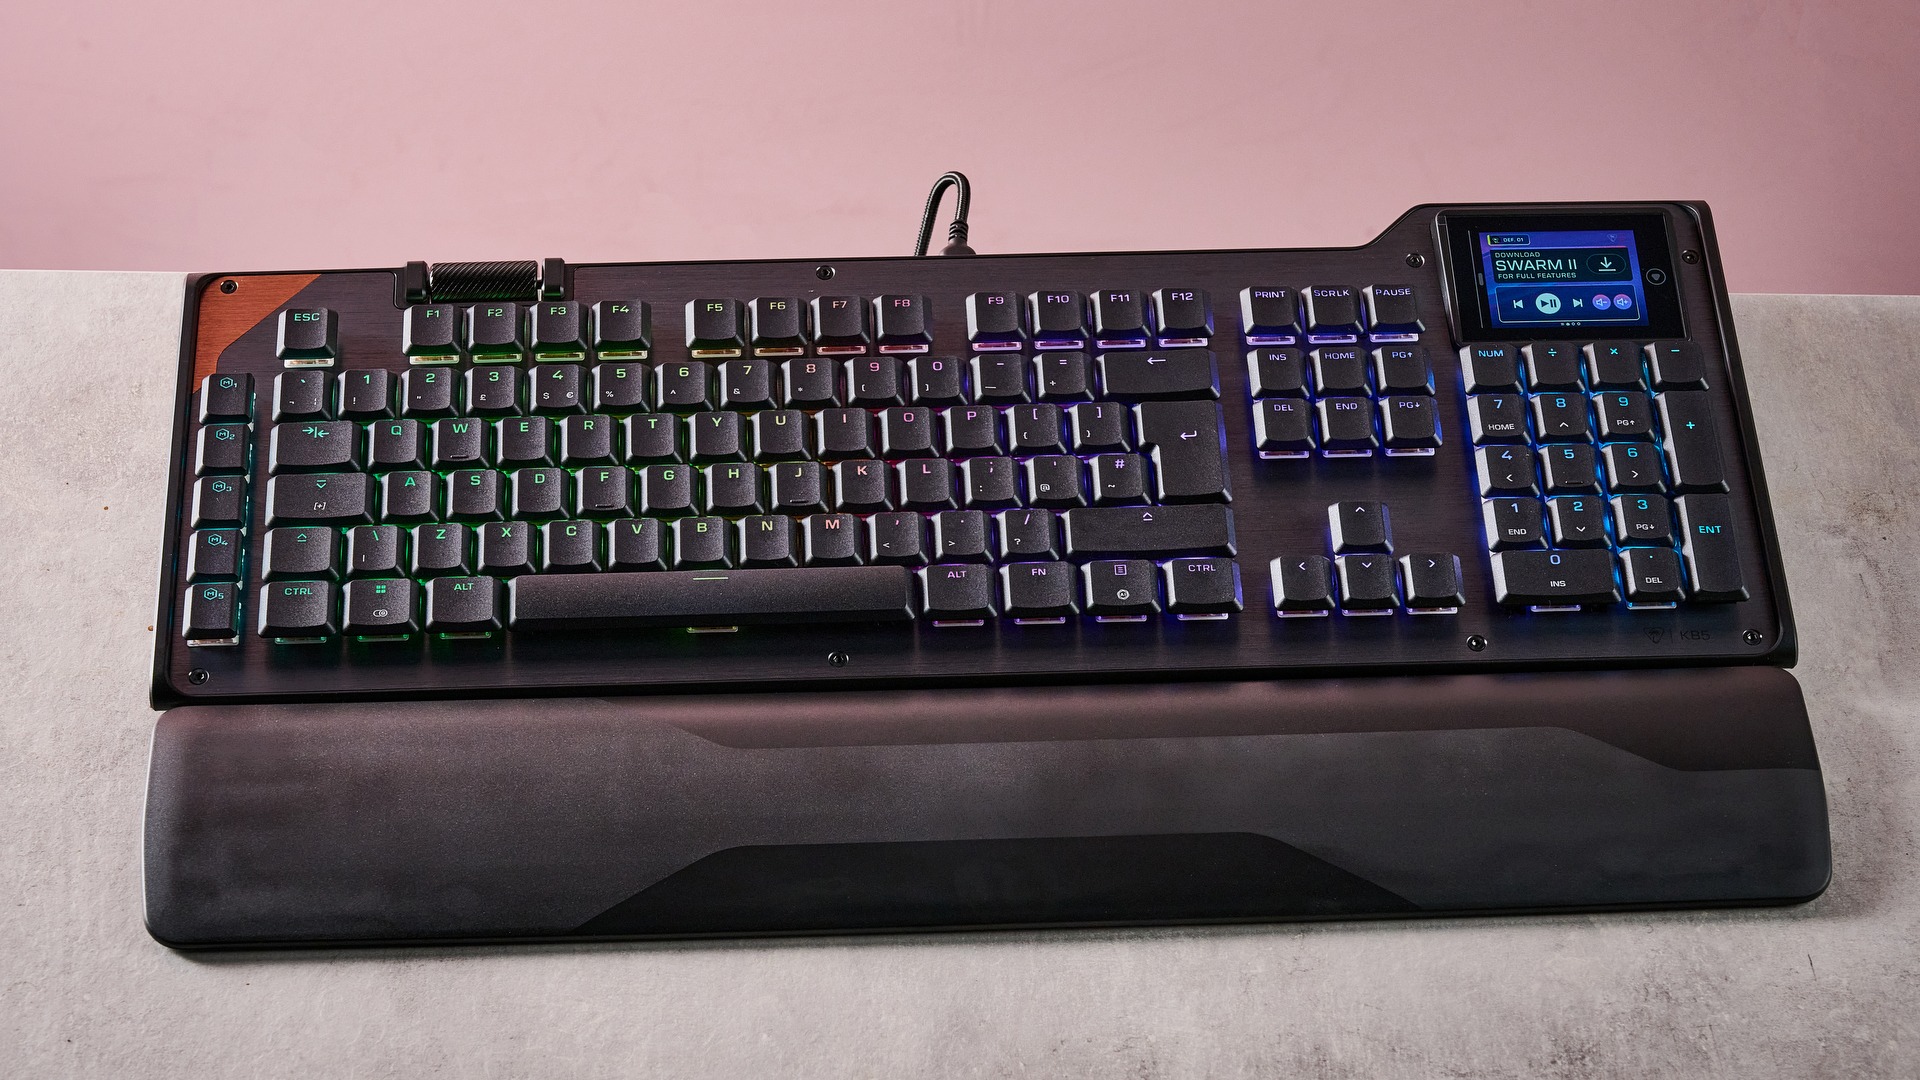
Turtle Beach Command Series KB5: One-minute review
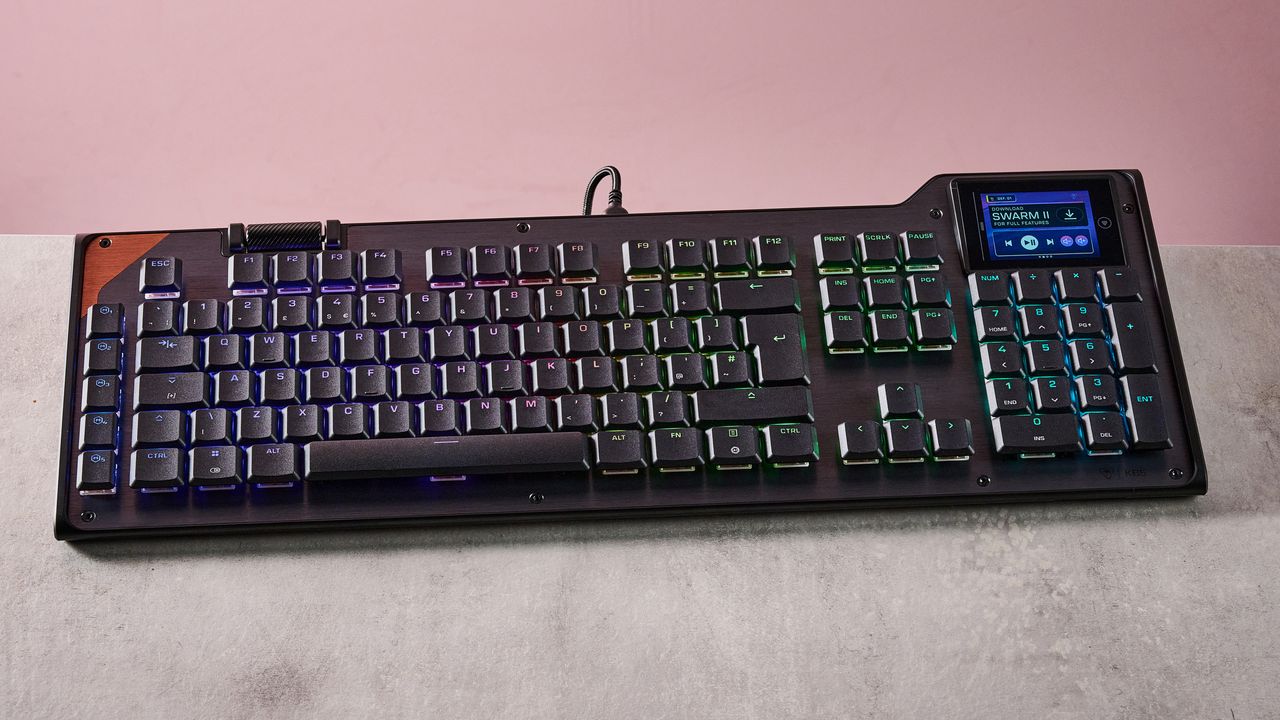
The Turtle Beach Command Series KB5 is a full-size keyboard with an interesting display module that has more functionality than many others.
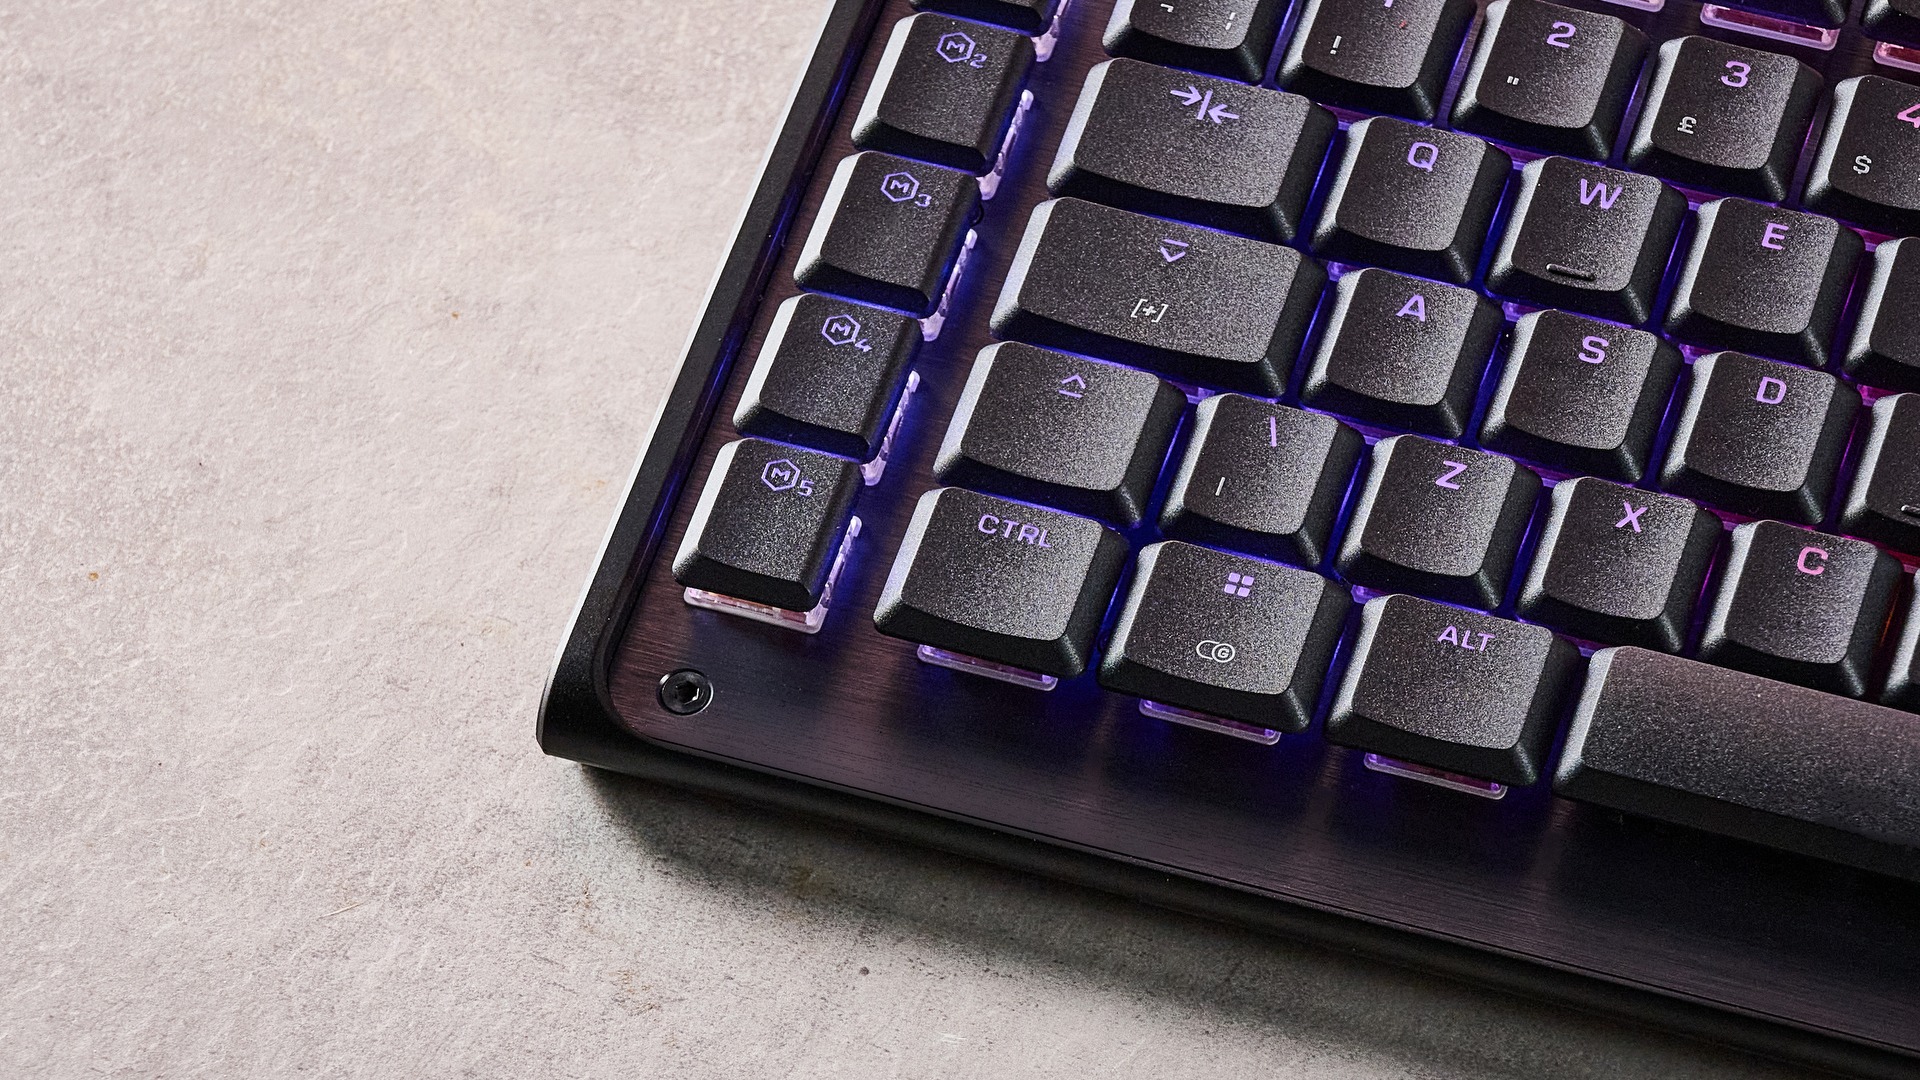
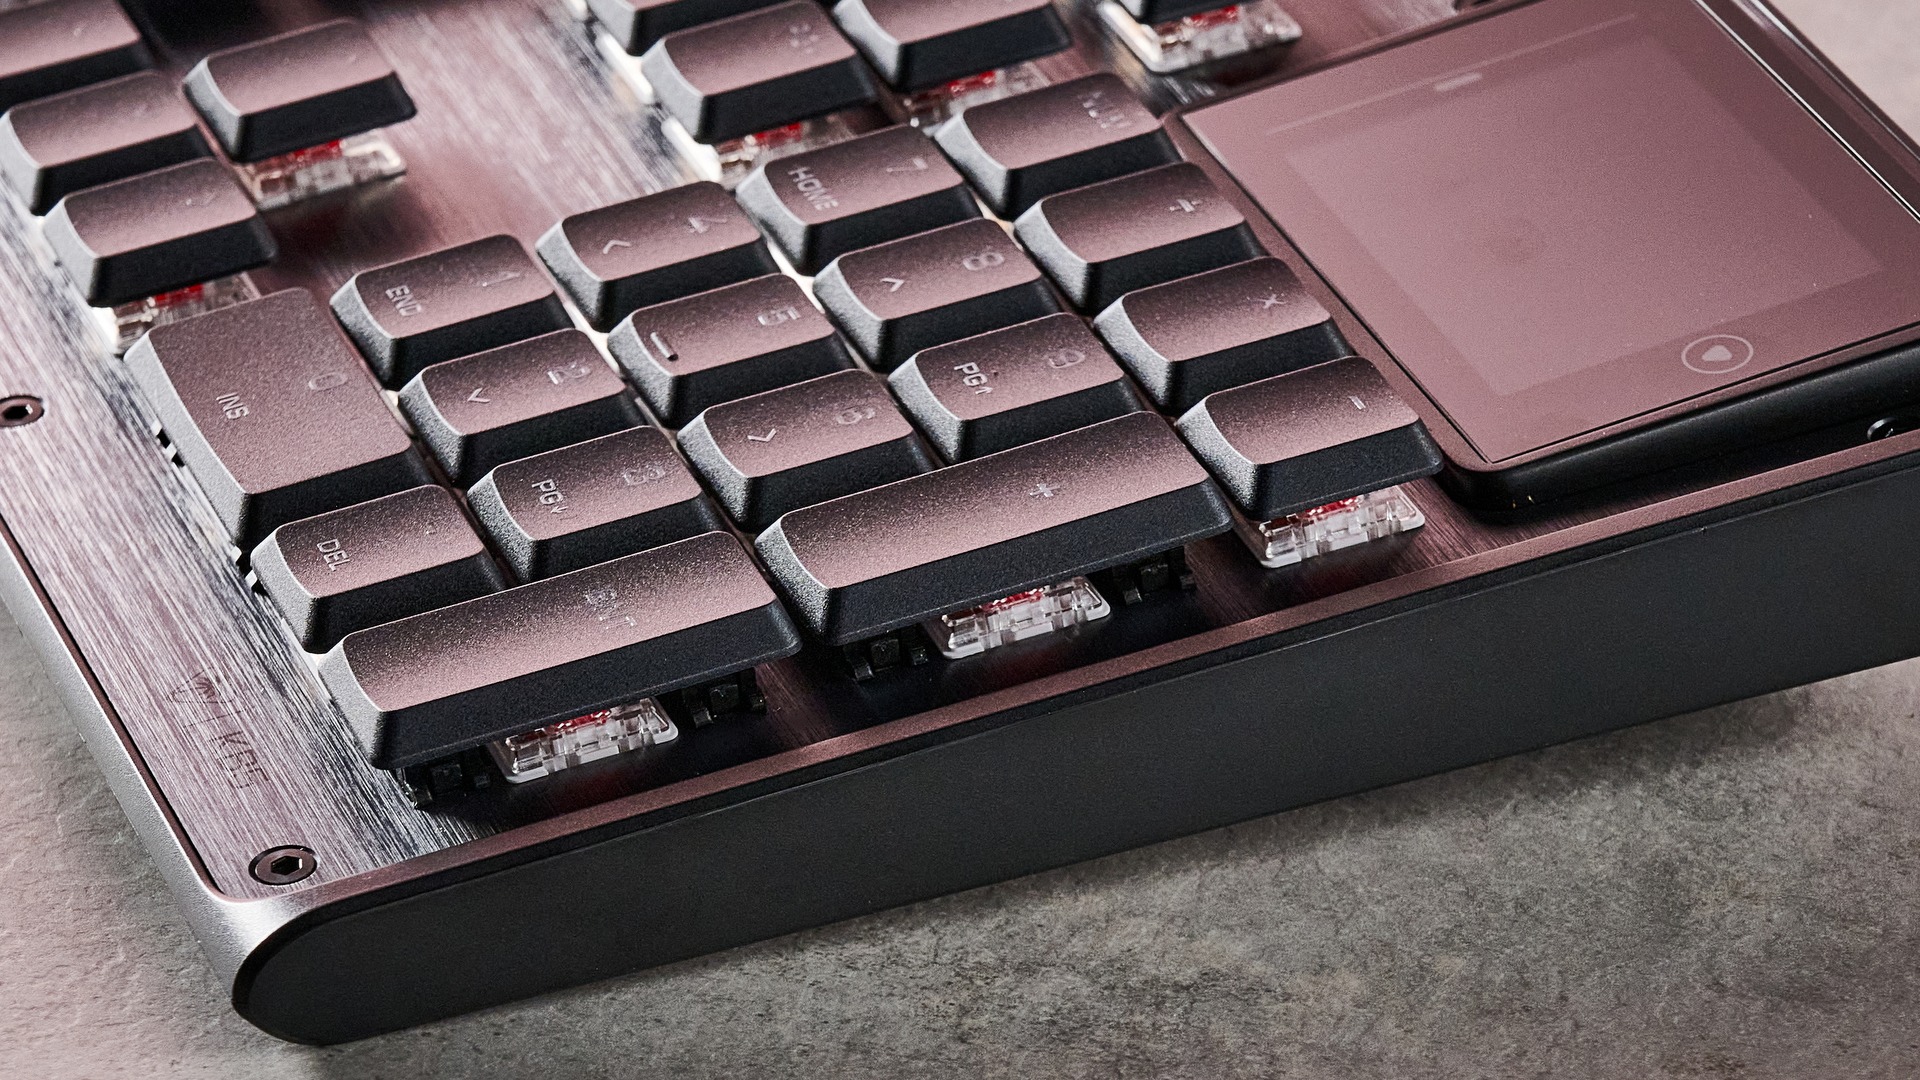
However, the board fails to make a great first impression. It looks dated with its unnecessary angles, while the plastic materials feel cheap. The brushed metal face plate is a nice touch, though, as are the floating double-shot PBT keycaps. It’s also quite a light unit, especially so for a keyboard this size.
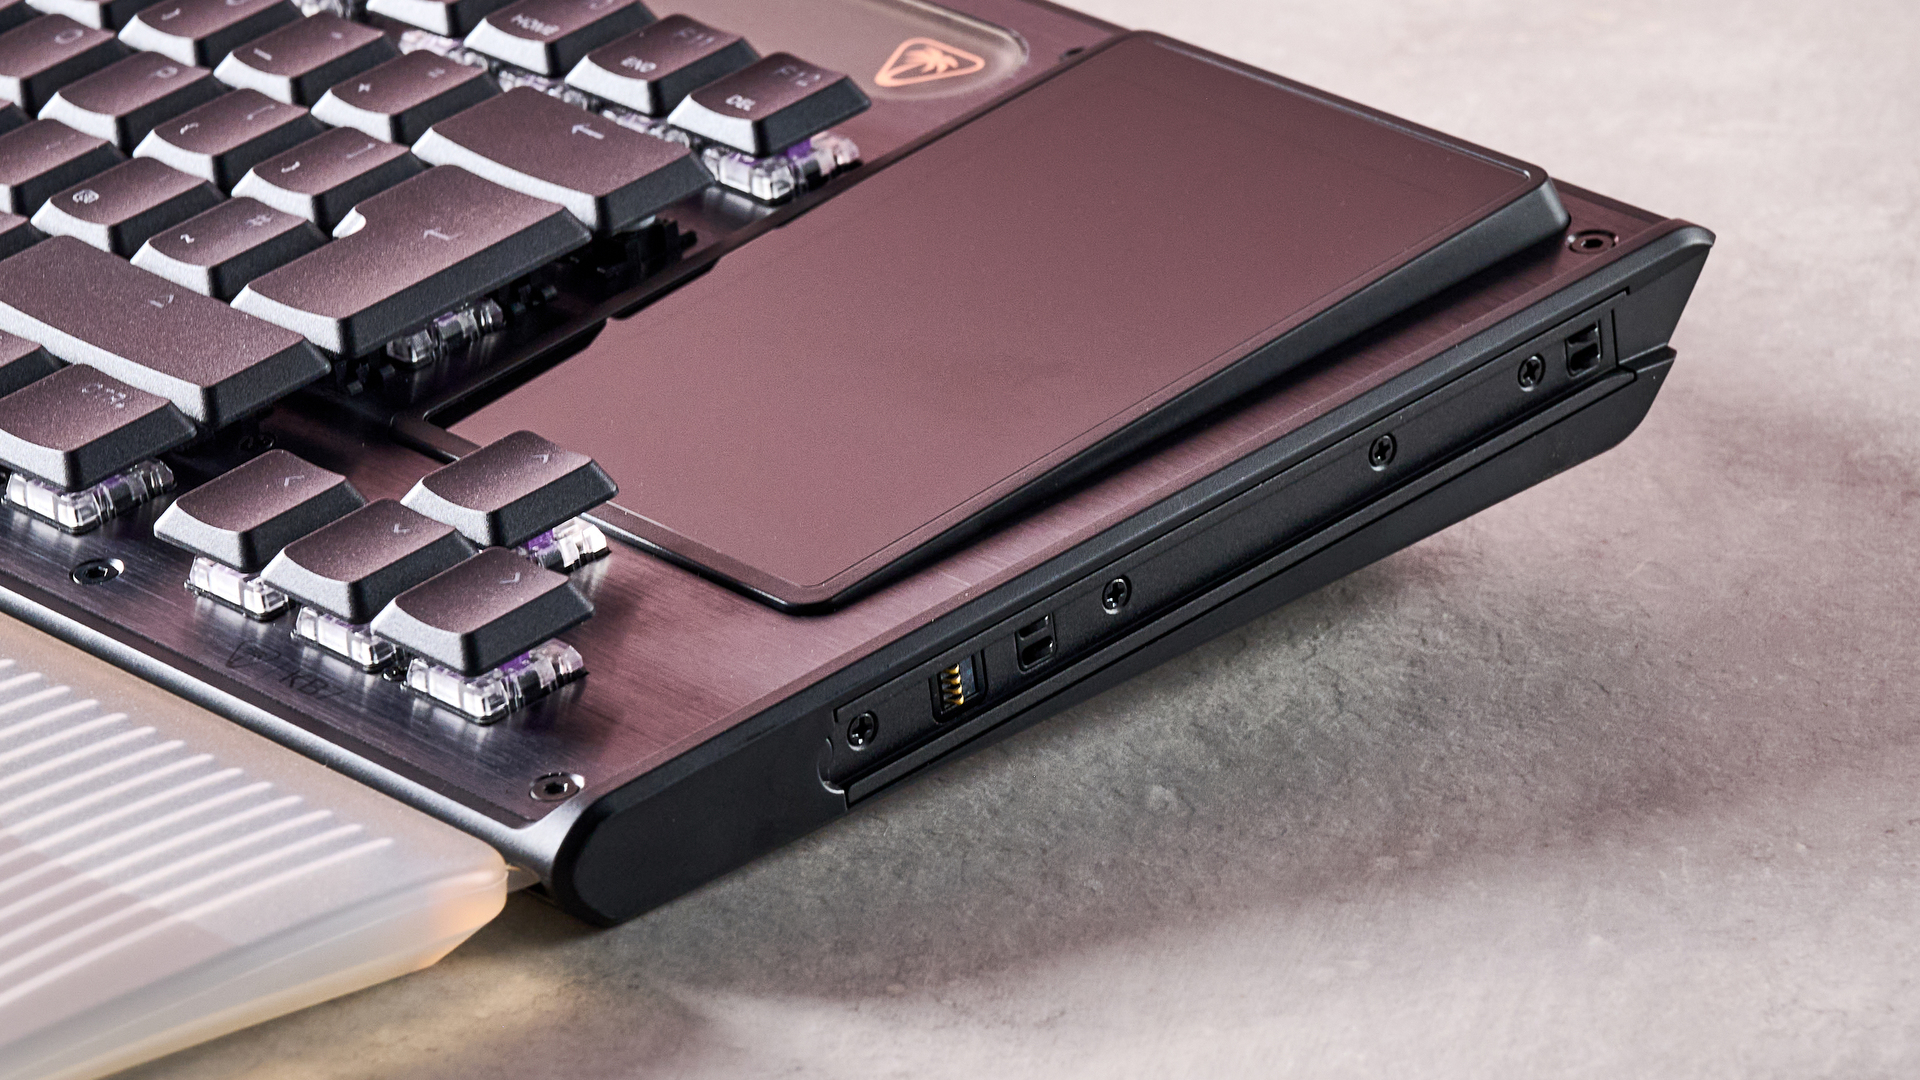
The included wrist rest also feels like a low-grade plastic, and doesn’t attach magnetically like those bundled with some of the best gaming keyboards. Instead, it relies on a somewhat fiddly — but ultimately secure — mechanical attachment. And despite its lack of padding, its ergonomic contours offer sufficient levels of comfort. The rest also helps to make up for the KB5’s shallow tilt angle, even with the two-stage feet propping it up.
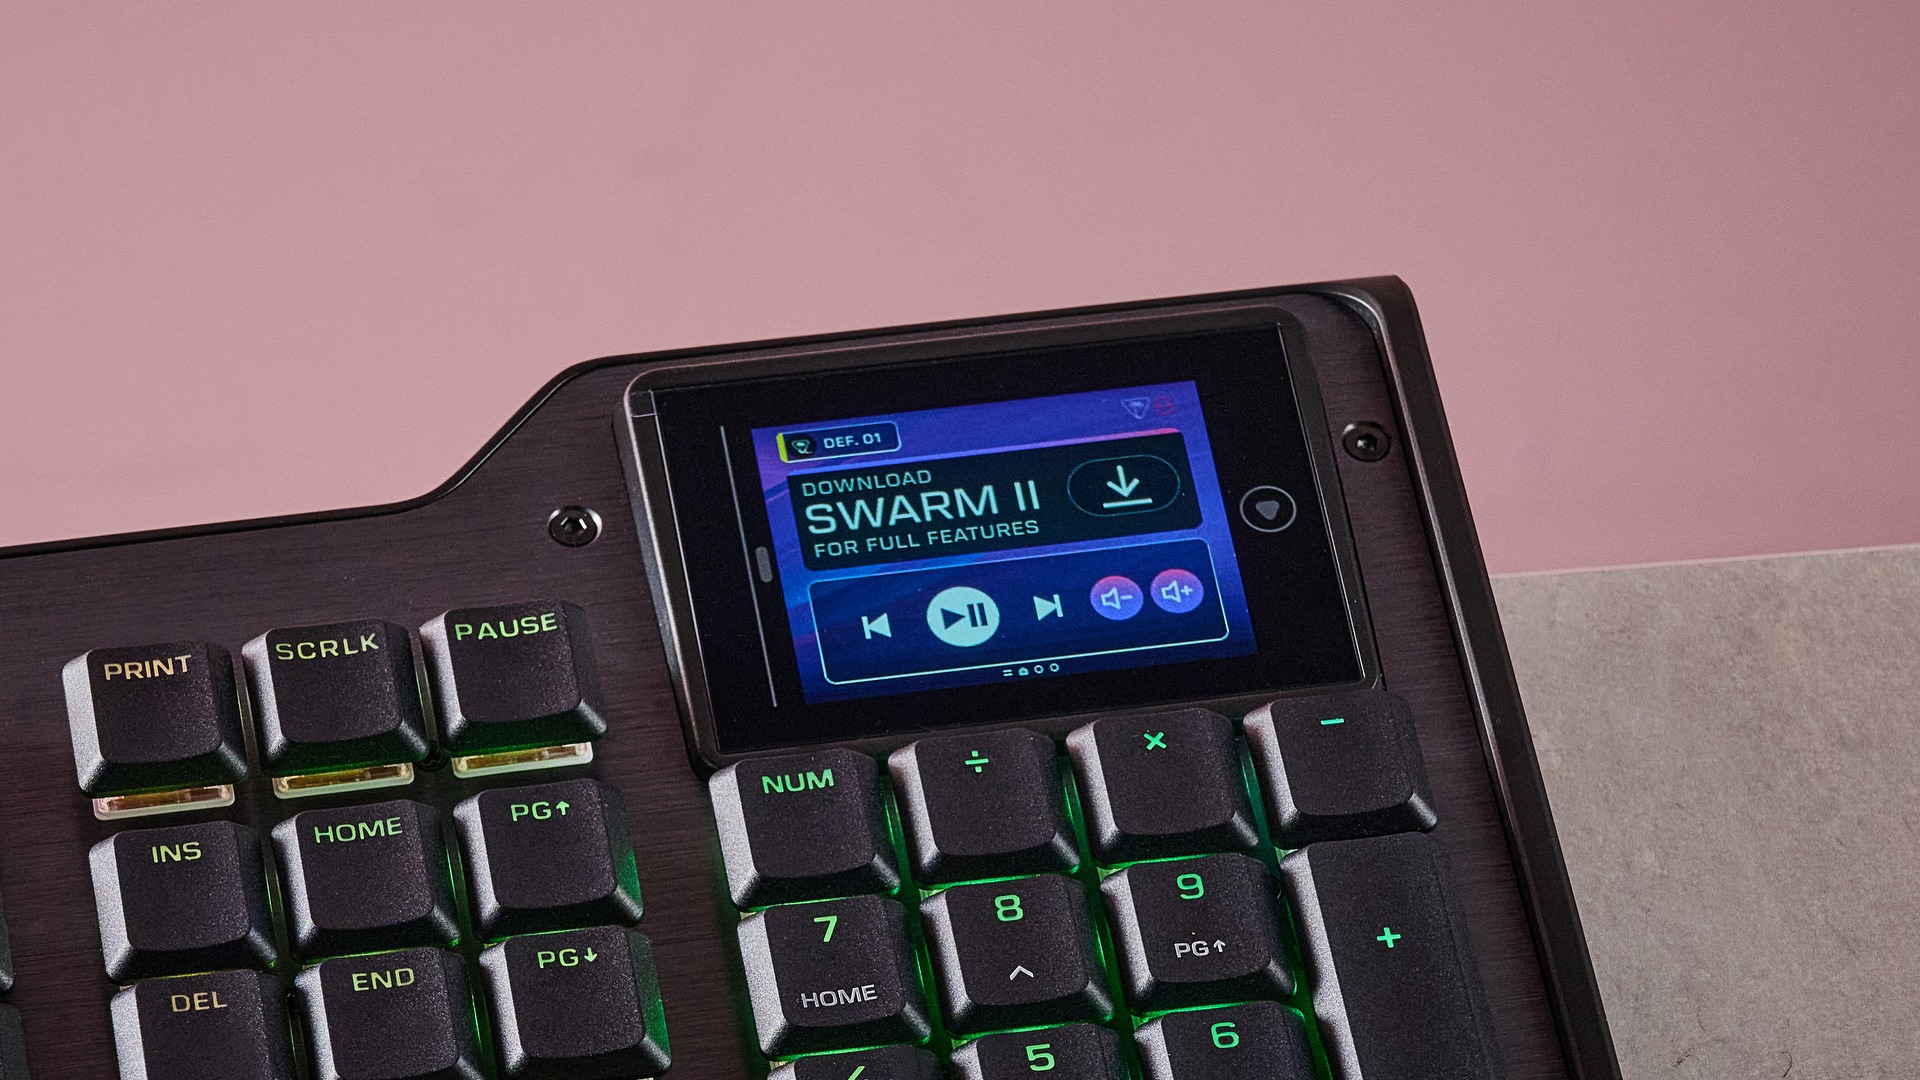
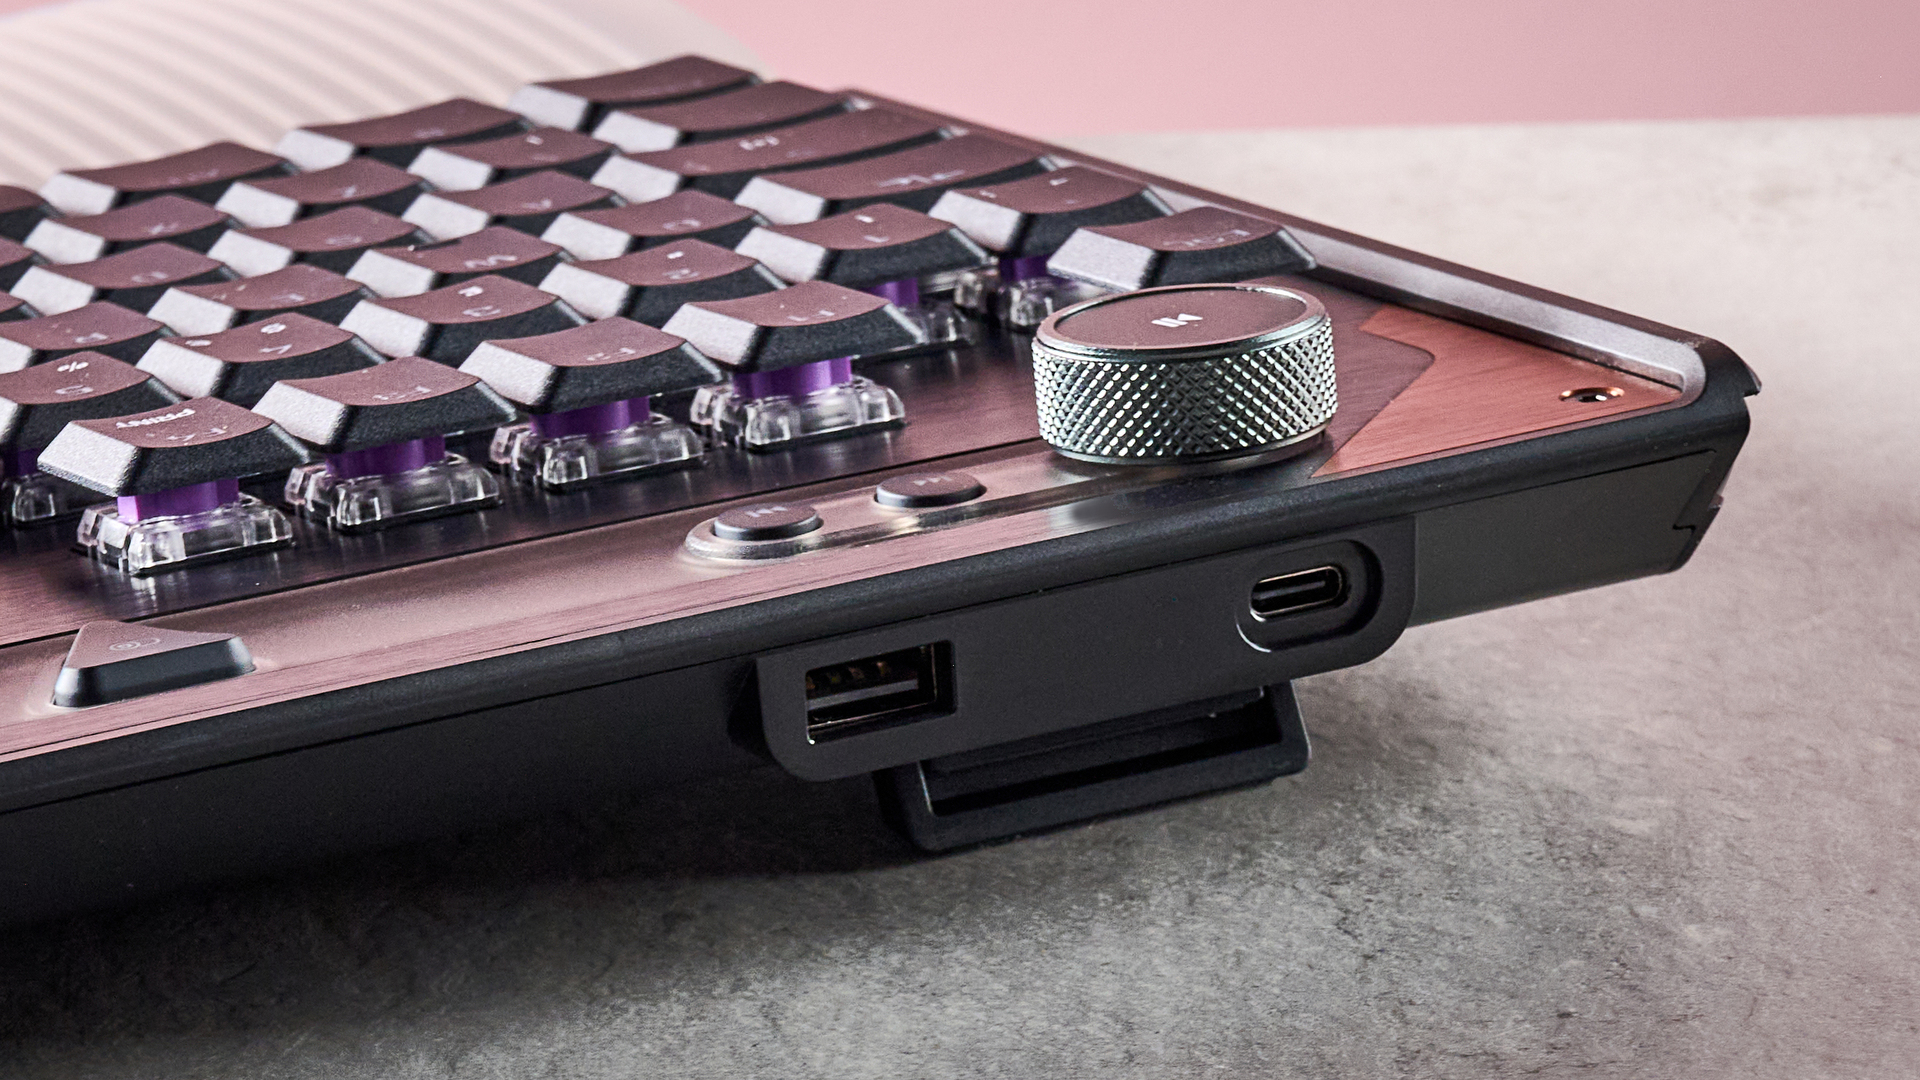
The standout feature of the KB5, though, is its interactive touchscreen in the top-right corner of the unit. It lacks the responsiveness we’ve come to expect of modern touchscreens, taking multiple swipes and taps for it to register them. However, it has a lot of useful functions and features, with plenty of settings for the KB5 itself, as well as a wealth of customizable shortcuts and readouts for Windows and various apps.
(Image credit: Future)
These shortcuts can be customized using Turtle Beach’s Swarm 2 software. There are a wide variety of templates to choose from, but you can also create your own shortcut clusters from a wide selection of widgets. The software also has a generous selection of remapping and macro options, although there aren’t any performance-related adjustments. I wish it provided more explanations for its features, too.
In action, the KB5 performs reasonably well. The keycaps have a very low profile, which makes them easy to glide over, while the switches are satisfyingly damped. However, presses are a little heavier than you might expect, sometimes resulting in taps failing to register, especially if you have a light touch. This is more of an issue when typing than gaming.
The WASD position is comfortable and the keys are well spaced, making it easy to reach them. I could easily hit the space bar flush, thanks to its low profile and generous slant. However, the sheer width of the board can result in collisions when swiping your mouse vigorously.
At $150 / £140, the KB5 isn’t exactly a budget-friendly board, and is especially dear for one with no wireless connectivity and a less-than premium construction. The integrated touchscreen and large layout make up for this somewhat, but the fact remains there are better value rivals if you don’t need all those keys and a sophisticated display.
(Image credit: Future)
Turtle Beach Command Series KB5 review: Price & availability
$149.99 / £139.99 (about AU$210)
Available now in one colorway
Reasonably expensive for a wired mechanical keyboard.
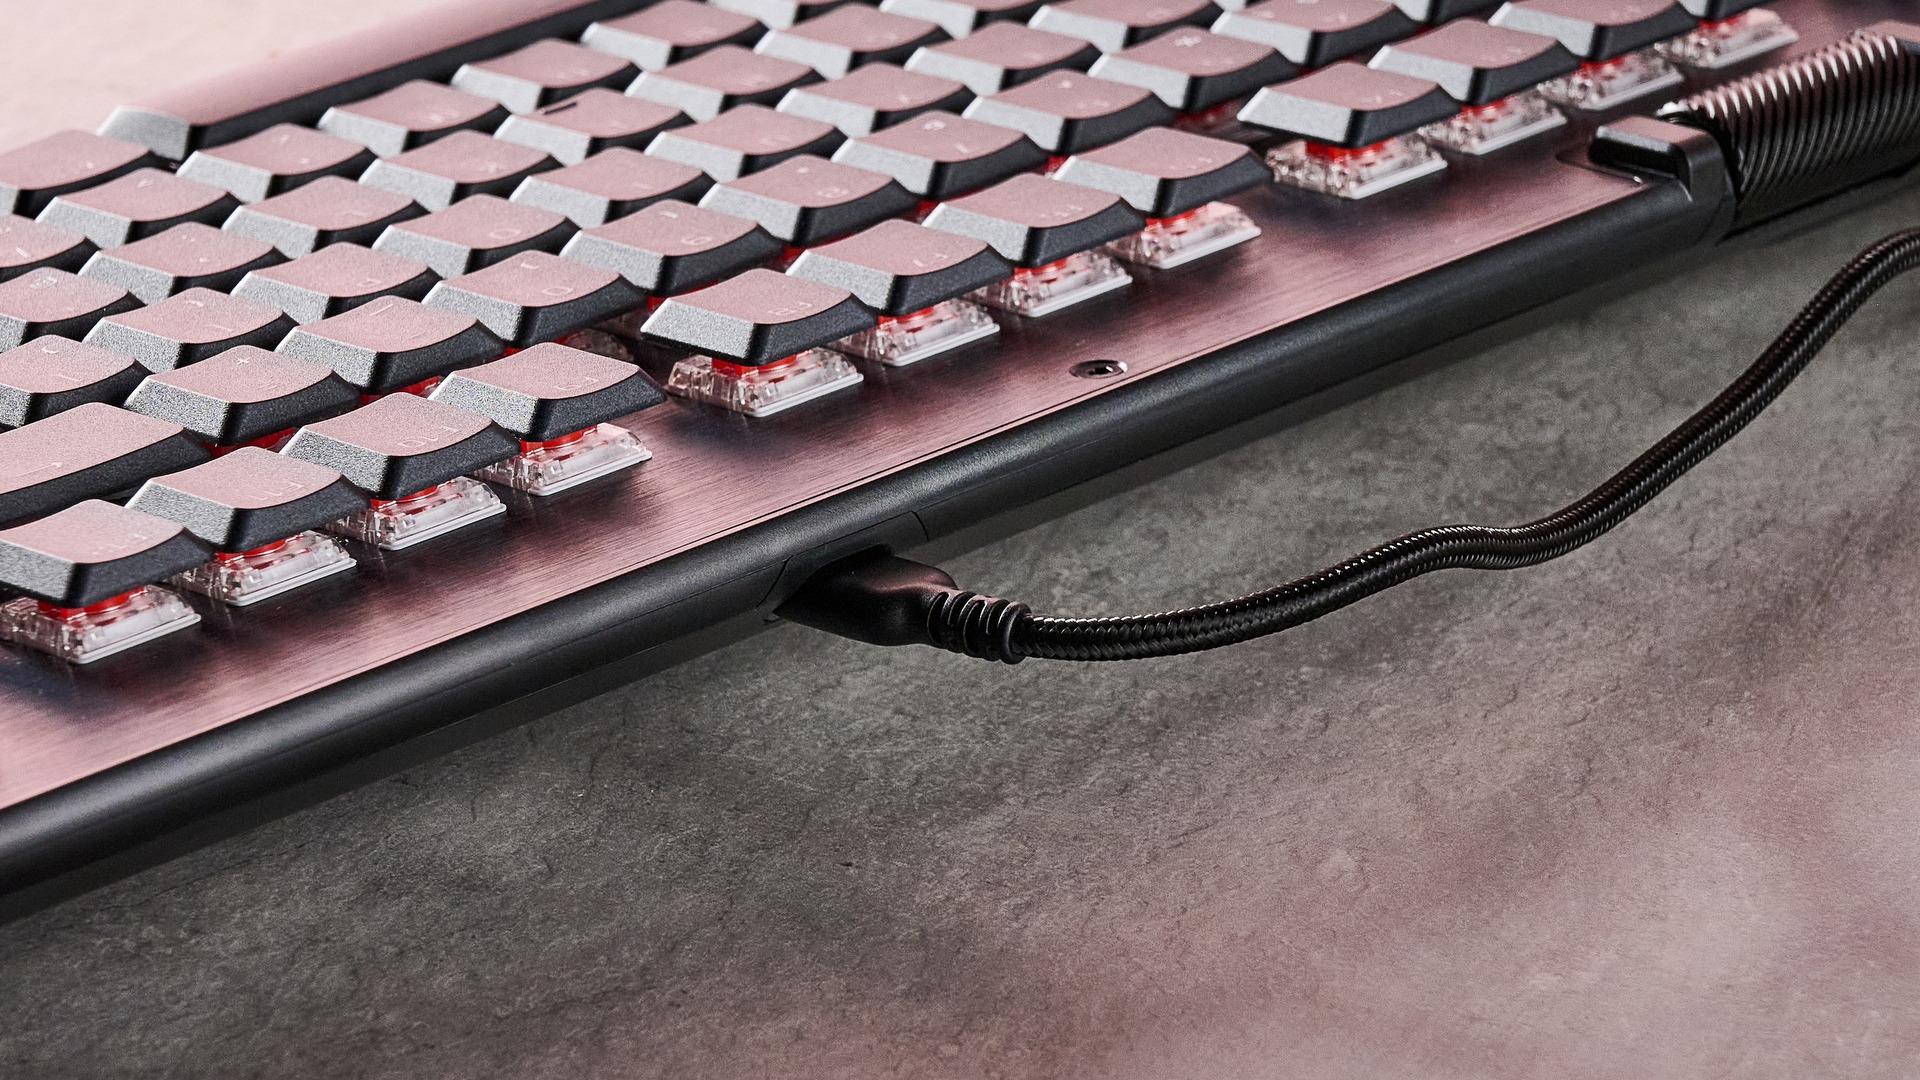
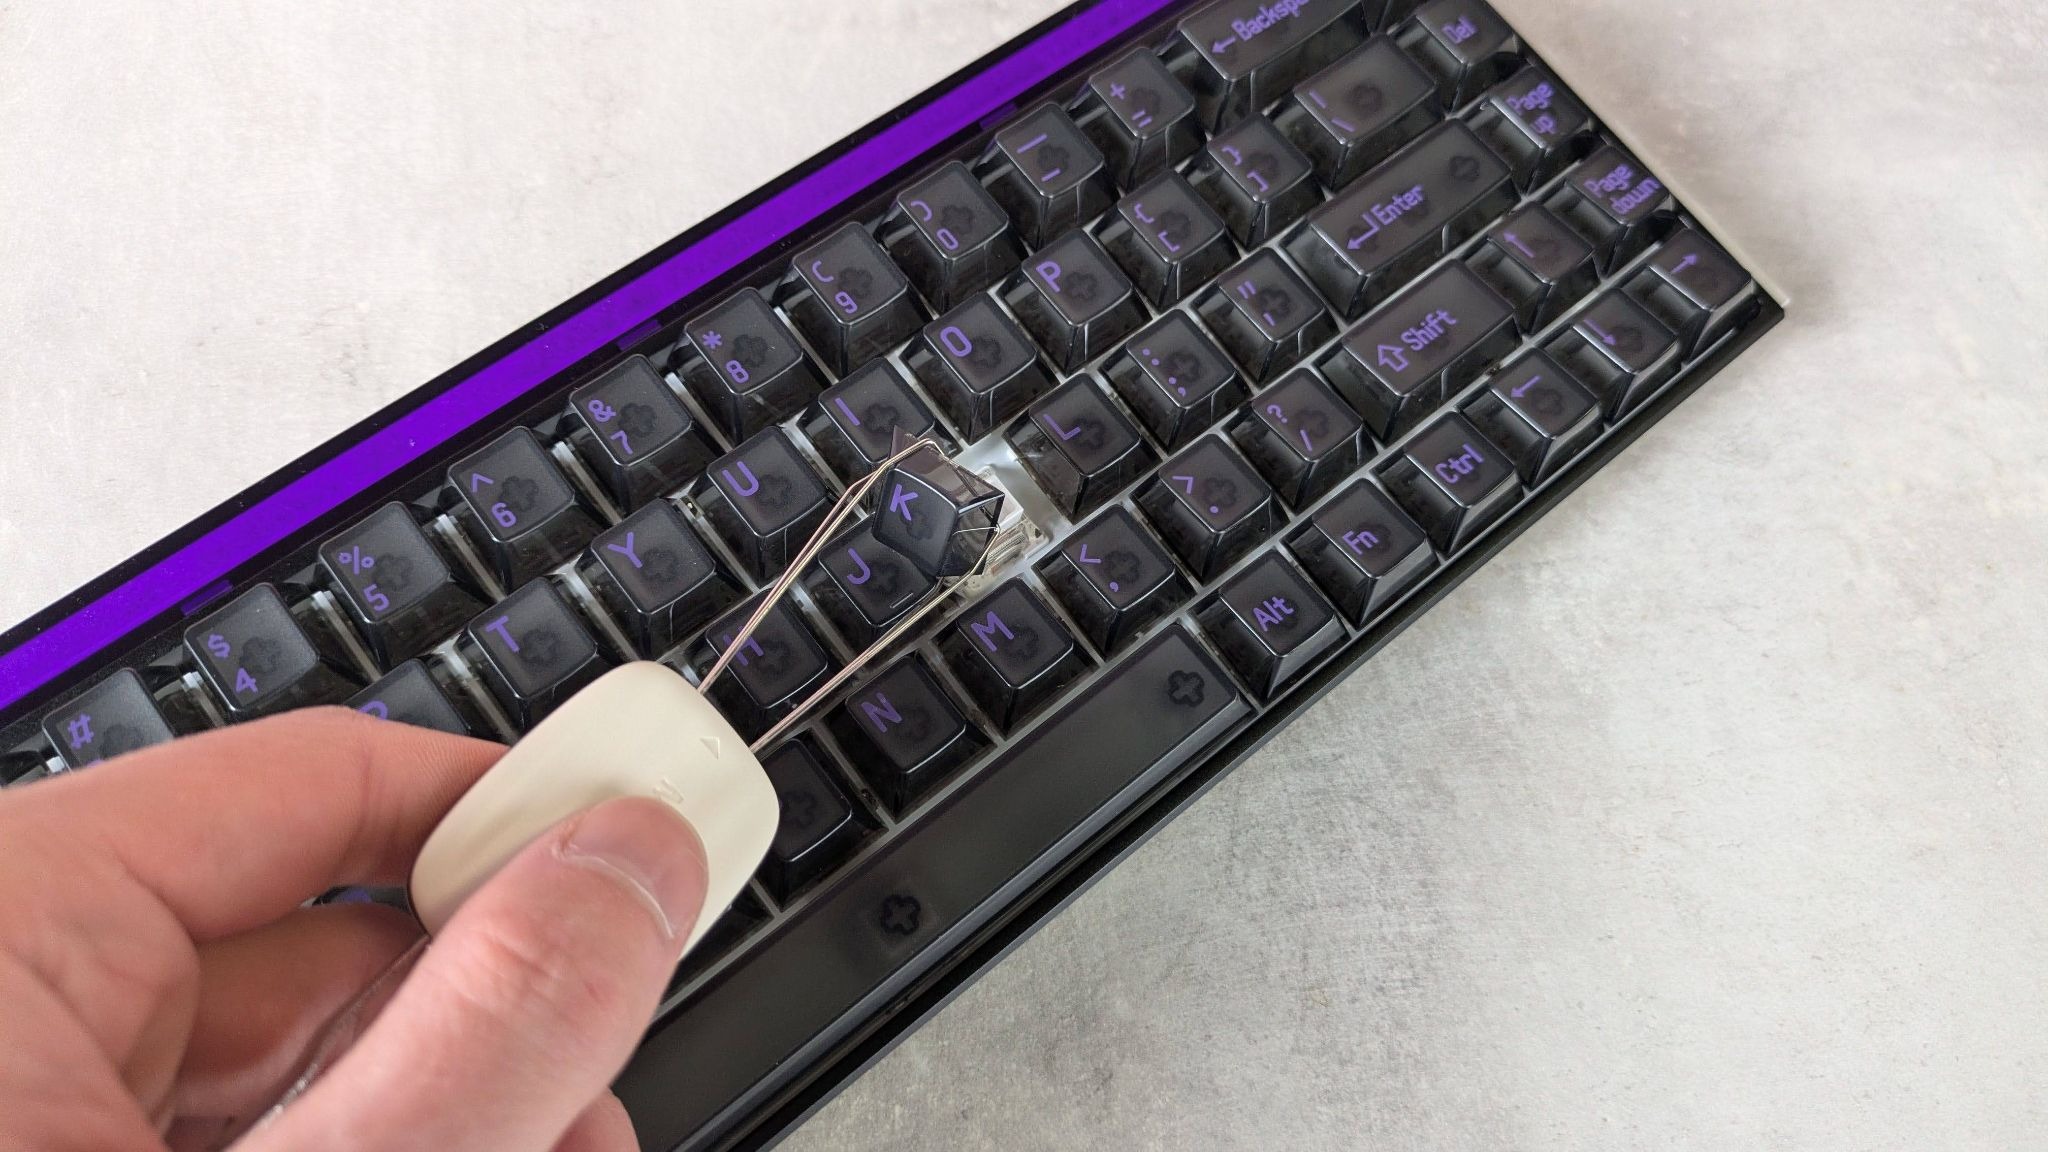
The KB5 costs $149.99 / £139.99 (about AU$210) and is available now in one colorway. It comes with a braided USB cable, an attachable wrist rest, and extra WASD keys with a grippier texture. You can remove the stock ones using the included keycap puller.
This is quite expensive for a wired mechanical keyboard. Granted, it’s a full-size board with plenty of keys, but it lacks the premium build of some of its cheaper rivals, such as the MonsGeek FUN60 Ultra. This is an extremely solid unit, and its gaming performance is as good if not better than the KB5’s, with its analog switches providing more adjustability. It also has multiple wireless connectivity modes.
Then there’s the Razer BlackWidow V4 Pro. This is vastly more expensive than the KB5, but it’s one of the best performing mechanical keyboards I’ve ever used, and its software and build quality are superior. What’s more, its included wrist rest is far more plush, and it also has multiple wireless modes.
Value score: 3.5 / 5
Turtle Beach Command Series KB5 review: Specs
Layout
Full-size
Switch
Mechanical (Titan Low-Profile Linear)
Programmable keys
Yes
Dimensions
18.8 x 6.9 x 1.1 inches (477 x 175 x 27mm)
RGB or backlighting
Yes (customizable)
(Image credit: Future)
Turtle Beach Command Series KB5 review: Design & features
Gamer-ish design
Cheap-feeling plastics
Useful integrated display
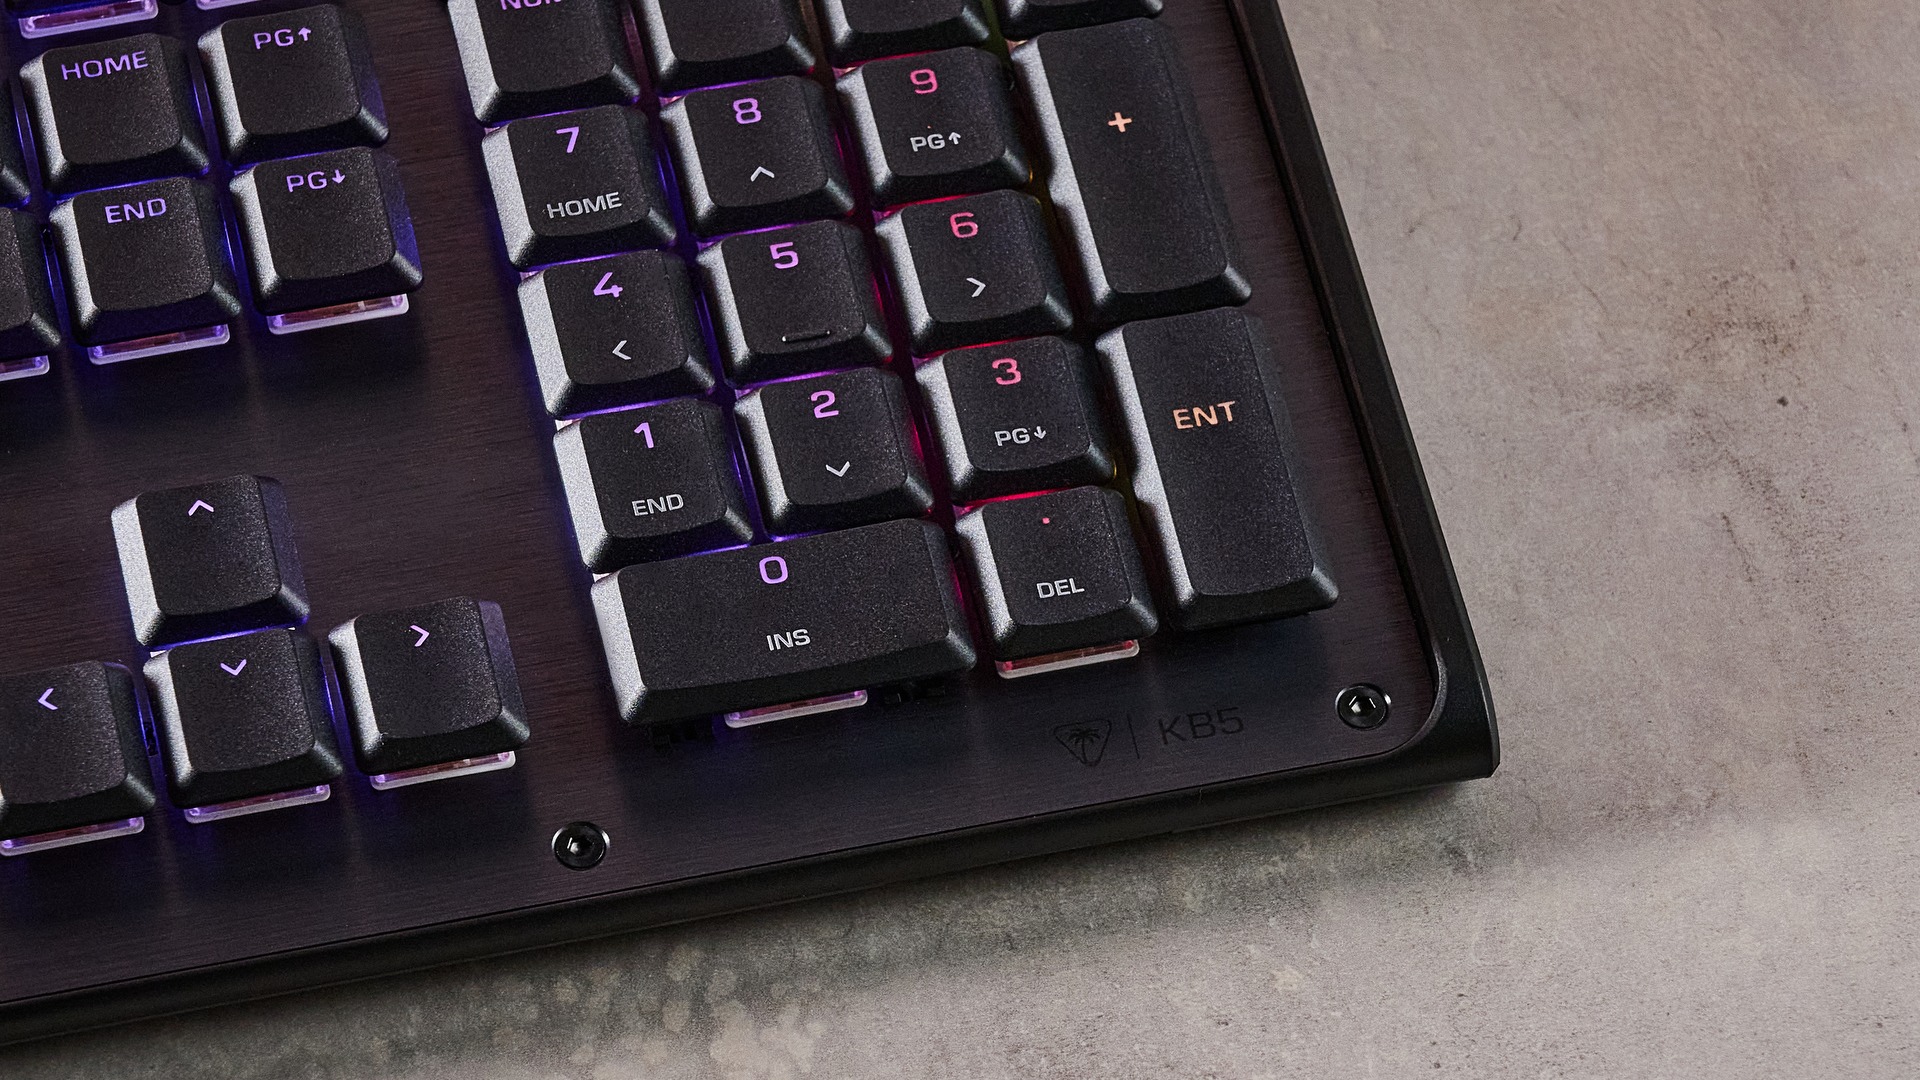
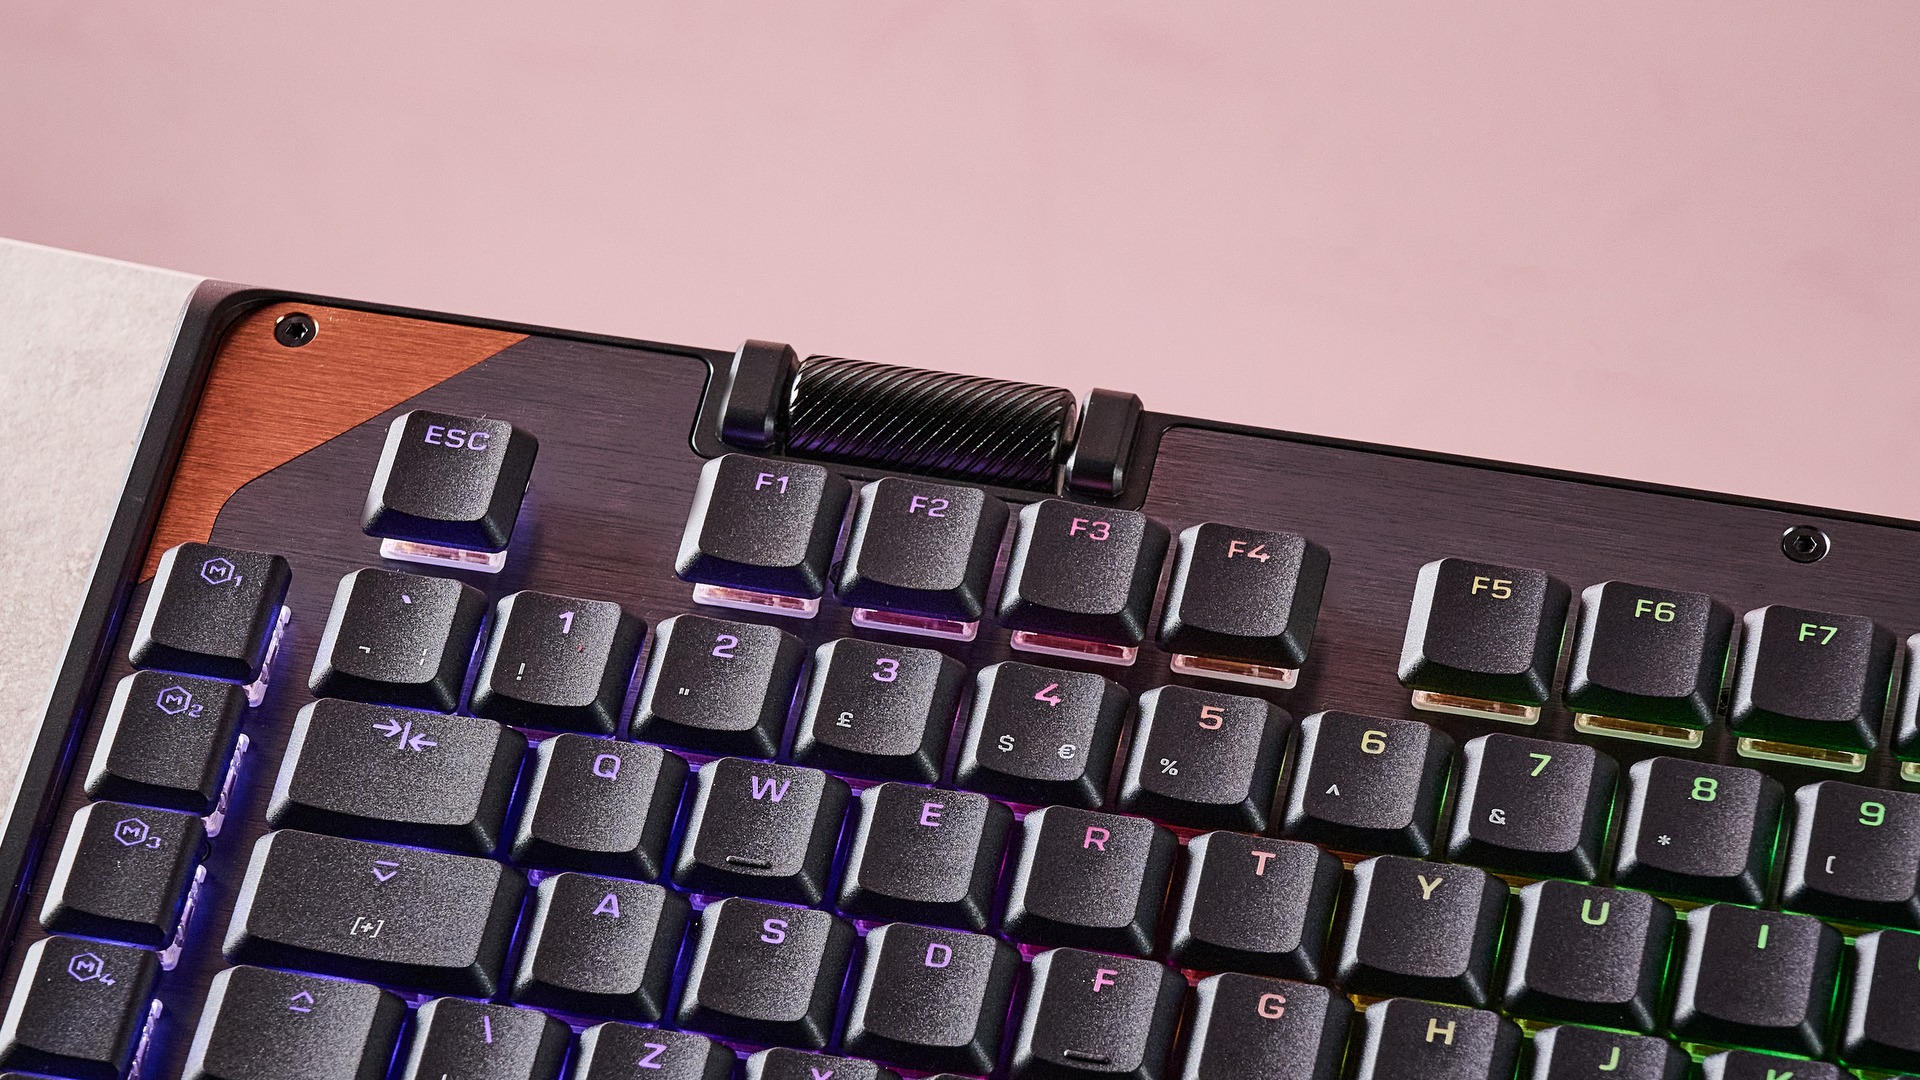
The KB5 leans into the gamer aesthetic, with its odd contours along the top edge and flashes of brown. Personally, I found this look a little garish and quite dated, although I did like the brushed metal front plate and its countersunk screws, which are prominently displayed. These are also quite practical since they’re easily accessible.
Overall, the build quality is less impressive. The plastic of the chassis feels cheap, although in fairness it’s also quite light, which means this large keyboard isn’t a chore to move around. Another plus is the keycaps are made from double-shot PBT, the gold standard keycap material, and they’re solidly fitted.
The notching on the cylindrical volume wheel feels good too, making for easy flicks while at the same time offering fine control. However, it can be hard to press inwards to mute without accidentally triggering a scroll.
A wrist rest is included with the KB5, which is always a welcome addition in my view. However, it appears to be made from the same cut-price plastic as the keyboard itself. And while it actually attaches to the keyboard, it requires snapping latches in place, which is certainly less elegant than the magnetic method utilized by many others.
On a more positive note, the display in the top-right corner is larger, sharper, and more interactive than many others I’ve seen integrated in keyboards. It also has touchscreen functionality, although this is fairly rudimentary and gestures often require repeating two or three times before the display responds. Also, the texture of the screen itself is a little grippy, which can hamper swipes.
Nonetheless, it offers a lot of features. By tapping the left side of the screen, you can access three pages of settings for the KB5, with options to toggle ReacTap (Turtle Beach's Rapid Trigger function), remap keys, and alter the RGB backlighting, to name a few.
(Image credit: Future)
There are also three pages of widgets, with each page containing a cluster of six. These can be customized using Swarm 2, Turtle Beach’s peripheral software. You’ll find a large selection of template clusters to choose from, catering to various use cases. For instance, there’s a gaming one that features a shortcut widget for opening Steam, while the other widgets display CPU and GPU loads and temperatures. There’s also a template for general productivity, with widgets for copying and pasting and opening Windows’ Calculator app.
You can also edit and create your own templates by selecting each individual widget. In addition to common Windows commands and multimedia controls, there are app-specific widgets for Steam, OBS, Steamlabs, and Discord. There are also those under a section labelled ‘CS’, although it’s unclear what game or games in the Counter-Strike series these widgets are compatible with. All I can say is that they failed to work with Counter-Strike 2when I played it.
Swarm 2 features other customizations, including key reassignment. There is a generous selection of shortcuts you can assign, and four mapping layers to choose from: primary, Fn, Game Mode, and Easy Shift. You can also remap the scrolls and button of the volume wheel, which isn’t always possible on gaming keyboards. More impressively, the wheel has the same four layers of assignments available to it.
There are a wealth of preset macros to choose from as well, not only across a broad selection of games, but also for other software such as Photoshop. However, a lot of the other macros are quite basic, merely boiling down to simple inputs and system commands.
During my time with Swarm 2, it performed well without any major bugs or glitches occurring. There were times when the RGB backlighting failed to turn on, but whether this was an issue with the app or the keyboard’s own firmware, I can’t say. Regardless, I managed to get it working again by unplugging and replugging the USB cable, or by turning the lighting off then on again in the app.
Swarm 2 is easy to use and navigate, although it could do with more explanations for some of its features. For instance, I couldn’t find any explanation as to how to access the Easy Shift and Game Mode layers, and the ReacTap feature isn’t toggleable anywhere in the app, only via the integrated screen. Neither location explains what it does or how it works; I had to gather this information from Turtle Beach's website.
Design and features score: 3.5 / 5
(Image credit: Future)
Turtle Beach Command Series KB5 review: Performance
Very low-profile keys
Deep actuation point detrimental to typing
Board width can hamper mouse movement
In general, the KB5 is a capable gaming keyboard. Its Titan mechanical switches are damped to a large degree, making them tactile and relatively quiet, although a certain clickiness emanates from key presses.
The keys also have a very low profile, perhaps the lowest I’ve ever come across. I appreciated this when typing, since I could glide between them easily, but their actuation point is deeper than you might expect, resulting in hits often failing to register when I typed quickly.
(Image credit: Future)
Thankfully, this is less of an issue when gaming. Also, the indents on the keycaps offer a secure hold, while the WASD position is comfortable thanks to the spacing of the keys, which is large enough to avoid feeling cramped, yet all the peripheral keys are still easy to reach. What’s more, the space bar slopes downwards slightly, making flush hits easier to achieve.
However, the KB5’s lack of tilt is slightly disappointing. Despite having two stages, the feet don’t create much of an angle, which is something I often lament in gaming keyboards. The included wrist rest does make up for this somewhat, thanks to its sloping design, and it’s comfortable to use. Despite the lack of padding, a bigger issue with the KB5 is its sheer width. If you like using a low DPI setting for your mouse and need to make large movements, you may find yourself slamming into the side of the board.
Performance score: 3.5 / 5
Should I buy the Turtle Beach Command Series KB5?
Scorecard
Attributes
Notes
Rating
Value
It may be full-size and have mechanical switches, but its plasticky build and wired-only connectivity diminish its value.
3.5 / 5
Design and features
Fairly light for a full-size board, and the included wrist rest is comfortable, but the plastic-heavy construction and finicky touchscreen are downsides.
3.5 / 5
Performance
The low-profile keys are easy to glide around, but the actuation isn’t snappy enough and the wide layout can get in the way of mouse swipes.
3.5 / 5
Overall
The KB5 has some interesting features, but a few issues hamper its performance, and build quality lags behind others in the space.
3.5 / 5
Buy it if…
You want an interactive screen The KB5 has a unique touchscreen that gives you access to various settings and customizable widgets.
You want keys with a very low profile This board has the lowest key profile I think I’ve ever seen, and they feel great.
Don't buy it if…
You have large mouse swipes Given how wide the KB5 is, you need to take care with large mouse movements.
You have a light touch The switches’ actuation point is deeper than their low profile might lead you to believe, which can result in taps failing to register.
Turtle Beach Command Series KB5 review: Also consider
Monsgeek FUN60 Ultra For a lot less than the KB5, you could have the FUN60 Ultra. It has analog rather than mechanical switches, but I found them to be very tactile, and their actuation, along with a load of other parameters, can be adjusted to suit your preferences. Not only that, but it has a much more solid build than the KB5, and features 2.4GHz and Bluetooth connectivity modes. Read our full Monsgeek FUN60 Ultra review.
Razer BlackWidow V4 Pro 75 It may be a lot more expensive than the KB5, but the BlackWidow is just about the best mechanical keyboard I’ve ever used. The switches feel excellent, while there are plenty of customizations courtesy of Razer’s Synapse app. This too has both 2.4GHz and Bluetooth modes. Read our full Razer BlackWidow V4 Pro 75 review.
(Image credit: Future)
How I tested the Turtle Beach Command Series KB5
Tested for a few days
Performed various tasks
Plentiful gaming keyboard experience
I tested the KB5 for a few days, during which time I used it for gaming, general browsing, and working.
I played various games, including Counter-Strike 2, a great title for revealing the true performance of peripherals, given the demands it places on the speed and accuracy of inputs.
I’ve been PC gaming for over a decade, and have used a great many keyboards in that time. I’ve also reviewed a large number of them, from small budget models to large premium offerings, across a wide range of brands.
Boy, sure is a hot one today, huh? Okay, I get the irony: that's a take so cold you could use it to replace your freezing Wim Hof showers. But when the metaphorical mercury creeps this high, you've got to keep your cool. The same goes for your laptop, which is why you might want to grab a laptop cooling pad this summer.
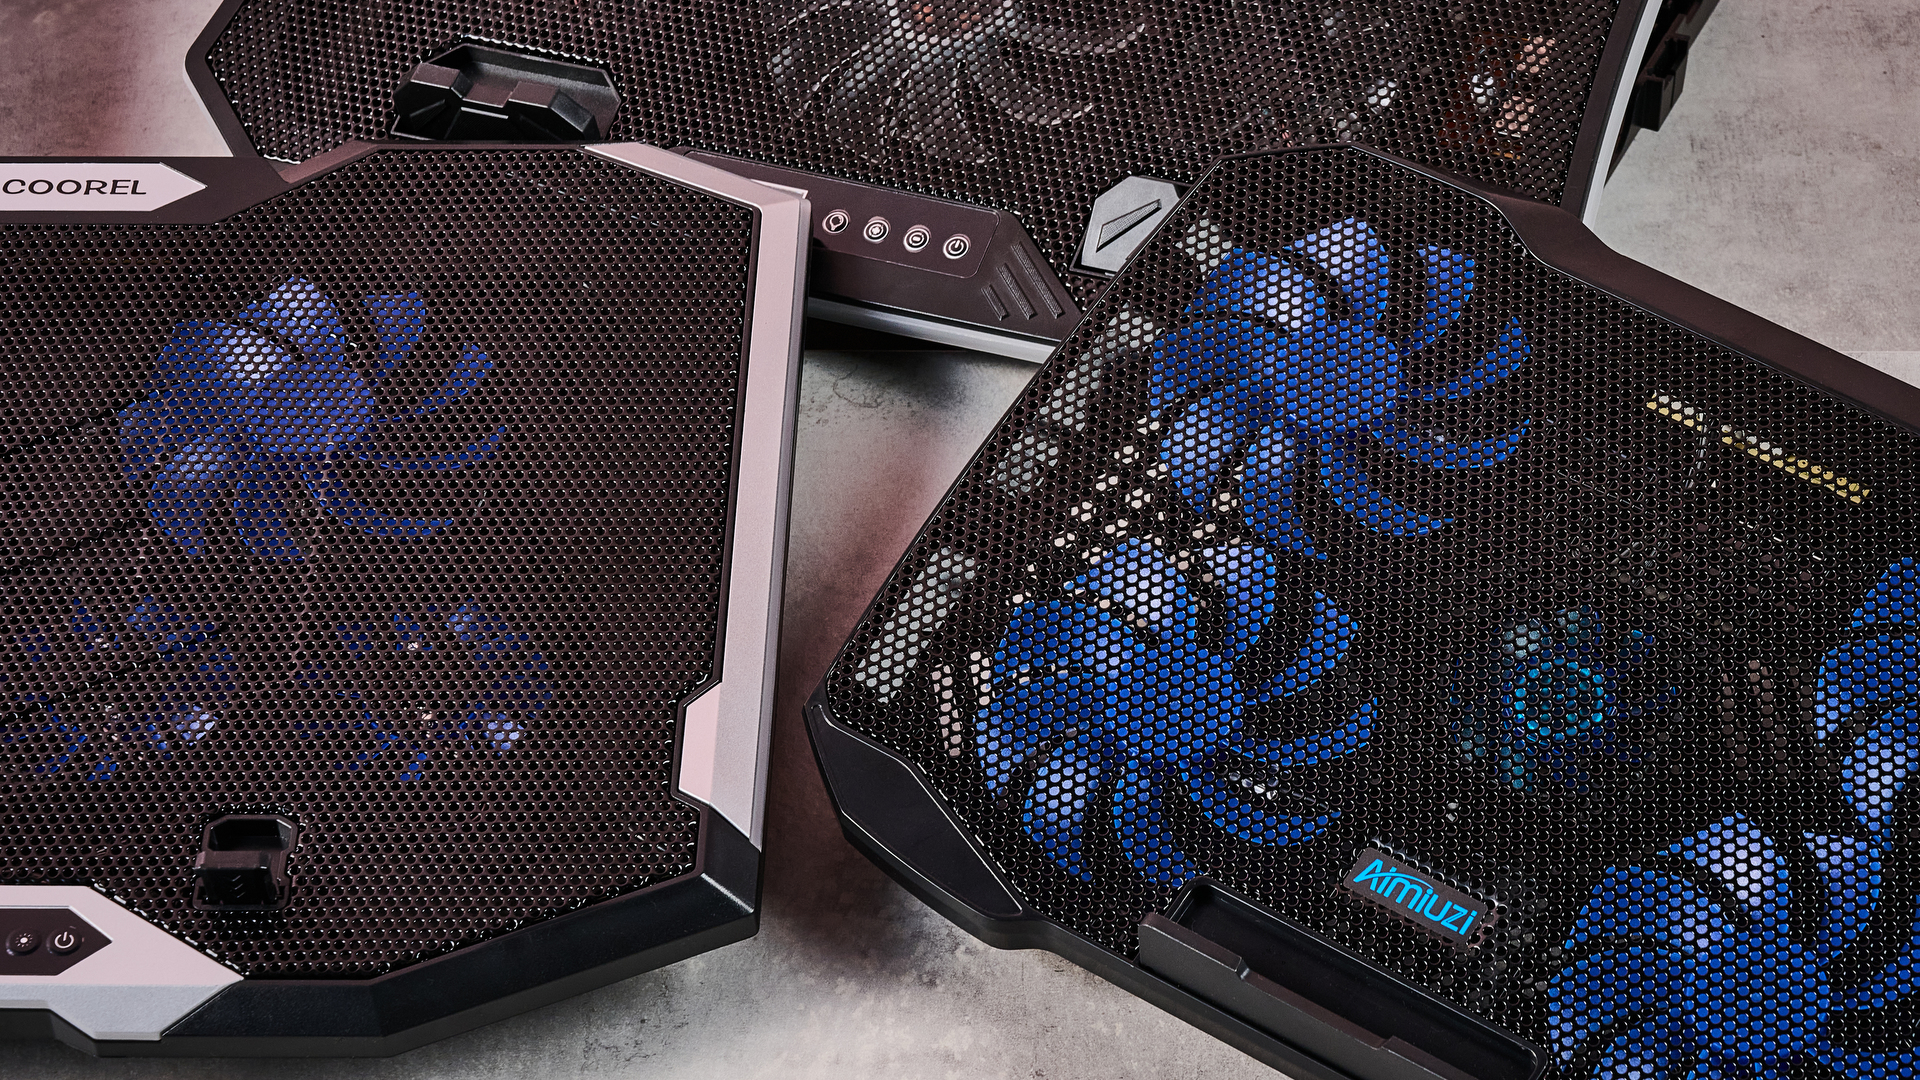
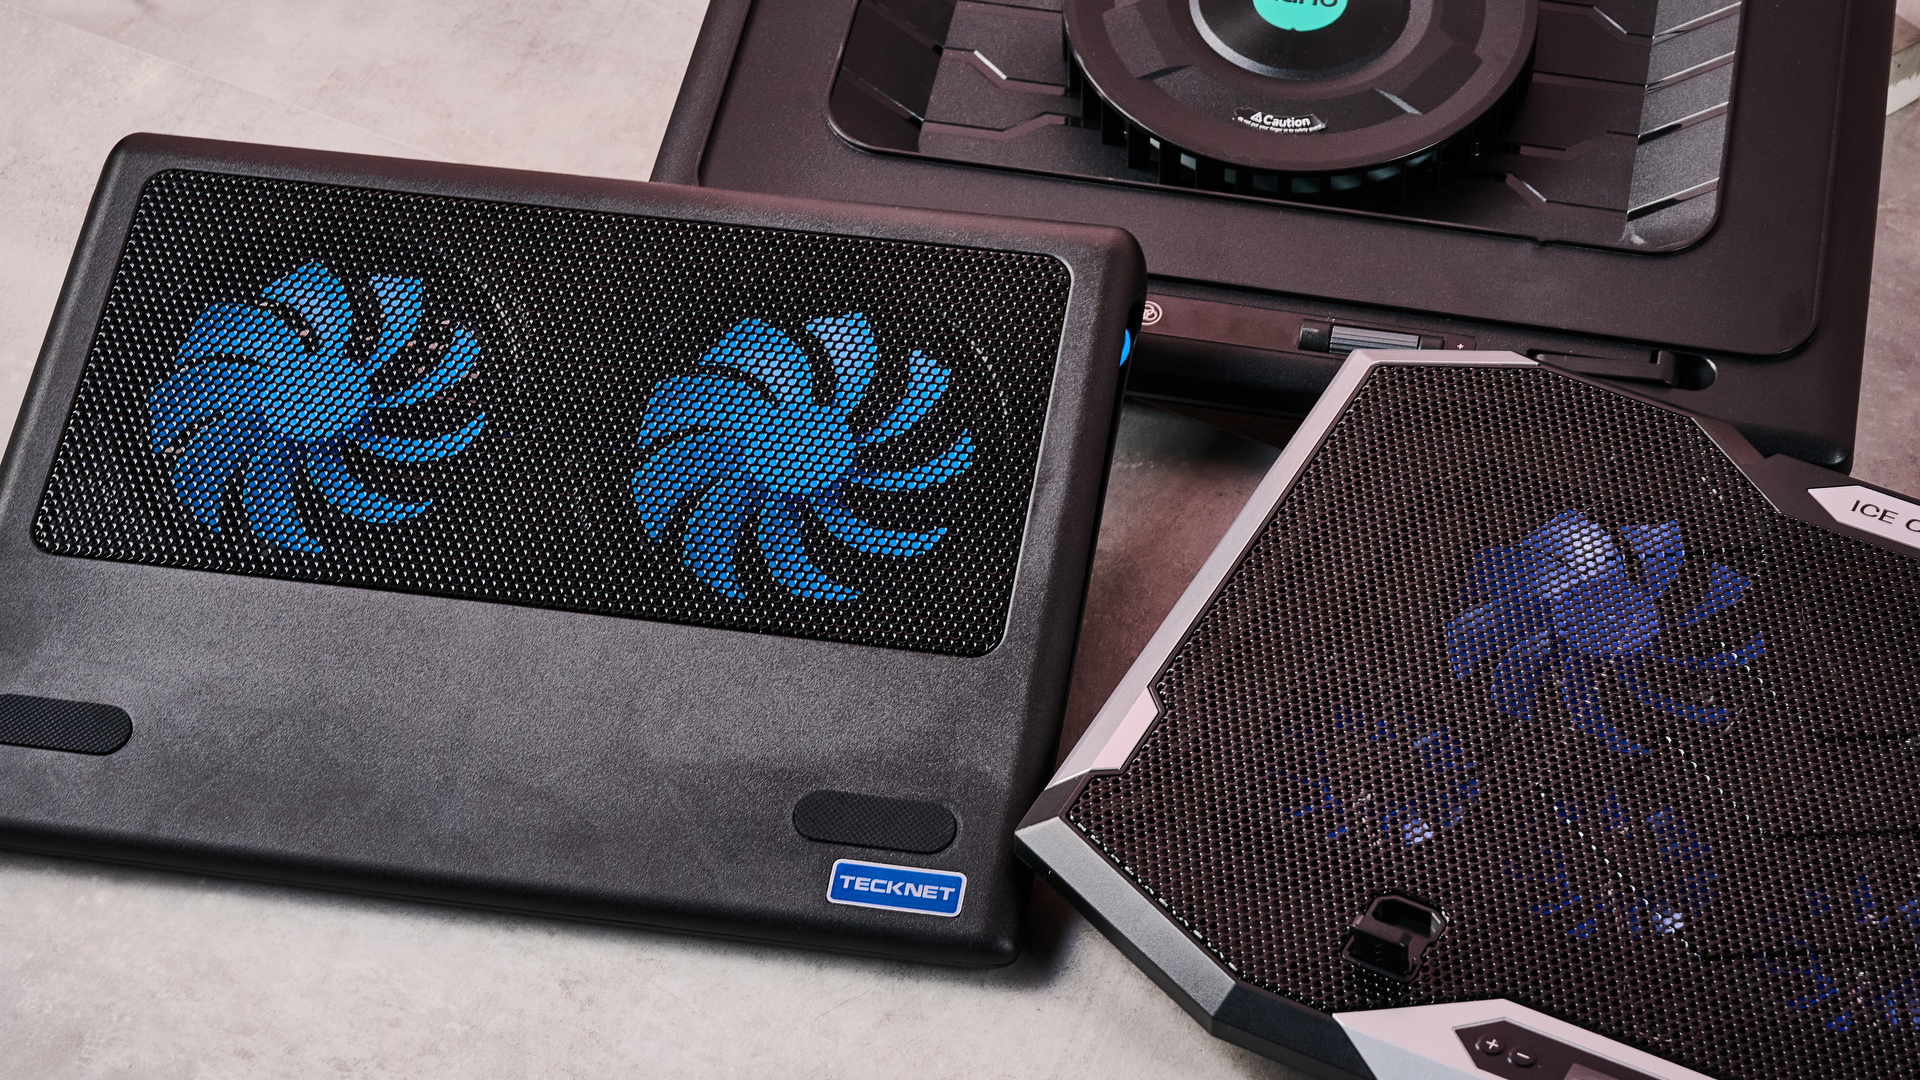
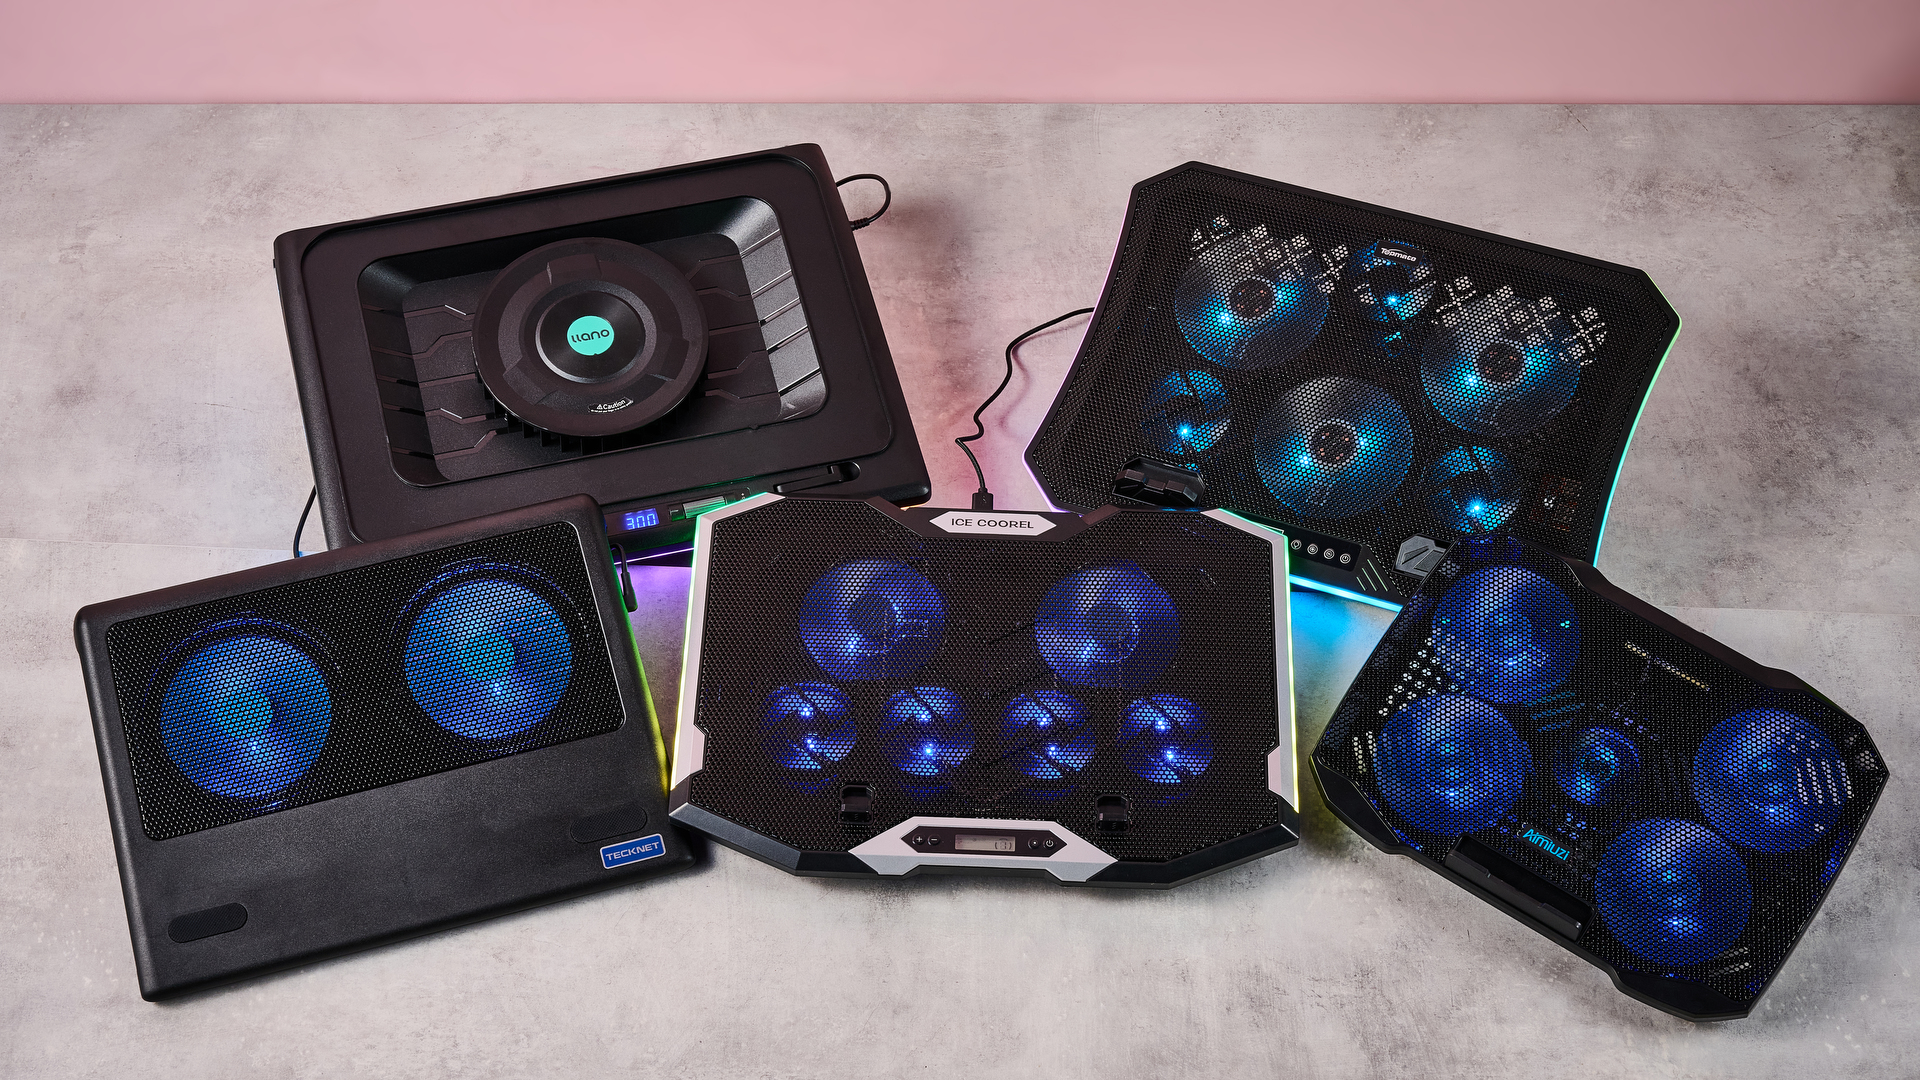
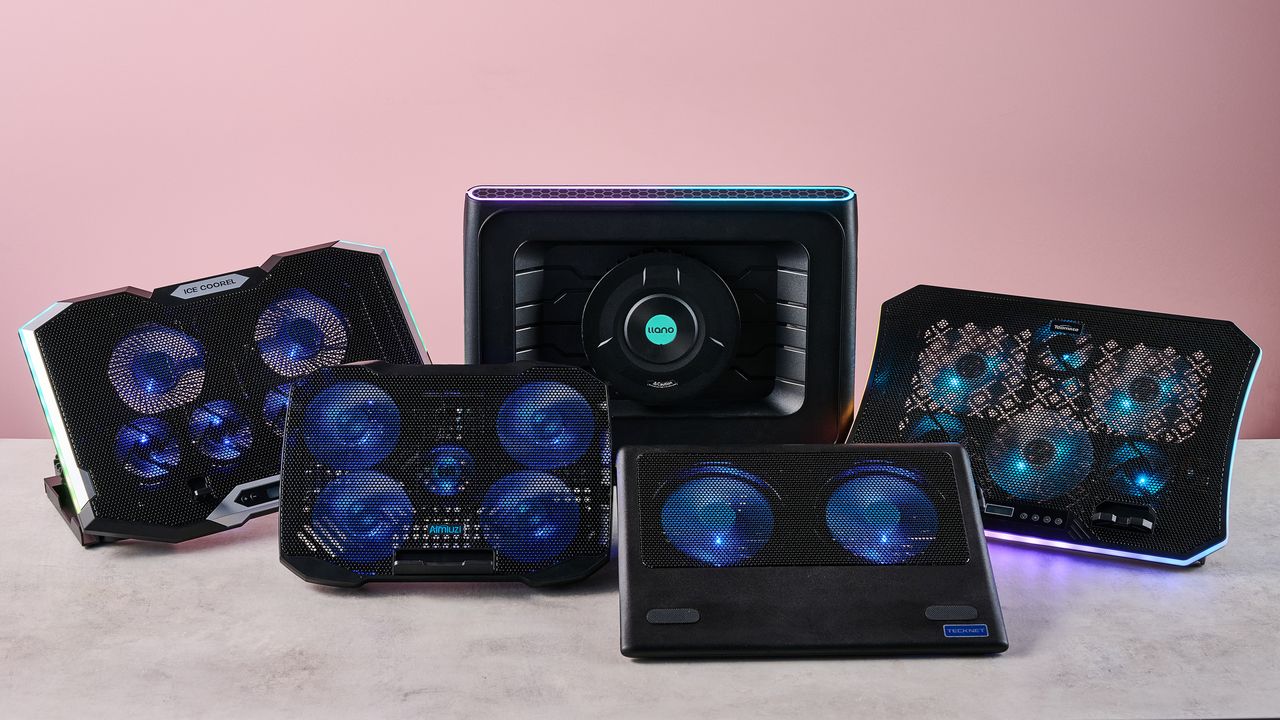
Fortunately for you, I've spent this week testing every laptop cooling pad I can get my hands on to see which offers the superior AC for your computer. Not only that, but I've brought receipts — this piece has more graphics and graphs than election night coverage. So if you want objective numbers about which pad is genuinely gusty and which is all bluster, I've got the data you need.
I get that it can be tempting to overlook cooling your laptop during warm weather — I've been more worried this summer about tracking down a fan to keep myself cool than my laptops. But you overlook the best laptop cooling pads at your peril.
I still have vivid memories of the summer I redlined my laptop during a heatwave. While the video skittering should have been a hint, it was only when it stopped booting up and started bleeping SOS in Morse code that I began questioning my life choices. Turns out I'd burnt out the memory — quite literally: there were scorch marks on the inside of the case.
So at this time of year, it's worth considering whether a laptop cooling pad can help you out. And I can definitely help out there.
Laptop cooling pads: cooling
Temperature Rise Using Laptop Cooling Pad
The temperature rise during a stress test while using the laptop cooling pad on max settings
Baseline
31.9
TopMate C12 Laptop Cooling Pad
22.8
Klim Mistral
20.4
Klim Wind
19.5
Almiuzi F2 Plus Laptop Cooling Pad
18.4
TECKNET Laptop Cooling Pad
17.9
Klim Ultimate
15.5
Liangstar Laptop Cooling Pad
15.3
Llano V10 Gaming Laptop Cooling Pad
12
Llano RGB Laptop Cooling Pad
8
010203040
Temperature difference (°C) Data
Product
Value
Baseline
31.9
TopMate C12 Laptop Cooling Pad
22.8
Klim Mistral
20.4
Klim Wind
19.5
Almiuzi F2 Plus Laptop Cooling Pad
18.4
TECKNET Laptop Cooling Pad
17.9
Klim Ultimate
15.5
Liangstar Laptop Cooling Pad
15.3
Llano V10 Gaming Laptop Cooling Pad
12
Llano RGB Laptop Cooling Pad
8
Baseline
57.4
TopMate C12 Laptop Cooling Pad
41
Klim Mistral
36.7
Klim Wind
35.1
Almiuzi F2 Plus Laptop Cooling Pad
33.1
TECKNET Laptop Cooling Pad
32.2
Klim Ultimate
27.9
Liangstar Laptop Cooling Pad
27.5
Llano V10 Gaming Laptop Cooling Pad
21.6
Llano RGB Laptop Cooling Pad
14.4
015304560
Temperature difference (°F) Data
Product
Value
Baseline
57.4
TopMate C12 Laptop Cooling Pad
41
Klim Mistral
36.7
Klim Wind
35.1
Almiuzi F2 Plus Laptop Cooling Pad
33.1
TECKNET Laptop Cooling Pad
32.2
Klim Ultimate
27.9
Liangstar Laptop Cooling Pad
27.5
Llano V10 Gaming Laptop Cooling Pad
21.6
Llano RGB Laptop Cooling Pad
14.4
Lower values indicate better cooling.
How I tested
To test each laptop cooling pad's performance, I ran a 3DMark Steel Nomad stress test on an Acer Predator Helios 300 gaming laptop with an Nvidia GeForce RTX 3080 GPU. The test ran for 15 minutes, with each cooling pad set to maximum. Using a thermal camera, I clocked the hottest point before and after the test, then calculated the temperature differential between the two to determine how much warming each cooling pad allowed.
Assessing which laptop cooling pad is a breezy wonder and which is a wheezy blunder ultimately comes down to how frosty each model's cooling is. That's why I went through every pad I could get my hands on to see how much each one prevented our gaming laptop from heating up during a 3DMark stress test.
As you can see, by far the weakest cooling offered by any laptop cooling pad I tested was from the TopMate C12 Laptop Cooling Pad. Compared to the 57.4°F / 31.9°C baseline rise of our gaming laptop alone, the C12 was only able to limit it to a 41°F / 22.8°C rise — that might be better than frantically waving a dish towel in its general direction, but only barely.
Probably the biggest disappointment of these tests was how the Klim Mistral performed. Not only did it seem to perform worse than the more affordable Klim Wind — resulting in 36.7°F / 20.4°C warming compared to the Wind's 35.1°F / 19.5°C — but it was pretty inconsistent to boot, achieving even worse results on a retest.
Skipping ahead a little, the laptop cooling pad I was most surprised by was the TECKNET. Although it's cheaper than quite a few of the pads I tested here, setting me back just $21.59 / £21.99, the 32.2°F / 17.6°C warming it presided over put it firmly in the top half of the pack. It's the little laptop cooling pad that could.
(Image credit: Future)
Given that the Liangstar Laptop Cooling Pad and Klim Ultimate both achieved an almost photo finish, it would be easy to assume there's not much daylight between them. However, like a bottle of wine, you really need to weigh up what you're spending here to calculate its true value. And as the Liangstar costs $20.99 / £23.59 versus the Klim Ultimate's $44.97 / £44.97 price tag, that definitely takes the edge here.
But, frankly, there's a reason Llano is the absolute GOAT in my eyes. As you can see, it took both first and second place on my cooling pad podium. While the Llano V10 Gaming Laptop Cooling Pad stopped our gaming laptop from warming up more than 21.6°F / 12°C, the Llano RGB Laptop Cooling Pad kept it down to just 14.4°F / 8°C of warming. This boi makes liquid nitrogen look positively toasty.
Laptop cooling pads: noise levels
1 / 2
Noise Level — cooling pad alone
Noise level of the cooling pad or laptop alone taken at head height and from 3 inches away
Llano RGB Laptop Cooling Pad
71
Llano V10 Gaming Laptop Cooling Pad
64.5
Klim Mistral
52.6
Liangstar Laptop Cooling Pad
45
TopMate C12 Laptop Cooling Pad
43.5
Laptop alone
42
Almiuzi F2 Plus Laptop Cooling Pad
37.4
Klim Wind
36.2
TECKNET Laptop Cooling Pad
36
Klim Ultimate
36
020406080
dB
Head height Data
Product
Value
Llano RGB Laptop Cooling Pad
71
Llano V10 Gaming Laptop Cooling Pad
64.5
Klim Mistral
52.6
Liangstar Laptop Cooling Pad
45
TopMate C12 Laptop Cooling Pad
43.5
Laptop alone
42
Almiuzi F2 Plus Laptop Cooling Pad
37.4
Klim Wind
36.2
TECKNET Laptop Cooling Pad
36
Klim Ultimate
36
Llano RGB Laptop Cooling Pad
85
Llano V10 Gaming Laptop Cooling Pad
77
Klim Mistral
62.6
Liangstar Laptop Cooling Pad
59
TopMate C12 Laptop Cooling Pad
58
Laptop alone
60
Almiuzi F2 Plus Laptop Cooling Pad
50.2
Klim Wind
48.8
TECKNET Laptop Cooling Pad
60
Klim Ultimate
46
0255075100
dB
Near Data
Product
Value
Llano RGB Laptop Cooling Pad
85
Llano V10 Gaming Laptop Cooling Pad
77
Klim Mistral
62.6
Liangstar Laptop Cooling Pad
59
TopMate C12 Laptop Cooling Pad
58
Laptop alone
60
Almiuzi F2 Plus Laptop Cooling Pad
50.2
Klim Wind
48.8
TECKNET Laptop Cooling Pad
60
Klim Ultimate
46
Noise Level — cooling pad & laptop
Combined noise level of the cooling pad and laptop taken at head height and from 3 inches away
Llano RGB Laptop Cooling Pad
64
Llano V10 Gaming Laptop Cooling Pad
57.5
Klim Mistral
51.5
TopMate C12 Laptop Cooling Pad
45
TECKNET Laptop Cooling Pad
45
Liangstar Laptop Cooling Pad
45
Klim Ultimate
44.4
Klim Wind
44
Almiuzi F2 Plus Laptop Cooling Pad
44
020406080
dB Head height Data
Product
Value
Llano RGB Laptop Cooling Pad
64
Llano V10 Gaming Laptop Cooling Pad
57.5
Klim Mistral
51.5
TopMate C12 Laptop Cooling Pad
45
TECKNET Laptop Cooling Pad
45
Liangstar Laptop Cooling Pad
45
Klim Ultimate
44.4
Klim Wind
44
Almiuzi F2 Plus Laptop Cooling Pad
44
Llano RGB Laptop Cooling Pad
79
Llano V10 Gaming Laptop Cooling Pad
69
Klim Mistral
61.5
TopMate C12 Laptop Cooling Pad
58.5
TECKNET Laptop Cooling Pad
58
Liangstar Laptop Cooling Pad
59
Klim Ultimate
55.2
Klim Wind
58.5
Almiuzi F2 Plus Laptop Cooling Pad
61
020406080
dB Near Data
Product
Value
Llano RGB Laptop Cooling Pad
79
Llano V10 Gaming Laptop Cooling Pad
69
Klim Mistral
61.5
TopMate C12 Laptop Cooling Pad
58.5
TECKNET Laptop Cooling Pad
58
Liangstar Laptop Cooling Pad
59
Klim Ultimate
55.2
Klim Wind
58.5
Almiuzi F2 Plus Laptop Cooling Pad
61
How I tested
When it came to noise levels, I measured the noise of each cooling pad from 3 inches away and from my head height when sitting in front of it. I also recorded the combined noise of each cooling pad and the testing laptop's fans 10 minutes into each stress test from the same distances.
You may think that your gaming laptop makes a lot of noise. But believe me: that's scarcely more than a murmur compared to some cooling pads. Given they're essentially just an LED-adorned box with a whopping great fan inside, they can get pretty shouty. That's why I grabbed the sound level meter from my utility belt and started measuring like the world's nerdiest superhero.
Perhaps predictably, the pad that blows coolest blows loudest. While I love the Llano RGB Laptop Cooling Pad's glacial chilling, I can't get away from the fact that it's pretty noisy. I'm 5 foot 11 inches tall, and from my head height, I clocked it at 71dB — according to the Center for Hearing and Communication, that's roughly as loud as a coffee grinder or freeway traffic. In my book, that's a worthy price to pay for keeping your laptop cool, but it might not be ideal if you're planning to use it in the office.
In fact, you might assume there's an inverse relationship between cooling and fan noise. And while that does hold true for the most part, there are some interesting exceptions. For example, while I found the Liangstar Laptop Cooling Pad offered the third best cooling in my tests overall, it was substantially quieter than either of the Llanos, clocking in at a much less brash 45dB.
Conversely, the Klim Mistral manages to buck the trend in the other direction, running surprisingly loud compared to some of the other competitors here. At 52dB, it kicks out a similar level of noise as a fridge — which is pretty ironic given it offered some of the worst cooling in my testing.
(Image credit: Future)
And there are some surprising candidates for the winner's podium when it comes to sound levels. The TECKNET offers far from the worst cooling, and yet it ties for first place as the quietest pad on test here at 36dB — again, not at all bad given its super affordable price tag.
Honestly, though, if you want whisper-quiet running without sacrificing performance, my pro tip would be to check out the Klim Ultimate. Unlike Klim's two cheaper cooling pads, it offers very credible chilling while also measuring noise levels of 36dB from head height — that's apparently quieter than a library, which isn't known for being a raucous place.
Fundamentally, noise levels probably shouldn't be the deciding factor when picking your perfect laptop cooling pad. Both cooling power and budget come higher up the pecking order in terms of my personal preferences. But that doesn't mean you should ignore it completely — depending on where and how you use your laptop, you could find strapping a jet engine to the bottom of it to be a bit of a deal breaker.
Do I even need a laptop cooling pad?
1 / 2
MacBook Air M5 encode test
Performance after an hour during a standard encode test both with and without cooling
Versus Comparison Data
Attribute
Benchmark — MacBook Air M5
Klim Ultimate — MacBook Air M5
Average FPS
2.52
2.77
Estimated encode time
122
114
VS
Average FPS (fps)
2.52
2.77+10%
Estimated encode time (minutes)
+7%122
114
Re-encoding a 4K stereo .mov file at highest quality, the MacBook Air M5 showed a modest reduction in throttling in terms of average FPS and encode time when using the Klim Ultimate laptop cooling pad.
Acer Predator Helios 300 encode test
Performance after an hour during a standard encode test both with and without cooling
Versus Comparison Data
Attribute
Benchmark — Acer Predator Helios 300
Klim Ultimate — Acer Predator Helios 300
Average FPS
2.8
2.8
Estimated encode time
115
113
VS
Average FPS (fps)
2.8
2.8
Estimated encode time (minutes)
+2%115
113
Re-encoding a 4K stereo .mov file at highest quality, the Acer Predator Helios 300 showed essentially no reduction in either average FPS or estimated encode time, suggesting limited heat-related throttling took place.
How I tested
Here I used a standard encoding test. I re-encoded the 4K stereo version of the Creative Commons animated movie Big Buck Bunny at 4K 120fps at the slowest encode speed, then ran it for an hour to allow throttling to take place and recorded the total estimated encode time and average encode rate. I ran this on both my MacBook Air M5 and our testing Acer Predator Helios 300, uncooled and cooled with the Klim Ultimate, to see the impact it had on performance.
So it's pretty clear which cooling pads offer ice-cold AC and which sound like a tumble dryer breaking the sound barrier. But I've left the biggest question until last — do you actually need one at all?
Aiming to prove my theorem that 'cold CPU = good', I whipped up a quick encode test designed to stress out the CPU of several laptops over a longer period. In theory, after an hour, their core temperature should have risen, their CPUs throttled, and the length of the encode spiked and the encode rate dropped. Running the same test with one of our top cooling pads, the Klim Ultimate, would then show how much it could reduce this throttling.
On my MacBook Air M5, after an hour of using its passive cooling alone, the total estimated encode time had crept up to 122 minutes, and the average encode rate was sitting at 2.52 FPS. When I reran the test with the Klim Ultimate running on max cooling, that total encode time was trimmed to 114 minutes, and the encode rate had increased to 2.77 FPS. That's not a huge difference, but it shows the Klim Ultimate was able to trim back some of that temperature-related throttling.
Running the same test on our Acer Predator Helios 300 was a much more ambiguous experience. During my first run, the encode crashed within minutes, and during the second it crashed moments after the test concluded. So it was honestly far from stable.
I was able to eventually get some results, however, and they showed... nothing. Whether I was using the Klim Ultimate or not, the test results were essentially identical, with Handbrake clocking an estimated encode time of 115 minutes uncooled and 113 with the Klim's help. Meanwhile, the encode rate remained steady, sitting at a reasonable 2.8 FPS.
(Image credit: Future)
What does that mean? That I've wasted several hours of my life? Not quite. There are a couple of key conclusions to take away from this. One is that a performance laptop with whacking great fans built in is already pretty good at keeping itself cool. Shocking revelation, I know.
But probably the more critical takeaway is that the mileage you get out of a laptop cooling pad is going to vary depending on how well optimized it is for handling heat, as well as the kind of tasks you're doing. Had I tried to run Cyberpunk 2077 on max graphics settings with ray-tracing switched on, the Predator Helios 300 would likely have caused it to melt into the earth's core.
There's also another caveat. While it's definitely been warm the last week or so in the TechRadar testing lab, it hasn't reached the kind of desiccating highs that have hit both the US and UK in recent months. Past a certain point, any laptop will struggle in the heat. Forget CPU throttling — in that heat, I'd be more worried about your components liquefying like a chocolate bunny on the launch pad at Cape Canaveral.
In light of that, I'd say a laptop cooling pad is still worth exploring, especially if you tend to do a lot of resource-intensive tasks like 3D work, Photoshopping or gaming.
Any thoughts or personal experiences you'd like to share? Please feel free to chime in down in the comments!
Cherry XTRFY K63W Pro Compact Ultra-Wideband: One-minute review
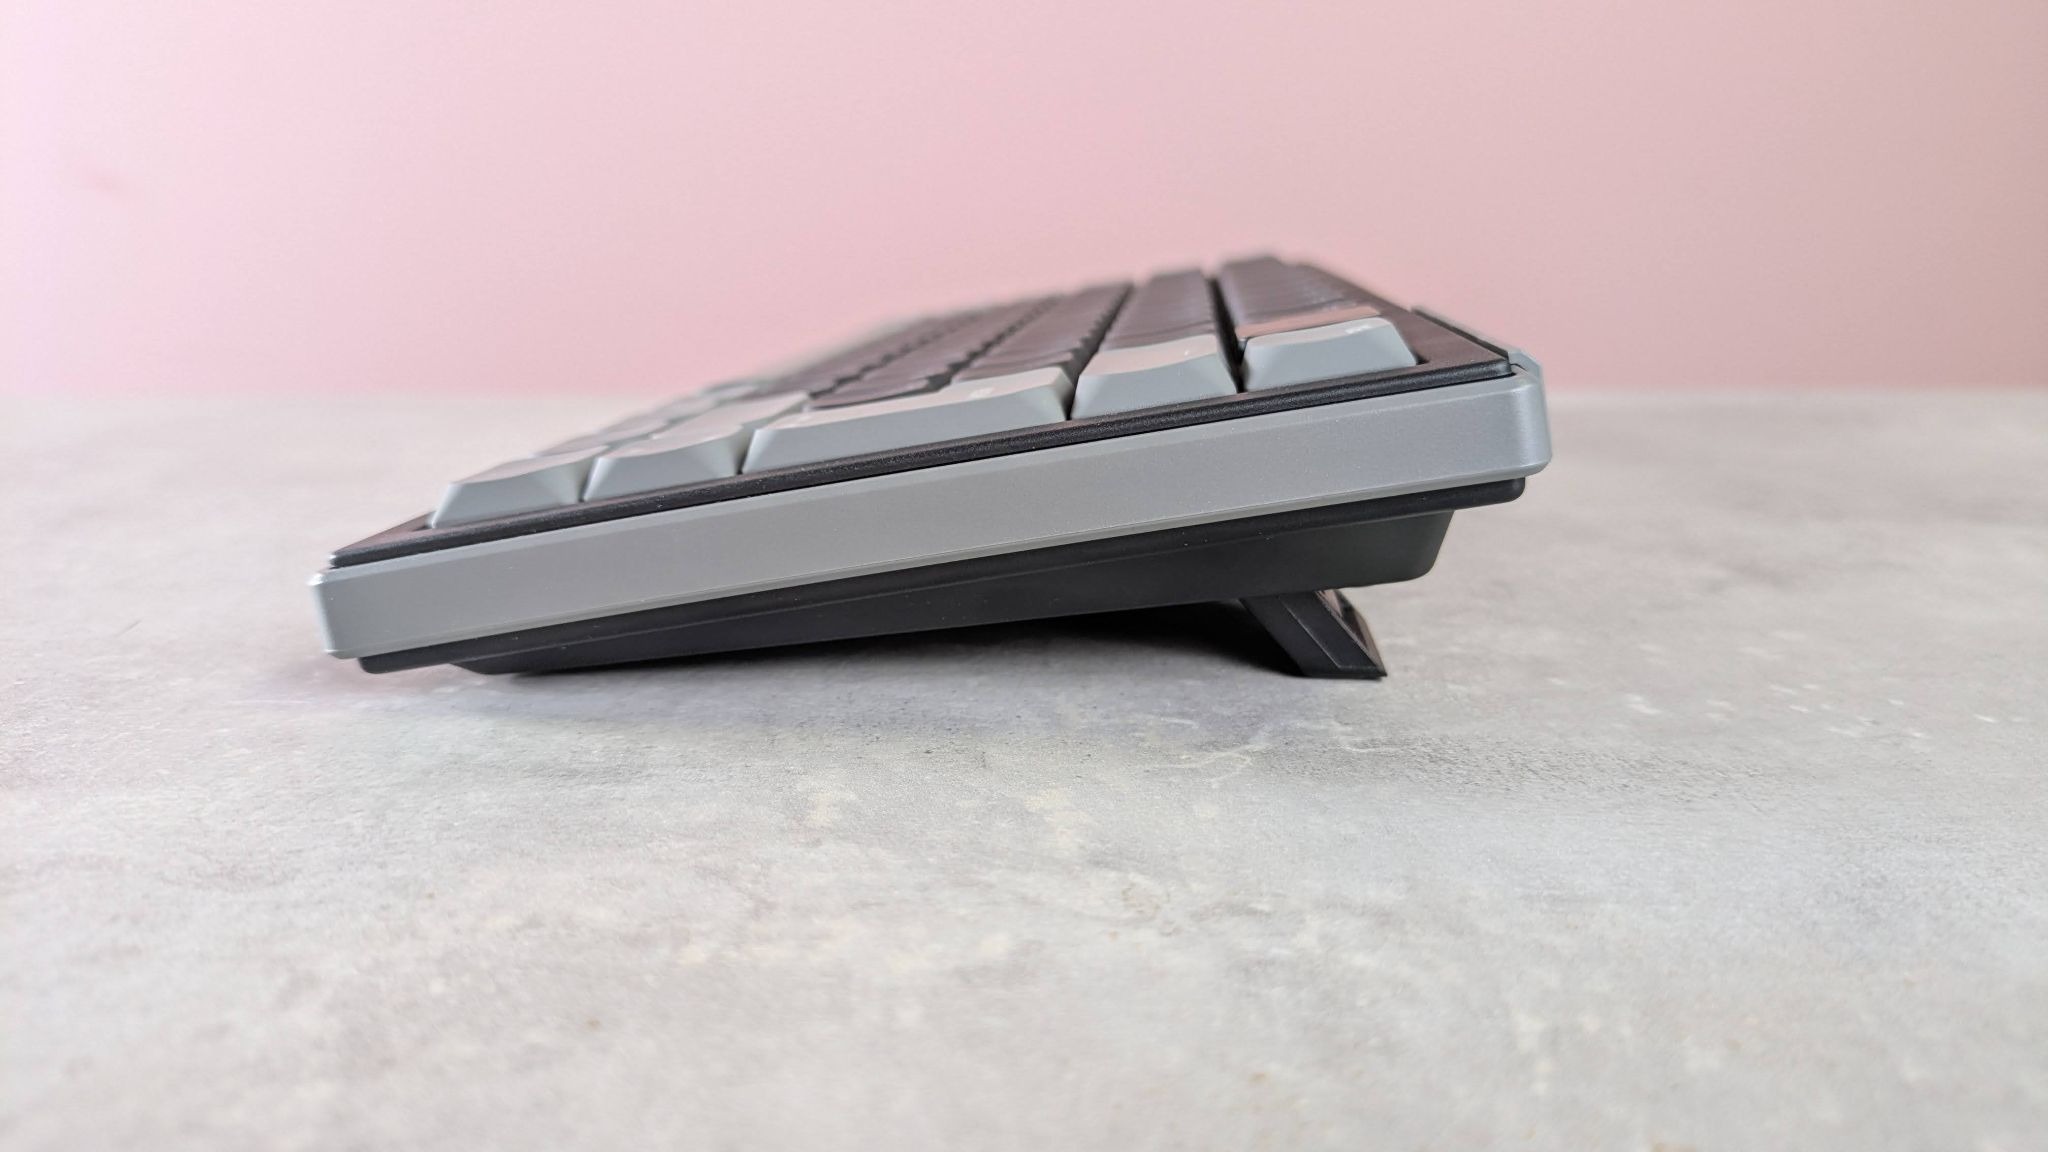
The Cherry XTRFY K63W Pro Compact Ultra-Wideband is a small gaming keyboard with a few surprises in store.
True to its name, it certainly doesn’t take up much room on your desk. It’s also pleasingly light, which means it’s easy to move around. Despite this and the plastic construction, the build quality seems high.
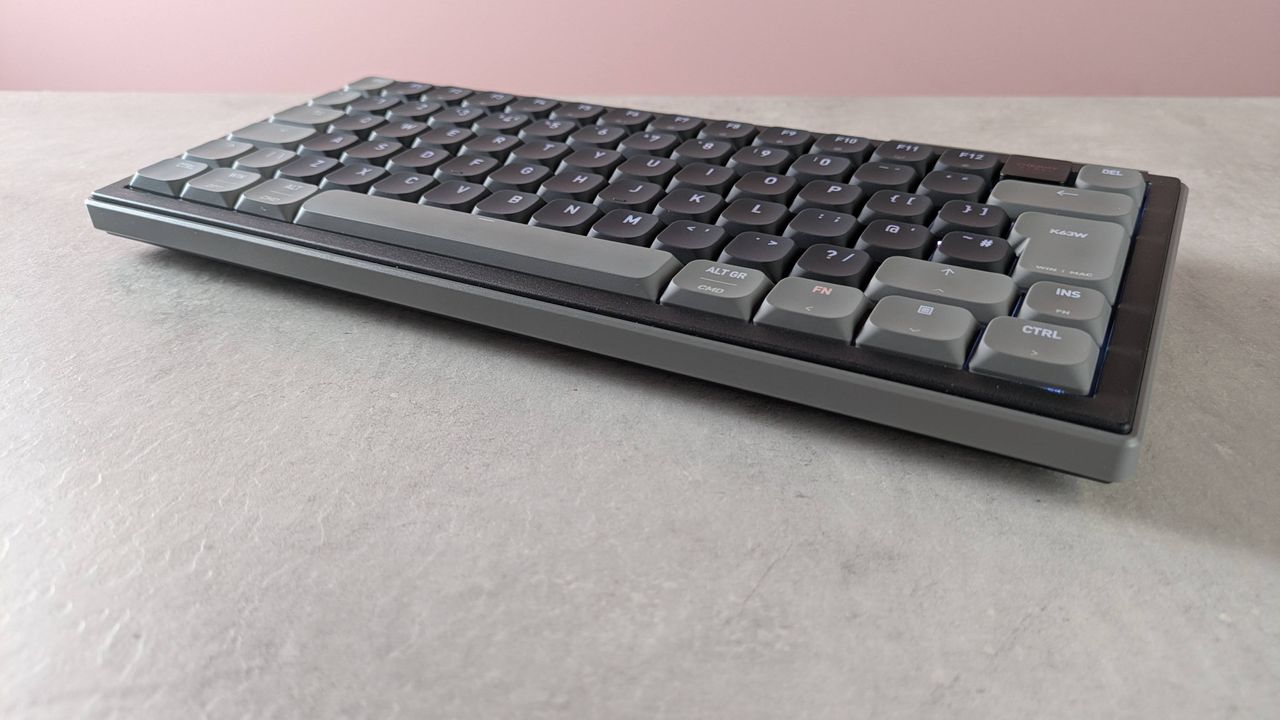
There are some unique features to the design of the K63W Pro. One is the prominent springiness of the gasket-mounted layout, which is a little strange at first, but ultimately it’s not an issue and the keys still feel just as solid as those in the best gaming keyboards.
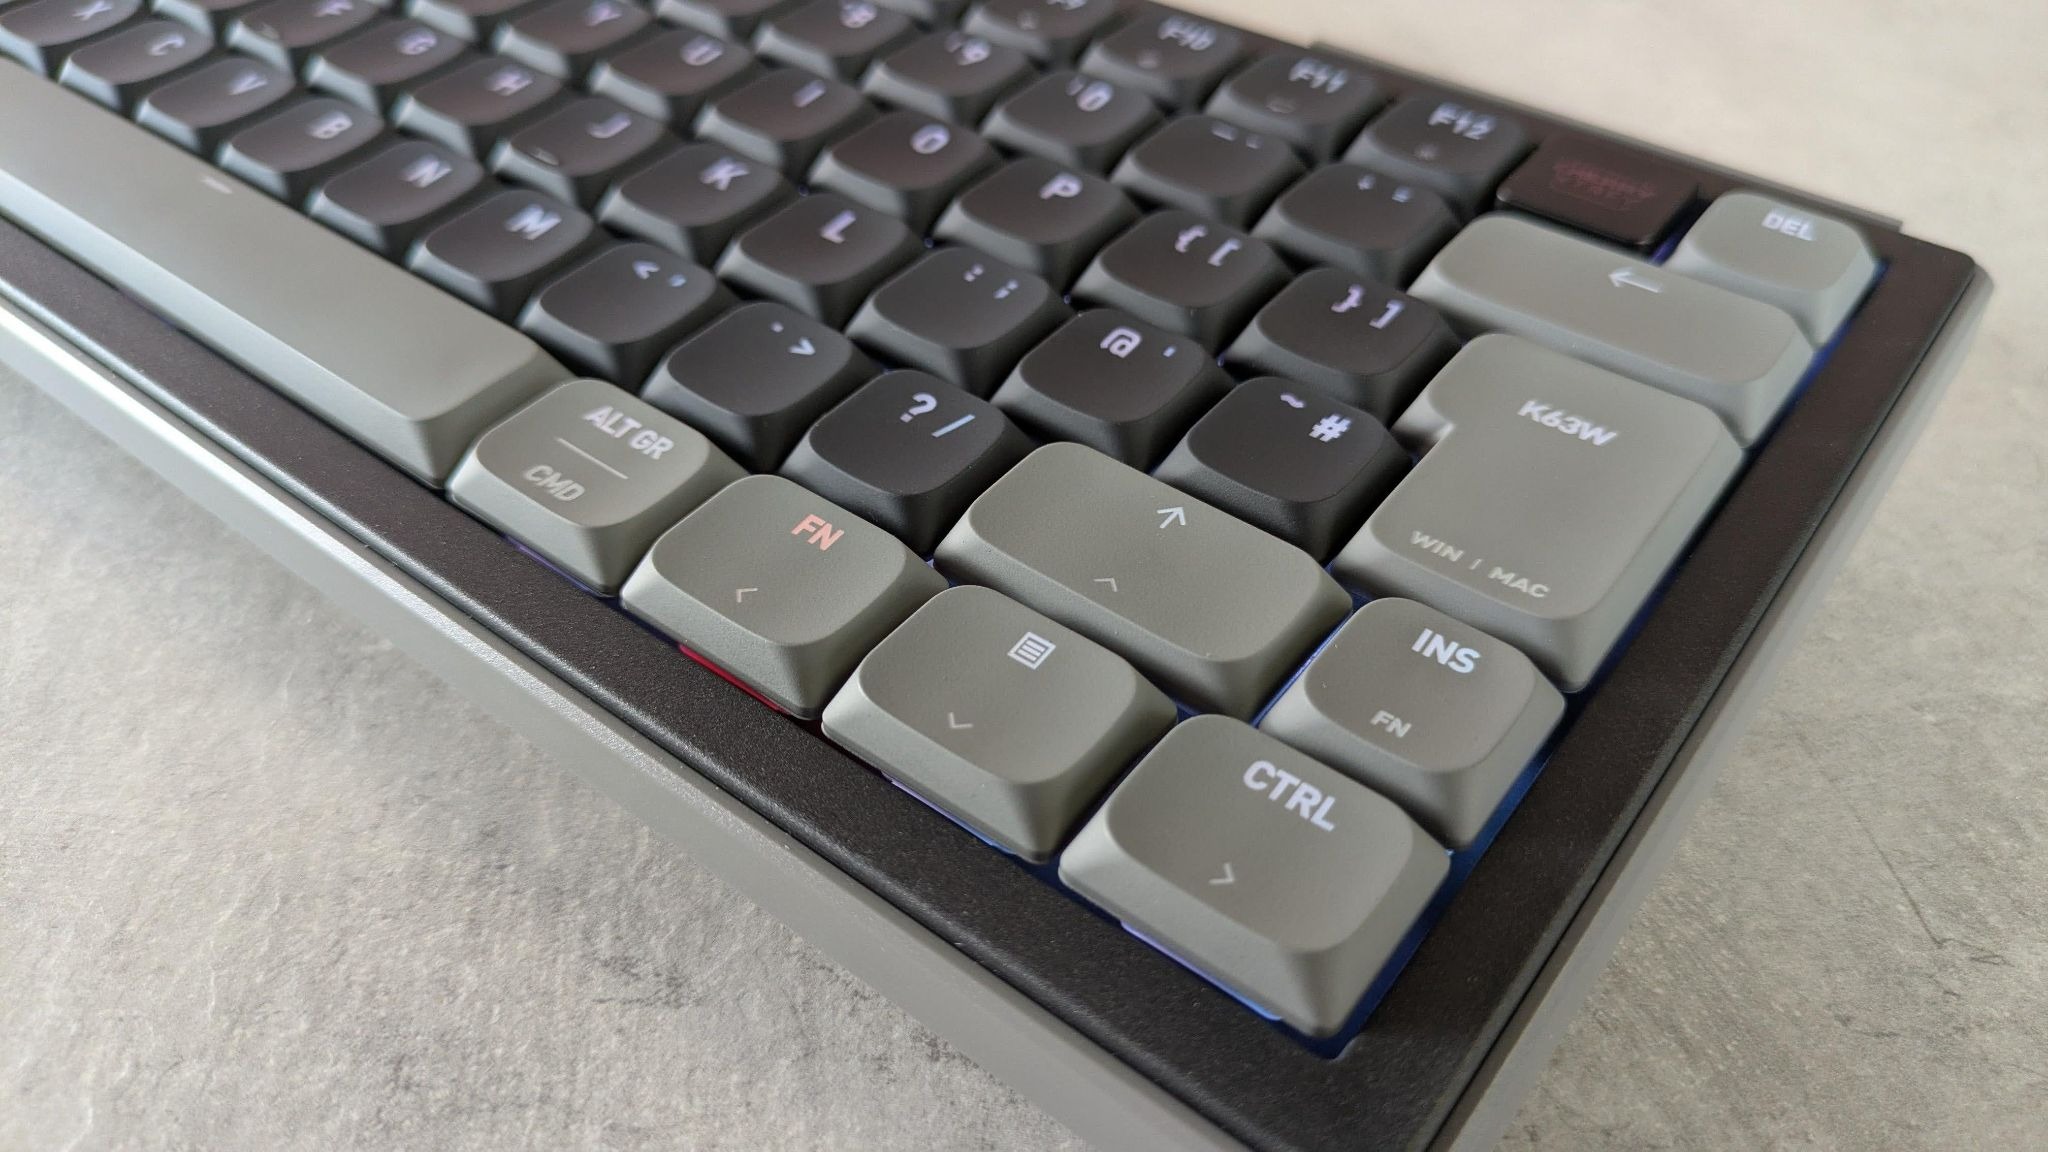
Another is the arrow keys. Not only are they much larger than most, but each of the four directions has a second binding to include right control, right shift, menu, and Fn inputs. There’s a shortcut for toggling between the two sets of bindings, as well as activating both at the same time, with the input triggered determined by whether a key is pressed or held.
(Image credit: Future)
There’s also an option to select these modes in Cherry’s companion software. This software has other customizations, but not many. The remapping options are especially disappointing, thanks to their very awkward setup and limited options. There’s barely any performance tweaks here, either.
Thankfully, the K63W Pro is a capable performer as it is. The keys travel further than you might expect given their low profile, but they’re still just about snappy enough for fast gaming and typing. The ergonomic slant of the keycaps, as well as the generous spacing between them, make them easy to use, while the aforementioned thinness of the chassis makes for a comfortable experience, even without a wrist rest.
Cherry makes much of the K63W Pro’s Ultra-Wideband (UWB) wireless technology, which is designed to prevent potential interference. However, I can’t say I noticed an improvement over other wireless keyboards, and the tech isn’t worth the impracticality that comes with the incongruously large wireless puck. It’s also a shame there’s no Bluetooth support.
The K63W Pro is reasonably expensive for a compact keyboard, although the quality and interesting layout help its case in this regard. The performance is good and it's comfortable to use, but I’m not sure every gamer is going to get along with its unique features.
Cherry XTRFY K63W Pro Compact Ultra-Wideband review: Price and availability
(Image credit: Future)
$169.99 (about £150 / AU$240)
Available now
Expensive for a small board
The Cherry XTRFY K63W Pro Compact Ultra-Wideband costs $169.99 (about £150 / AU$240) and is available now. It comes with a USB cable and the UWB USB receiver.
This is a reasonably high price for a 70% keyboard, especially one that lacks Bluetooth support and input customizations. However, there are certainly more expensive mechanical boards out there, such as the Razer BlackWidow V4 Pro 75. I loved the performance of that board when I reviewed it, and it has a much better selection of input customizations than the K63W Pro.
If you want something more budget-friendly, consider the Monsgeek FUN60 Ultra. This keyboard has analog switches with a heap of performance-related features and tweaks at their disposal. They also feel just as good as mechanical switches in my view.
Value score: 3.5
Cherry XTRFY K63W Pro Compact Ultra-Wideband review: Specs
Layout
70%
Switch
Mechanical (Cherry MX Low Profile 2.0)
Programmable keys
Yes
Dimensions
12.1 x 5.3 x 1.2 inches (307 x 135 x 30 mm)
RGB or backlighting
Yes (customizable)
Cherry XTRFY K63W Pro Compact Ultra-Wideband review: Design and features
(Image credit: Future)
Thin and light
Springboard-like
Limited input customizations
There's nothing particularly exciting about the way the K63W Pro looks. It keeps things basic, although the rounded edges are a nice touch, helping to relieve its austerity a little.
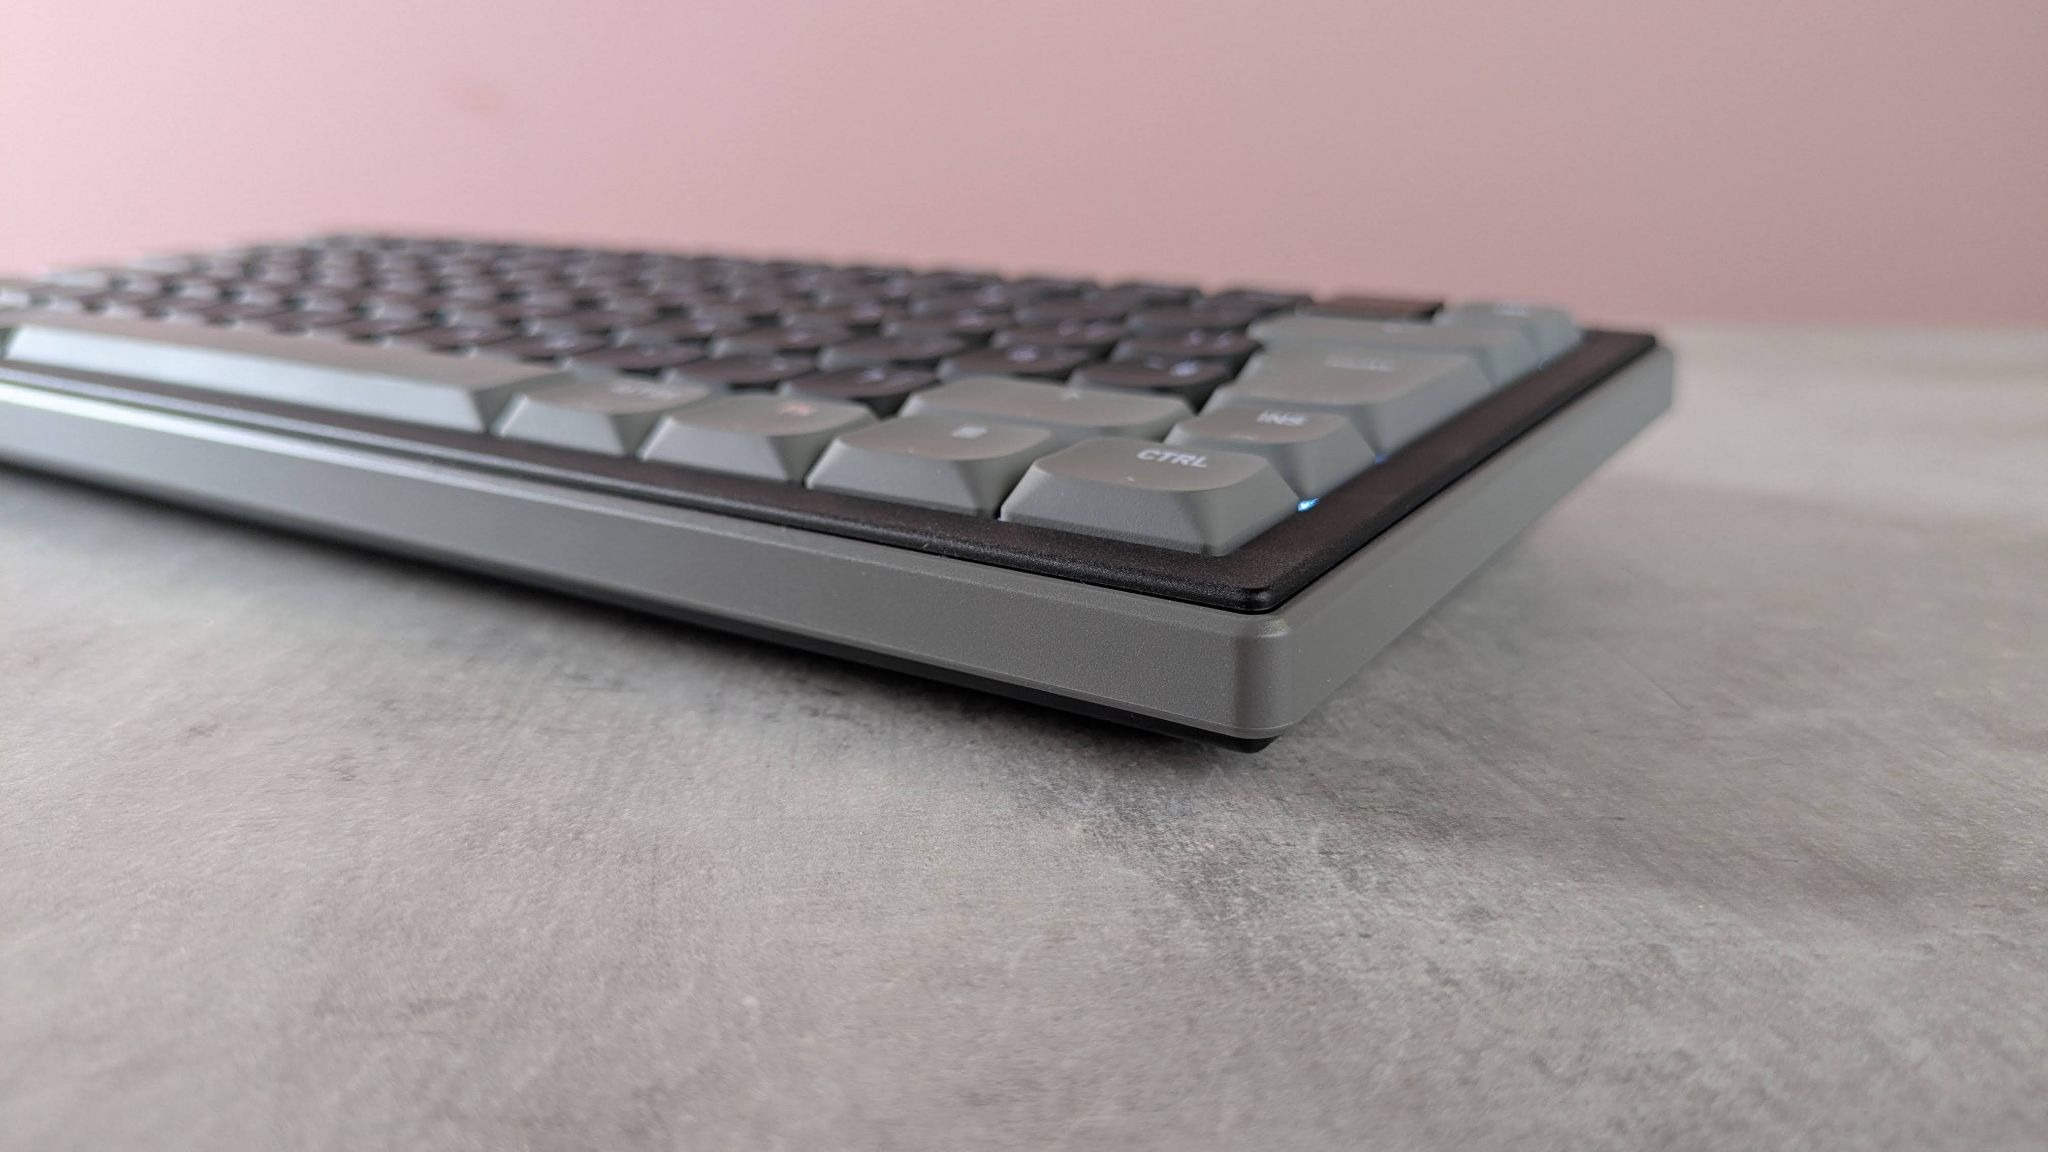
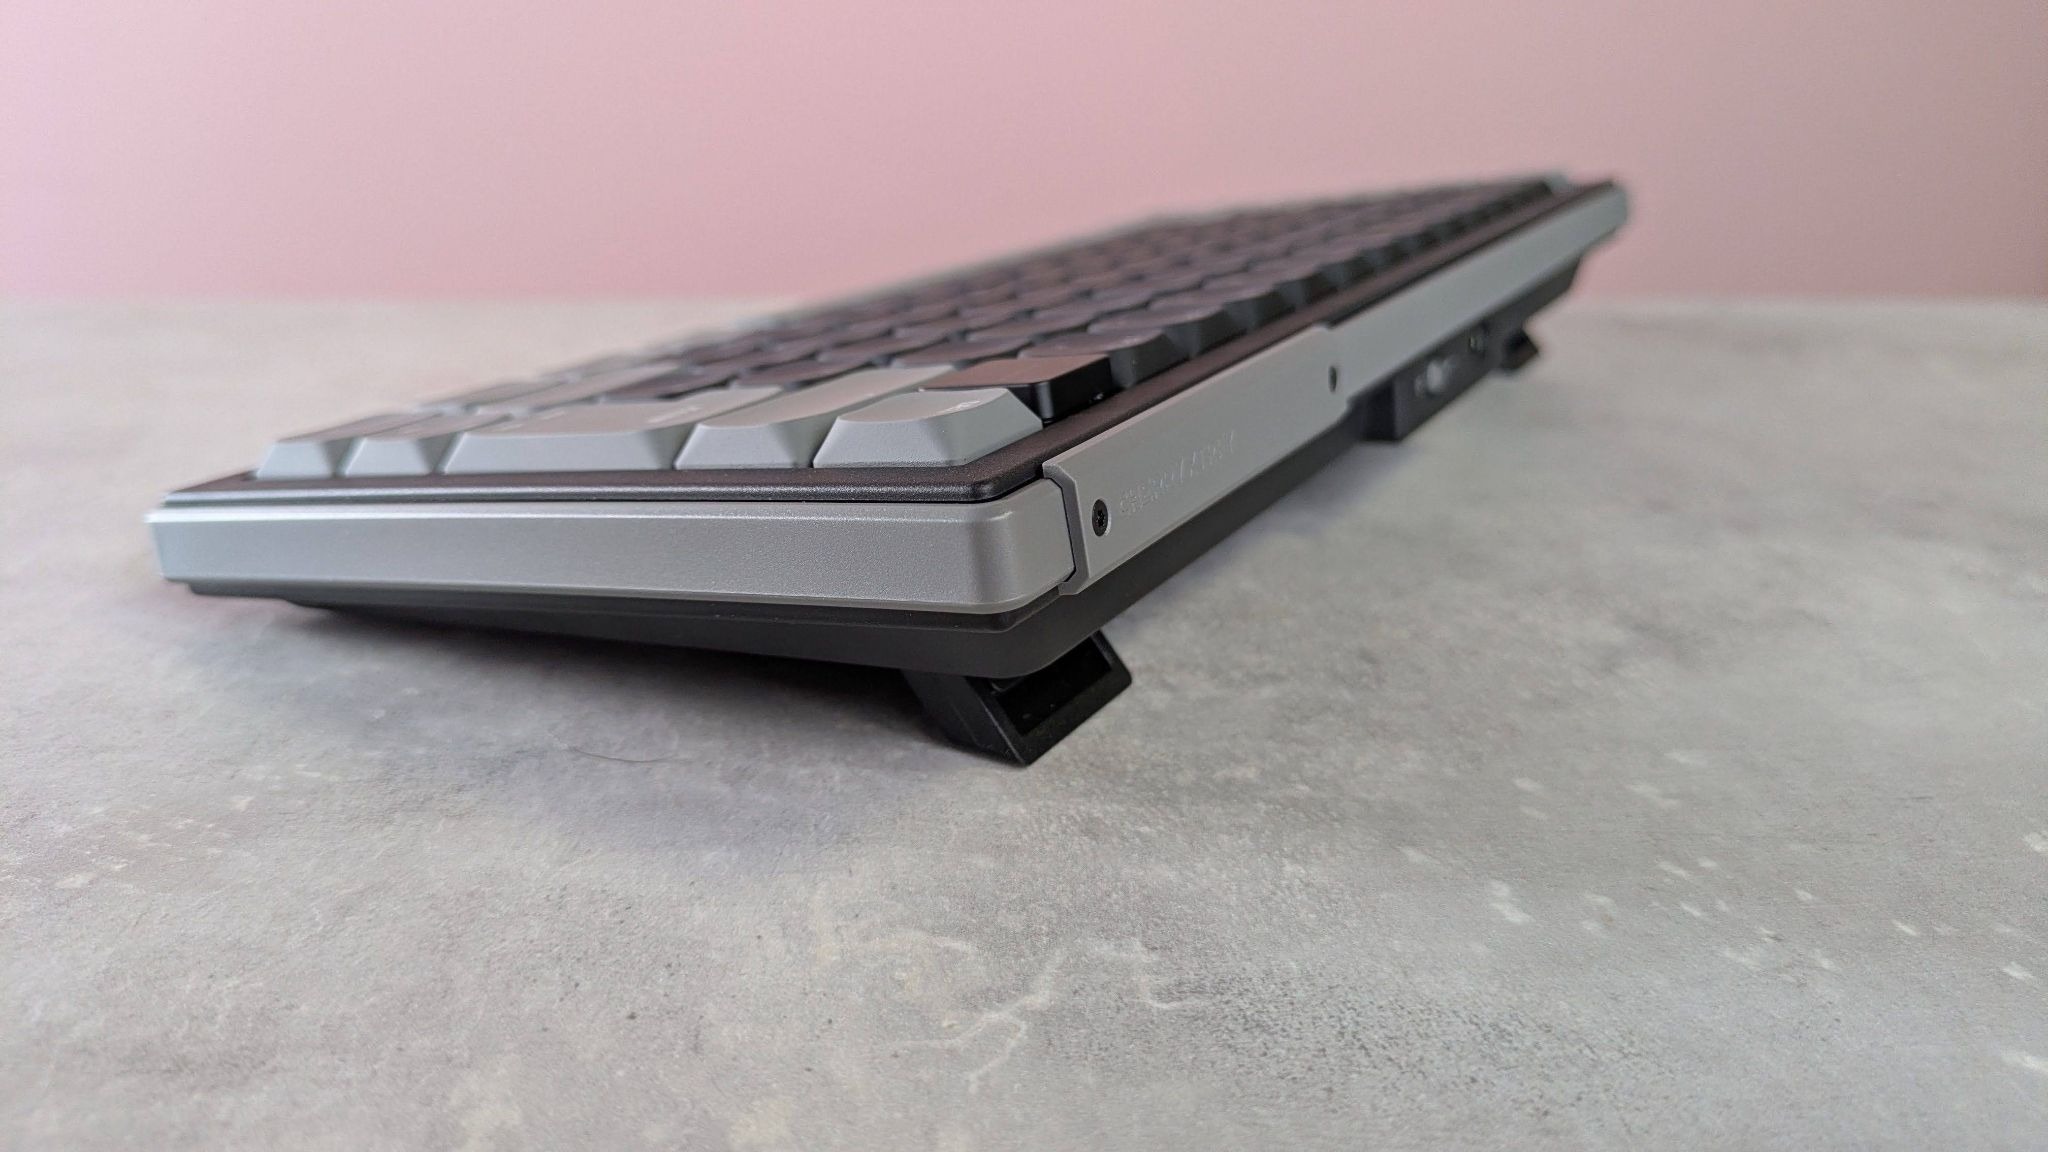
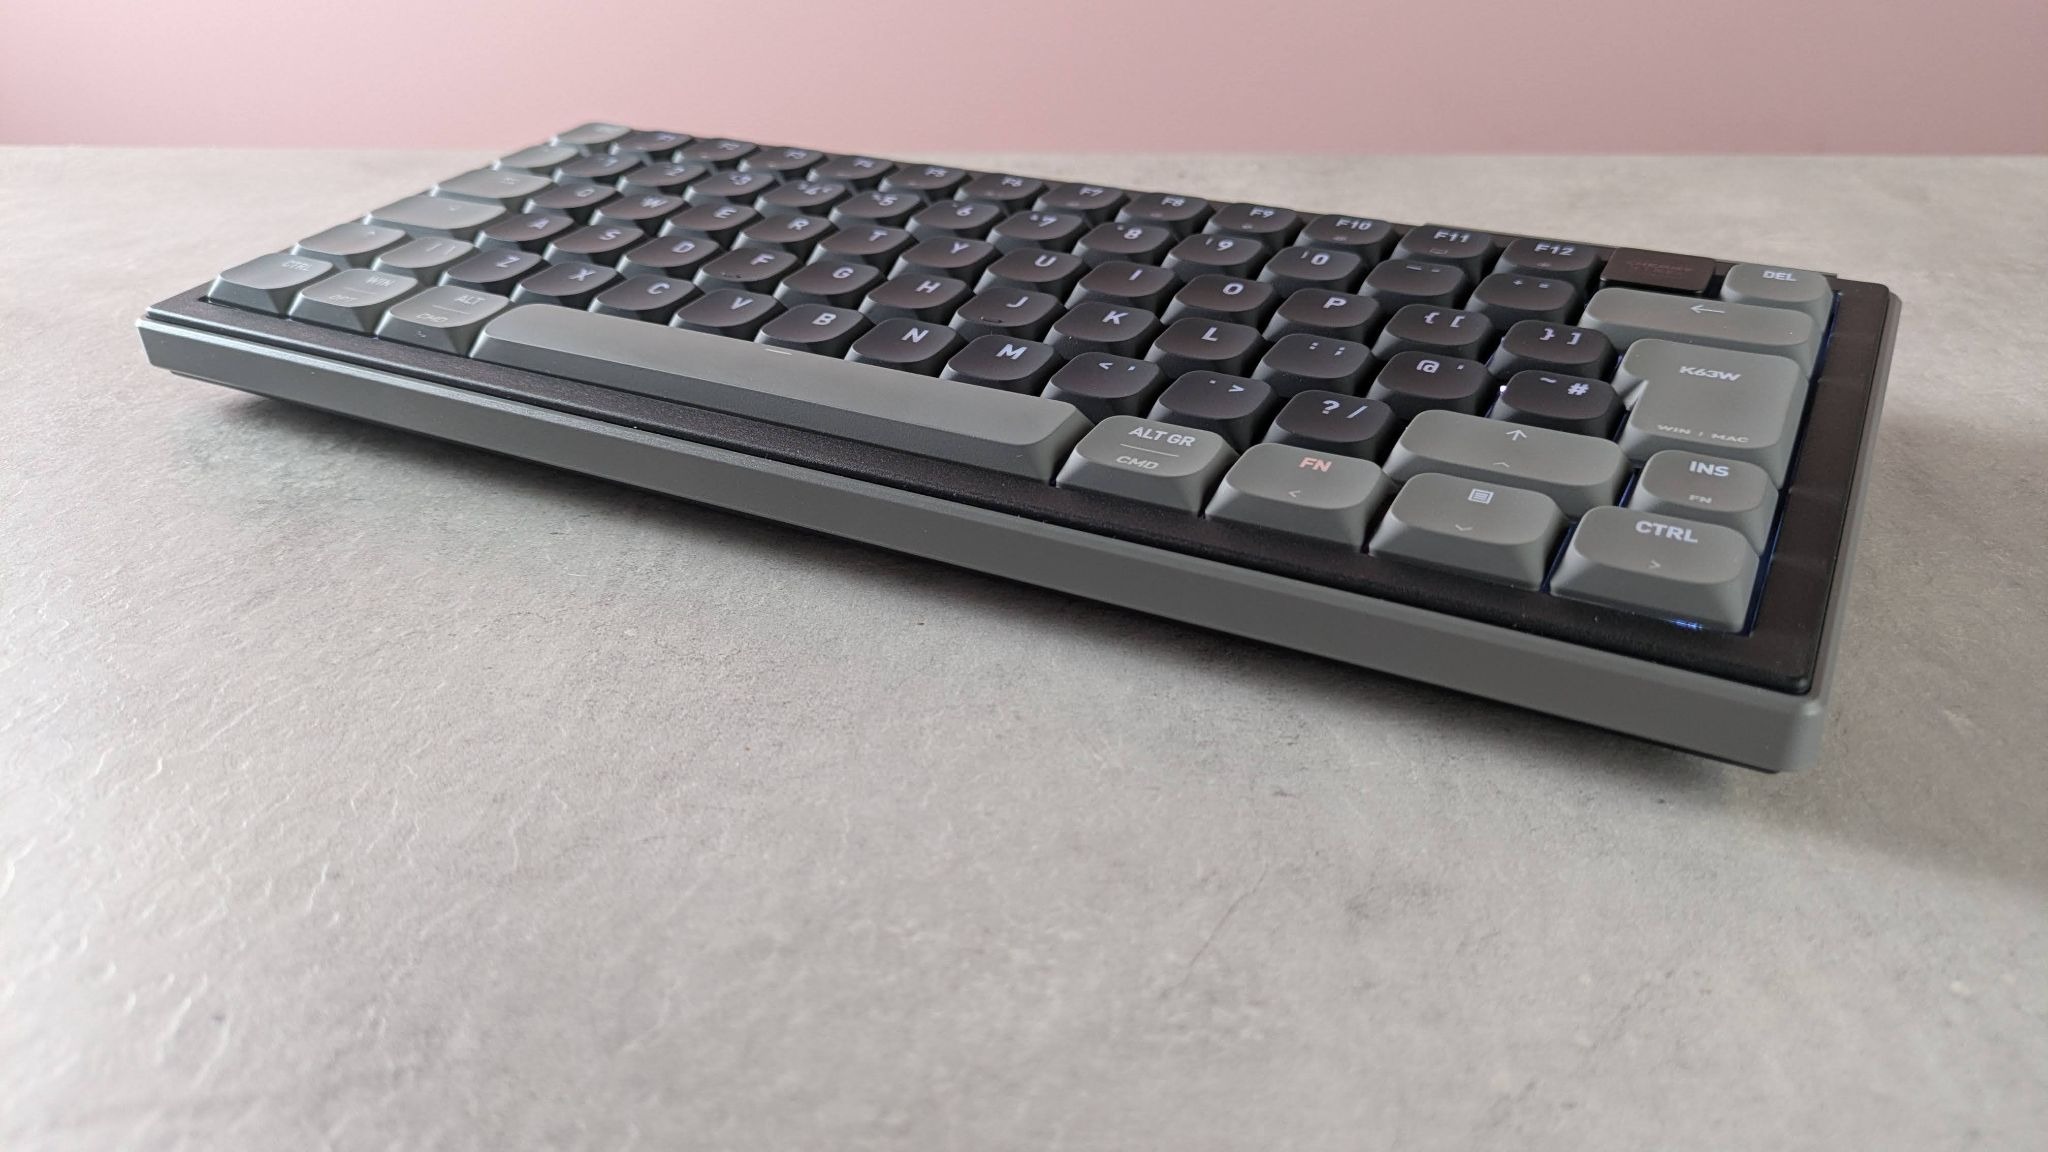
True to its name, the K63W Pro is indeed compact. In addition to its truncated width, it’s also quite thin, making it comfortable to use even without a wrist rest — which is just as well, since it doesn’t come with one.
Despite its plastic construction, the K63W Pro feels sturdy and built to a high standard. Rather unique is the prominent flex of the keyboard plate. This can be pushed down quite a way when pressing a key, which is a little disconcerting at first, but it still feels perfectly stable and it rebounds fully. I wasn’t concerned about its durability, either.
(Image credit: Future)
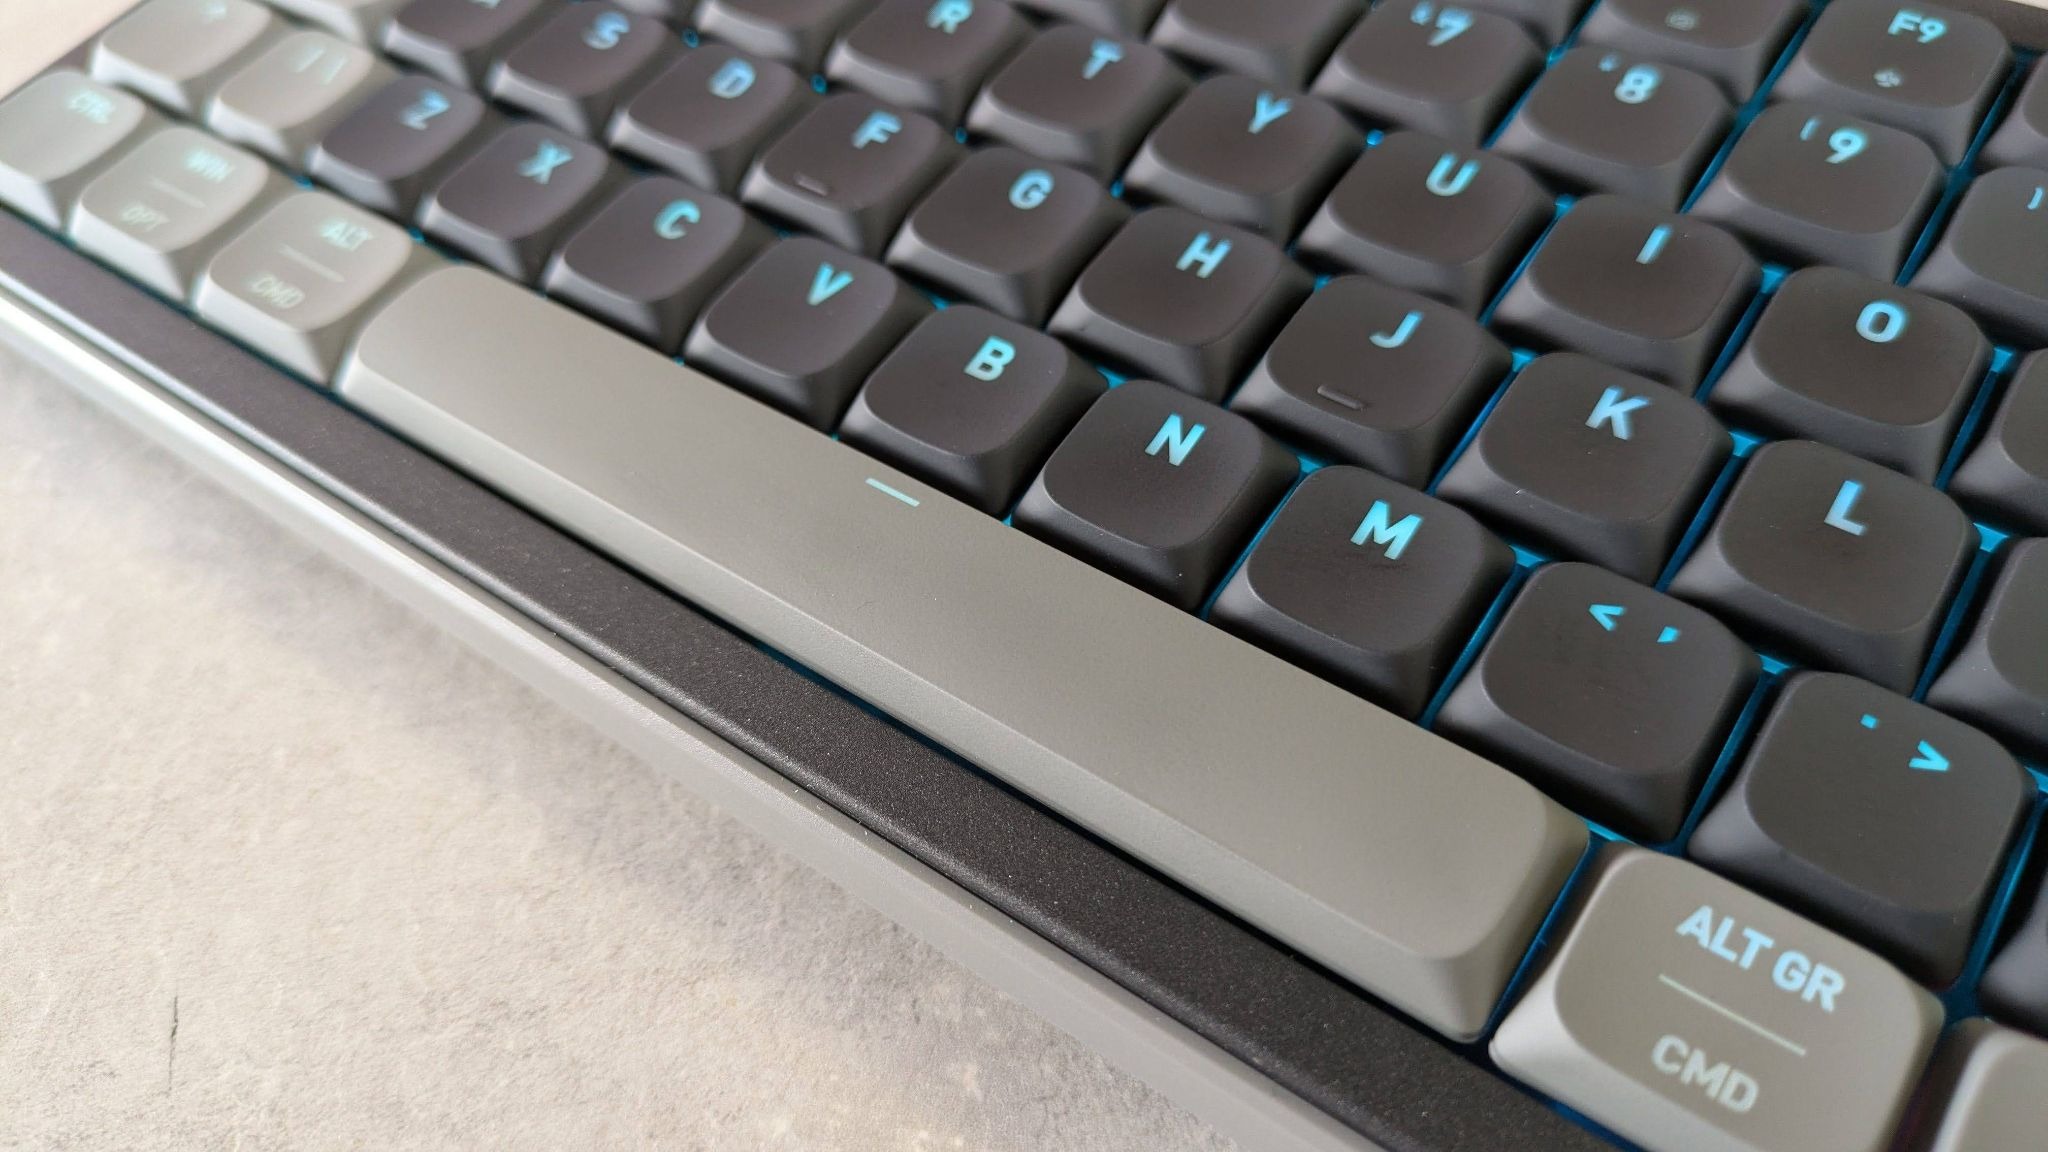
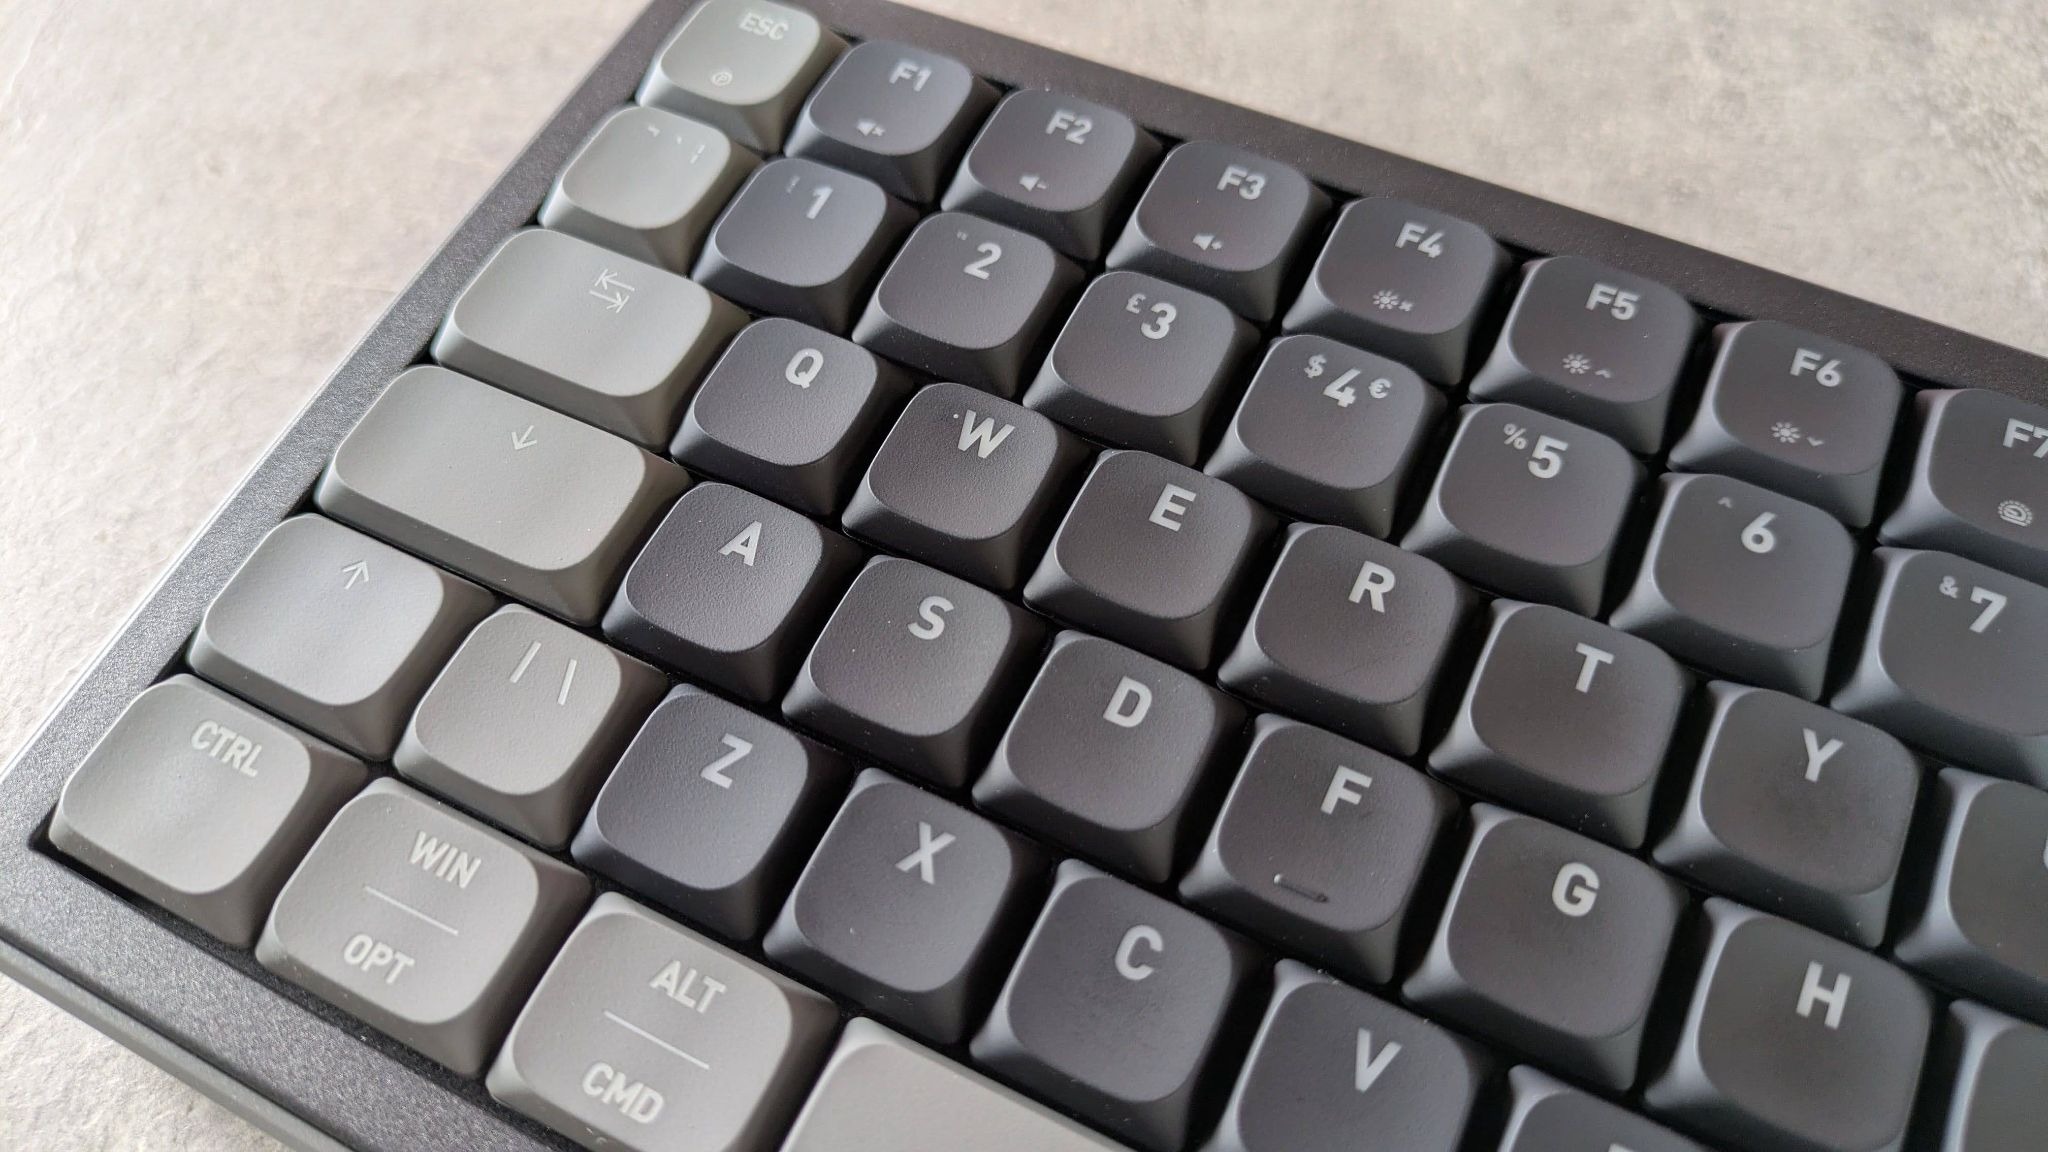
The keycaps feel premium, too. They’re pleasingly textured and solid with little play. On top of this, the bright RGB backlighting shines through them very well, and the main legends are large and clear, although those for the Fn shortcuts on the function keys are a little too small.
You get more keys on the K63W Pro than you might think, including some navigation ones such as delete and insert. However, it’s odd there’s a blank key in the top-right corner; a missed opportunity to squeeze in another, perhaps, such as a Home key.
There are quite a few useful Fn shortcuts on the function row, including those for adjusting volume and one for opening your default browser, which are all welcome. However, a few remained a mystery to me. Two look like they adjust some sort of performance-related parameter, but I didn’t notice any action when I pressed them. There’s also one on F9 with Cherry’s logo on it that opens the Windows Run box and enters some kind of address, but again nothing happened when I pressed it. The text was too long and disappeared too quickly for me to read it, but my only guess is that it’s supposed to open some kind of Cherry software.
(Image credit: Future)
The most interesting aspect of the K63W Pro’s layout is the Mod Tap arrow keys. These are larger than your typical set since they have secondary bindings, with control, shift, menu, and Fn inputs mapped to each direction. Pressing Fn+M (there’s another Fn key mapped to the insert key) will cycle between three different modes: one enables the usual arrow key inputs, one enables the secondary bindings, and one enables both sets at the same time, with taps triggering arrow directions and holds triggering the secondary functions. The M key lights up a different color depending on which mode is active.
You can also switch between these modes using the Cherry Utility. This desktop app also features other customizations, although their dearth is disappointing. It has perhaps the worst rebinding mode I've ever seen in peripheral software, requiring you to click a ‘create’ button for every key you want to rebind, in order to bring up the option to rebind it. The layout graph doesn’t display your remapped bindings, which is another baffling oversight, and you can’t alter the Fn layer of shortcuts. There aren’t many performance-related settings here, either; you can adjust the polling rate for both wired and wireless modes, and there’s a SOCD mode with three basic settings, but that’s all you get.
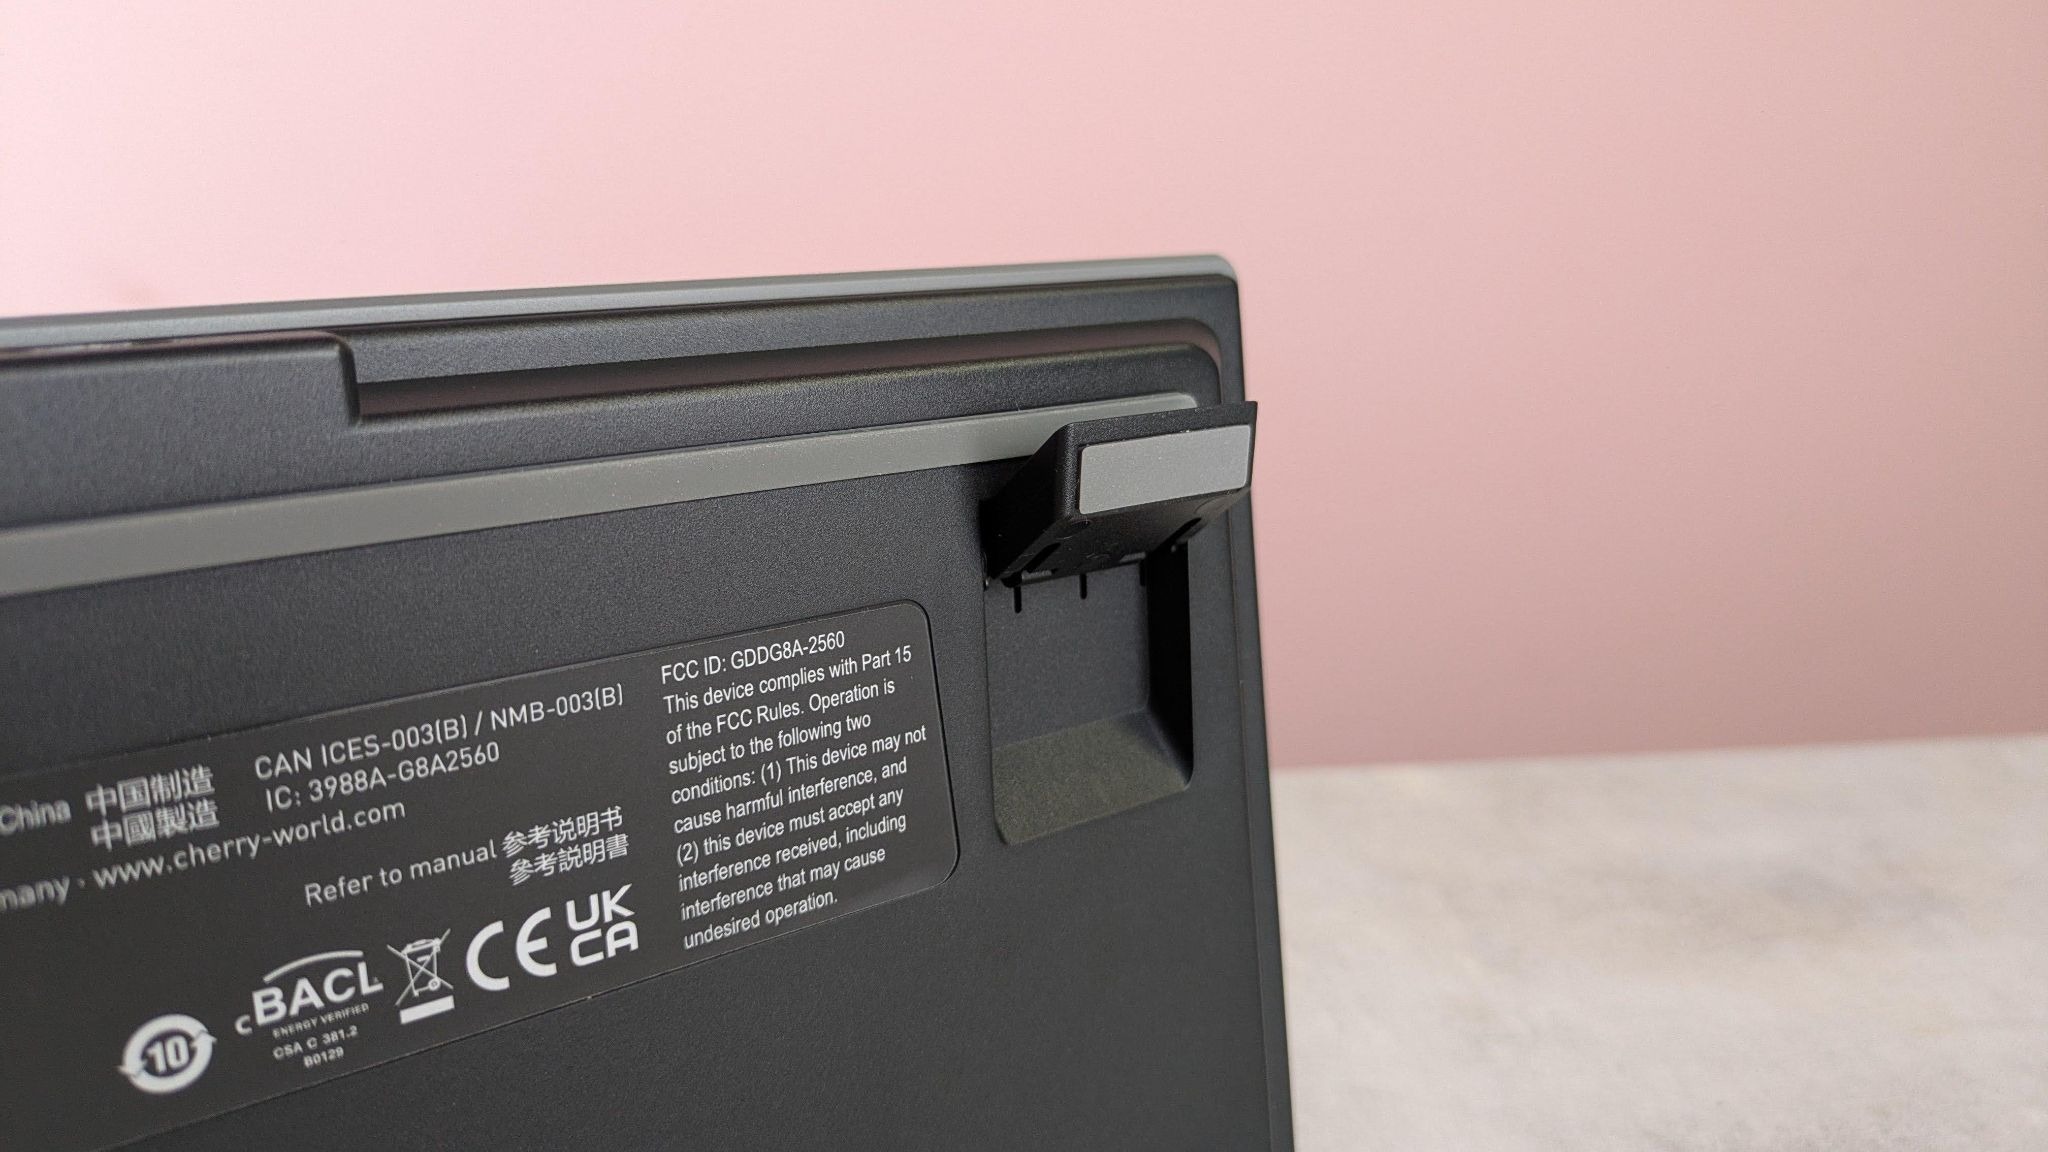
Rather than your typical USB dongle, the K63W Pro comes with a block-shaped puck that requires a USB cable (also included) to connect to your device. This is what facilitates the UWB connectivity, which Cherry claims reduces interference compared to standard wireless connections. It looks sleek, but it’s quite large and takes up more space than I’m happy with, especially when you factor in the trailing cable.
Design & features score: 3.5 / 5
Cherry XTRFY K63W Pro Compact Ultra-Wideband review: Performance
(Image credit: Future)
Relatively heavy keys
Great space bar
Unnecessary Ultra-Wideband connectivity
I mostly enjoyed my time using the K63W Pro. The keys feel well lubed and reasonably damped, although it still verges on the side of clicky than thocky, which, depending on your preferences, is either a good thing or a bad thing. Personally, I liked the feedback they provided.
I was also fond of the low-profile keycaps, which seem to slant slightly towards the user. This helped me hit keys flush, making up for the somewhat limiting tilt angle of the board, even with the two-stage feet out. This was especially noticeable with the space bar, a key I often hit on its edge but not here. It also feels slightly more damped than the other keys, while still being easy to press, a combination that makes it very satisfying to hammer away at.
The switches themselves are also low profile (specifically, they’re Cherry’s MX Low Profile 2.0). However, they have surprisingly deep travel, which makes them more satisfying than they otherwise would be. Despite this, their actuation point is relatively shallow, which meant I could still type with a reasonably light touch. They strike just the right balance between being snappy and forgiving of minor mispresses.
(Image credit: Future)
Tying accuracy is also aided by the large size of the keycaps, as well as their wide spacing. While this made reaching certain keys a little difficult when touch typing, it made gaming in the WASD position quite comfortable and secure. I could also reach the peripheral keys easily from here, including the space bar, thanks to its aforementioned slant and low profile.
In my experience, the Mod Tap feature works reasonably well, achieving Cherry’s aim of reducing side bulk without sacrificing inputs. However, you have to hold an arrow key for a long time to activate its secondary binding. I found this particularly frustrating when typing, as I required quick and regular access to the right shift key, but I often didn’t hold the Up arrow key long enough to access it. It’s also disappointing that you can’t alter the hold time.
Although Cherry makes bold claims about the UWB wireless connectivity, I can't say I noticed any performance gains over other wireless keyboards I’ve tested. Such models have greatly improved in recent years, to the point where regular-sized USB dongles perform pretty much flawlessly. And if you are an elite player concerned about lags and dropouts, you’ll probably opt for a wired connection anyway. All this is to say that the UWB tech and the outsized puck are ultimately overkill for many. What’s more, the K63W Pro doesn’t have Bluetooth support, as lots of other premium wireless keyboards feature.
Performance score: 4 / 5
Should I buy the Cherry XTRFY K63W Pro Compact Ultra-Wideband?
Scorecard
Attributes
Notes
Rating
Value
Expensive for a compact board, but the quality and spec is there at least.
3.5 / 5
Design and features
Thin and light, with a solid build and a unique layout. The software is disappointing, though.
3.5 / 5
Performance
The K63W Pro is comfortable for gaming and typing for the most part, but the Mod Tap feature will take some getting used to.
4 / 5
Overall
The K63W Pro is a solid mechanical keyboard that does a few things differently, but not entirely successfully. Still, it’s a reliable and comfortable unit for most gamers.
3.5 / 5
Buy it if…
You want a compact board The K63W Pro cleverly includes keys usually omitted from such a small layout, although it does take some getting used to.
You want a comfortable board The thin chassis and ergonomic keycaps makes the K63W Pro a board you can use all day long, although touch typing will test your dexterity at times.
Don't buy it if…
You want the snappiest experience Despite the low profile keycaps, they have a greater travel than you might expect, which might deter those after lighting-quick taps.
You want the best input customizations The companion software’s rebinding functionality is quite woeful; there are barely any performance-related tweaks.
Cherry XTRFY K63W Pro Compact Ultra-Wideband review: Also consider
Razer BlackWidow V4 Pro 75 If it’s superb mechanical performance you’re after, you can’t do much better than the Razer BlackWidow. I love how tactile and satisfying key presses are, and the number of customizations on offer via Razer’s Synapse software is impressive for a mechanical keyboard, greatly eclipsing the K63W Pro on this front. However, the BlackWidow is an incredibly expensive board, so those wanting to save money should look elsewhere. Read our full Razer BlackWidow V4 Pro 75 review.
Monsgeek FUN60 Ultra For something decidedly more budget-friendly, the FUN60 Ultra offers all the thrills of a great gaming keyboard without the expense. Its analog switches almost feel as good as mechanical ones, and there are plenty of adjustments you can make to alter their performance. Its construction is surprisingly solid for the price, too. Read our full Monsgeek FUN60 Ultra review.
How I tested the Cherry XTRFY K63W Pro Compact Ultra-Wideband
(Image credit: Future)
Tested for a few days
Used for a variety of tasks
Plentiful gaming keyboard experience
I used the K63W Pro for a few days, during which time I used it for working, general browsing, and of course, gaming. I used it in both wired and wireless modes.
I’ve been PC gaming for over a decade, and have used numerous keyboards in that time. I’ve also reviewed a large number of them, ranging widely in their form factors, switches types, feature sets, and price points.
A new option for the Copilot key has been spotted in testing
Windows 11 users are getting the ability to remap it to 'Do nothing'
This comes on top of work already underway to redefine the key to Right Ctrl or the context menu
Microsoft's latest revolutionary idea for Windows 11 is to have a key on your keyboard which can be remapped to do absolutely nothing.
Windows Latest noticed the latest twist in the tale of the Copilot key, as highlighted by regular leaker PhantomOfEarth on X, who spotted the development hidden in a recent Windows 11 preview build.
In the choices to customize the Copilot key – which, by default, summons Windows 11's Copilot AI (of course) – there's a new option to simply 'Do nothing'.
Yes, that's correct – you can change the key to simply be a pointless piece of plastic that does precisely zip. (Or at least you'll be able to in testing, when this ability comes into play, that is, although some Windows 11 testers have reportedly seen it live in preview already).
As you may have seen earlier this year, Microsoft is working on bringing fresh options to the Copilot key that include customizing it to invoke the context (right-click) menu, and to turn it back into Right Ctrl (which was the key that the Copilot button replaced on Copilot+ laptops and some keyboards).
Analysis: do nothing, be happy
(Image credit: rui vale sousa / Shutterstock)
What's the point of a key that does nothing? Good question. Maybe it's the keyboard equivalent of a stress ball – you can hammer on that key as much as you want when you're really annoyed, and it won't splurge a load of characters into the document you're working on as you exorcise your frustrated demons.
Okay, so maybe not, but perhaps the idea is that this is aimed at people who really hate the Copilot key, but haven't decided what they might want to remap it to. So, they can go ahead and elect for the key to do nothing if it's accidentally hit, while they figure out what they might want to redefine in its place. That's stretching things, admittedly, but it's the best guess I have.
At any rate, it's a harmless enough option, although it feels inescapably odd to have a 'blank' key on your keyboard. How far we've fallen since the Copilot key was first revealed and trumpeted by Microsoft as the biggest thing to happen to keyboards in 30 years since the Windows key was introduced. And indeed more recently, Microsoft promoted the Copilot key as the "button you can press to fix everything", so there's some irony that it could soon (optionally) become the button you can press to fix 'nothing' in a very literal sense.
Don't forget that you don't have to wait for Microsoft's Copilot key remapping functions to arrive in the release version of Windows 11. You can use the Keyboard Manager in PowerToys to do this instead, although it'll be far neater to have these options in Windows 11's settings, of course.
Razer is a household name in the webcam space, with its Kiyo brand being one of the most popular choices for streamers and PC gamers. The latest Kiyo V2 is another sterling example of Razer's commitment to premium build quality and high-end components, and for the most part, it's a great product.
Delivering either 4K recording at 30 frames per second or 1080p at 60, the Kiyo V2 captures quality video with a high degree of customization via the Razer Synapse software. It's fairly pricey (don't expect to see it on our list of the best cheap webcams), but for a 4K webcam with this sort of build quality and feature set, it's actually quite competitively priced.
(Image credit: Future)
Coming in black, white, and pink colorways (mine is the pink 'Quartz' model), the Razer Kiyo V2 is an extremely well-constructed product. It's durable and pleasingly tactile. The base can be extended and rotated to capture the perfect angle, and it easily clasps onto any monitor; I tested it both with the two monitors in my home desktop setup and my laptop, and it snapped into place with no issues. It's a little heavy, however, so laptops with flimsier display hinges might struggle.
The design is a departure from previous Razer webcams, which typically opted for a singular large casing surrounding the lens construction. Instead, it's a smaller lens housing with an oblong body, immediately reminiscent of the Logitech MX Brio 705.
Not everything has been abandoned with this new design, however. The lens housing, like previous Kiyo models, includes a pleasingly tactile rim that can be twisted to close the built-in physical privacy shutter. I'm always a fan of privacy solutions like this, though given the large size of the glass lens face, it would've been nice to see a lens cap included to keep it dust- and scratch-free.
(Image credit: Future)
It would potentially be nice if the webcam could be detached from the attached mount in order to fit it to a different mount; many content creators will have their own video setups and may want to use their own camera stands. However, the mount does have a threaded screw connector on the base, letting you fit it atop most industry-standard camera mounts.
In terms of video quality, it's great. 4K video is sharp and colorful, and even zoomed in, I found I looked perfectly detailed in the footage I recorded. Color reproduction is great, and the camera performed well in a range of light conditions. Low-light performance resulted in some mild oversaturation, but I've seen worse performance in more expensive cameras. It also supports HDR, though only at 30fps even at lower resolutions.
The autofocus works well, but I found it was a little slow to adjust if I quickly moved closer or further from the camera. Having tested quite a few webcams in my time, I feel that a webcam in this price range should be a bit snappier to focus.
That big lens means that the default field of view is huge. A 93-degree FOV means that the Kiyo V2 is liable to capture not just yourself but the entire room you're in, but thankfully it's easy enough to tweak this via the zoom and crop tools in Razer's Synapse software.
(Image credit: Future)
On the topic of Synapse, it's still a frankly rather clunky piece of software, but for webcam users who want granular control over their hardware, it does a solid job. In addition to zoom and crop tools, you can also manually tweak the autofocus, auto exposure, and color balance.
The Kiyo V2's software-side feature set also includes a selection of AI-powered tools, which are covered prominently in the marketing material for the webcam. These include dynamic light correction and noise reduction, but these features already existed in Synapse, and to be honest, I'm not entirely clear on what AI brings to the table here.
(Image credit: Future)
Look, Razer: I get it. I'm sure there's tremendous pressure from your shareholders to make everything AI-powered, because it's the buzzword du jour. But anyone who actually wants AI in their webcam (for whatever inane reason) likely isn't going to be better served by the Kiyo V2 than any other cutting-edge 'AI' webcam, like the Obsbot Tiny SE.
One element that does actually benefit from the involvement of machine learning is the auto-framing feature, which uses AI-powered head-tracking to keep you in the center of the frame even if you move around. However, since the Kiyo V2 lacks a mechanized gimbal, it can't alter the frame while fully zoomed out and can only track you so far; it can keep you in center frame if you move by a foot or two, but it won't follow you around a room.
On the bright side, you don't actually have to use Synapse and the AI features at all. The Kiyo V2 works great straight out of the box; just plug in the bundled cable, and you're off to the races, assuming you're happy with the default wide-angle FOV.
(Image credit: Future)
Now, for the only real problem I have with the Razer Kiyo V2. It comes with a USB-C to USB-C cable in the box (the one with my review unit is pink, like the webcam itself), and as far as I can tell, you have to use this cable to access the full 4K functionality of the camera.
Considering that the cable is USB-C-exclusive, you'll need a free USB-C 3.0 port to make full use of the Kiyo V2. I tested it out with a USB-C to USB-A adapter, as well as using one of my own USB-C cables; no dice. It's frustrating, because USB-C ports can be in short supply for users connecting multiple peripherals, and the bundled cable is a bit short and inflexible.
(Image credit: Future)
Lastly, the built-in microphone is... fine, I guess. It's good enough for video calls, but anyone aiming to produce professional-level video content should definitely use a proper standalone microphone.
It's fair to say that the Razer Kiyo V2 deserves a spot among the best webcams on the market. There are a few niggling issues, but nothing that should ruin the experience for a gamer who wants a high-end webcam. For hardcore content creators, it remains a sound choice, but you should be aware of the downsides.
Razer Kiyo V2 webcam: Price & availability
How much does it cost? $149.99 / £149.99 / AU$279.95
When is it available? Available now
Where can you get it? The US, UK, and Australia
At $149.99 / £149.99 / AU$279.95, the Razer Kiyo V2 is significantly cheaper than the brand's own older Kiyo Pro webcam. If you're looking for a high-quality 4K cam, it's not an unreasonable price.
Sure, you could easily get a cheaper 4K webcam, but you'll need to risk it on a less established brand, and you almost certainly won't be getting the same rich feature set seen in the Kiyo V2. Similarly effective models from other premium brands like Logitech and Elgato will cost a comparable amount, so I'm pleased to say that despite its reputation for pricey hardware, Razer got the price right this time around.
Razer Kiyo V2 webcam: Specs
Razer Kiyo V2
Price:
$149.99 / £149.99 / AU$279.95
Supported resolutions:
4Kp at 30fps, 1440p at 60fps, 1080p at 60fps
Sensor:
8.3 MP Sony STARVIS
Field of view:
93 degrees
Connection:
USB-C
Features:
Digital zoom, AI auto-framing, AI autofocus, dynamic color correction, HDR, mechanical privacy shutter
Software Integration:
Razer Synapse
Should you buy the Razer Kiyo V2 webcam?
(Image credit: Future)
Razer Kiyo V2 webcam report card
Value
The Razer Kiyo V2 is still fairly expensive, but it's reasonably priced for a high-end 4K webcam and much better value than the previous Kiyo Pro.
4 / 5
Design
A fresh chassis design that retains the excellent physical privacy shutter of older Kiyos, but the forced USB-C is annoying.
4 / 5
Performance
Audio is merely decent, but the picture quality and color balance are fantastic and Razer Synapse packs a ton of extra features.
4 / 5
Avarage rating
A high-quality webcam with a broad feature set and more competitive pricing, the Razer Kiyo V2 is a great product with only a few small flaws.
4 / 5
Buy it if...
You want 4K At this price point, the Kiyo V2 is competitive within the 4K webcam space - you could find cheaper ones, but only if you're willing to accept a drop in quality.
You need wide-angled recording If you're aiming to capture a larger space (or multiple video participants), the 93-degree FOV of the Kiyo V2 is perfect.
Don't buy it if...
You're short on ports Since it needs to use the bundled USB-C cable to access full 4K recording, the Kiyo V2 is a poor choice for anyone who already has lots of ports in use on their PC.
You're on a budget At $149.99 / £149.99 / AU$279.95, the Kiyo V2 is still pretty darn expensive, even if it's far better value for money than the older Kiyo Pro.
Razer Kiyo V2 webcam: Also consider
Insta360 Link 2C Our current top pick of the 4K webcams available on the market right now, the Link 2C offers superior low-light performance and autofocus while also offering the same high-quality video and AI features as the Kiyo V2.
Obsbot Tiny 2 The Tiny 2 from Obsbot delivers 4K video along with AI-powered tracking via its mechanical gimbal mount. For those who want a high-end video experience, this is a great pick.
8+ years of experience reviewing computer hardware
I replaced my usual webcam (the Insta360 Link 2 4K) with the Razer Kiyo V2 for two weeks, using it for all my normal video calls during the workday. I also tested it in various different lighting conditions by recording video separately and comparing the clips side by side. Naturally, I installed (well, reinstalled) Razer Synapse to properly test out all the software-side features as well.
I've been testing and reviewing PC hardware for more than eight years, starting at the PC-building hobbyist magazine Maximum PC before making the leap to TechRadar's computing team. I put all of my knowledge and experience behind each and every one of my product reviews, so you can be assured that you're getting an informed and bias-free judgement.
Microsoft has contacted LG regarding a McAfee pop-up served via the monitor maker's app (which in turn is installed by Windows Update)
As an 'immediate next step' LG has disabled this pop-up
However, there are still issues to address around the automatic installation of the LG monitor app, and the way Windows Update itself operates with third-party software
Microsoft has fixed a controversial situation whereby Windows 11 users with LG monitors were being hit by a pop-up for McAfee antivirus, and that advert has now been banished from the OS — but there's still more that Microsoft needs to do here.
Windows Latest noticed that Pavan Davuluri, who is head of Windows at Microsoft, flagged up what's happened on X.
In response to a nudge from Epic's Tim Sweeney on the matter, Davuluri said: "We've connected with the team at LG and as an immediate next step, they have agreed to disable the McAfee pop-up from their app. We appreciate LG working with us toward a shared goal of a better experience for our mutual customers. We will keep improving here with our ecosystem partners."
In case you missed this story from earlier in the week, Windows 11 users with an LG display are reportedly getting an LG monitor app (from the Microsoft Store) automatically installed on their PCs via Windows Update simply after hooking up the monitor.
The real kicker was that following this, the mentioned McAfee pop-up (pushing a trial for the antivirus) was repeatedly bothering those users, with the ad delivered via the LG monitor app. So, what Microsoft is telling us here is that as an immediate first step, that McAfee pop-up is no longer part of LG's Windows app, and won't be darkening the desktops of any LG monitor owners any longer.
The (pop-up-less) monitor app is presumably still being piped through by Windows Update, though, and hopefully the next step for Microsoft will be to address this.
Analysis: software giants in glass houses?
(Image credit: Future)
Windows Update really shouldn't be installing any third-party software without the user's permission, that much is clear (or first-party for that matter). It's fine to flag available updates, wherever they come from or whatever hardware they may be for, but highlighting them is one thing, and going ahead with an auto-installation is another.
Okay, so LG has agreed to disable this pop-up, and it's good that this has happened swiftly, as it was, of course, a huge annoyance. Indeed, it's very worrying that this could happen at all, really (and in case you missed it, LG's TVs have also come under fire this week).
LG had already addressed this controversy with a rather lengthy statement that read: "LG Electronics reiterates that McAfee is not installed automatically and is never installed without the user's explicit consent. The LG Monitor App Installer is distributed through Microsoft's official Windows distribution process, which included McAfee as an option.
"McAfee will be installed only if a user actively chooses to proceed with the installation and provides consent. Under no circumstances is McAfee installed automatically or without user authorization. The LG Monitor App Installer does not access, collect, or transmit any customer personal data."
What this appears to be saying is that McAfee's actual antivirus app isn't installed without consent. It's not denying that the McAfee pop-up appeared without consent, or that the LG Monitor app is installed in the background in Windows without the user's knowledge. It only notes that the LG Monitor app is "distributed through Microsoft's official Windows distribution process", as if that makes everything okay, or somehow not LG's fault.
It is, of course, Microsoft's fault as well – both parties need to take responsibility, and fix not just the McAfee pop-up appearing, but the LG Monitor app being automatically installed simply when a monitor is connected to a Windows 11 PC. (Which is reportedly the case, I should add – I haven't experienced this myself, as I don't have an LG display, but a whole heap of feedback is present suggesting it's exactly what happens).
In short, the immediate disabling of the McAfee trial pop-up is a start, but we need a swift follow-up addressing the LG app itself and how that's dealt with in Windows 11. And more broadly, how third-party apps in general interact with Windows Update, because as already noted, this situation should never have been allowed to happen in the first place (no matter what LG, or any other hardware partner, is doing with their apps).
Furthermore, there's no shortage of people on Reddit noting that Microsoft has been keen enough to act here, but not so keen on curbing its own advertising-related excesses in Windows 11.
As one Redditor says of Microsoft: "Now all they need to do is crack down on their own bloatware…"
Although to be fair to Microsoft, it is acting to rein in some of the upselling and promotional noise that Windows 11 has come to be associated with. More work needs to be done on this front, though, for sure.
The K2 Ultra 8K is a wireless mechanical keyboard that aims to compete with the big names in the space.
It adopts a fairly basic design, harking back to keyboards of yore with its chunky chassis and tall keycaps. This substantial form is complimented by a reassuring weight that keeps the unit in place, without being too heavy to move around when needed.
The aluminum frame is also welcome thanks to its pleasingly solidity, although its texture isn’t the most alluring. The keycaps are of a better quality, though, since they’re Double Shot PBT, which often adorns the best gaming keyboards. Their opaque lettering means the backlighting fails to shine through them, which is an oversight committed by many Keychron keyboards.
(Image credit: Future)
To customize the inputs of the K2 Ultra 8K, you can use Keychron’s Web App. There are plenty of remapping options here, with numerous system and media commands available. There’s also a SOCD feature with a few different modes to choose from. You can also adjust the bounce time of both down and up strokes.
My review unit came with Red switches, which performed quite well. They were slightly lubed and well-damped, while still retaining a certain snappiness. However, I found their actuation a little too deep, which did result in some of my presses failing to register. Also, the sheer thickness of the keyboard did cause my wrists to ache after a while.
Using the WASD position when gaming was a little more comfortable than a typing position, and the generous spacing of the keys made navigating them quite easy. The quick rebound of the keys was also something I appreciated, and helped to make up somewhat for that aforementioned deep actuation point. Both wireless connectivity options worked well, and hot-swapping between devices was easy, thanks to the switch on the side of the unit.
The K2 Ultra 8K is competitively priced for a wireless mechanical keyboard with hot-swappable hardware. It can’t match the sheer performance and premium designs of its more notable rivals, such as the Razer BlackWidow V4 Pro 75% and the HyperX Origins 2 1800, but considering all that it offers, the K2 Ultra 8K is good value.
Keychron K2 Ultra 8K review: Price and availability
(Image credit: Future)
$119.99 (about £90 / AU$170)
Available now with various switch types
Reasonable for a wireless gaming keyboard
The K2 Ultra 8K costs $119.99 (about £90 / AU$170) and is available now. Three stock switches are available to choose from: Red, Brown, or Banana.
This is a reasonable price for a hot-swappable, wireless mechanical keyboard with premium materials and numerous customizations available. Equivalent models from bigger brands are generally more expensive. Take the Razer BlackWidow V4 Pro 75%, which is an eyewatering $299 / £299 / AU$499. However, this is one of the best mechanical gaming keyboards I’ve ever tested, and it offers a wealth of customizations that put many others, including the K2 Ultra 8K, to shame.
Then there’s the HyperX Origins 2 1800, another superb mechanical keyboard, but one that’s only marginally more expensive than the K2 Ultra 8K. Again, I thought this performed better than the K2 Ultra 8K when I tested it, although its customizations aren’t as extensive. It’s also wired only, which diminishes its value somewhat relative to the K2 Ultra 8K.
Value: 4.5 / 5
Keychron K2 Ultra 8K review: Specs
Layout
TKL
Switch
Keychron Apex Switch (mechanical)
Programmable keys
Yes
Dimensions
12.3 x 4.8 x 1.2 inches / 311.5 x 121.5 x 31.2mm
RGB or backlighting
Yes (customizable)
Keychron K2 Ultra 8K review: Design and features
(Image credit: Future)
Very thick
Solid aluminum frame
Numerous customizations via web app
The K2 Ultra 8K has a somewhat retro design with some modern touches. The chunky chassis and squared off frame are certainly throwbacks to simpler time, but the keycaps are more contemporary affairs, thanks to their soft, rounded form.
With that thick body comes a considerable weight. This helps keep the K2 Ultra 8K planted, yet it’s not too heavy to make moving it around a chore when needed. It also contributes to the unit’s durability, as does the aluminum construction of the frame. This doesn’t feel quite as premium as others, owing to its slightly rough texture, but it’s welcome all the same. Better are the keycaps, since they’re Double Shot PBT, which is the gold standard in the keyboard world.
Somewhat unusually, the USB-C port is located on the left side of the K2 Ultra 8K rather than the rear. This may prove inconvenient for certain setups, but thankfully it’s positioned quite far back, so the difference isn’t that huge. Also, the provided USB cable has an L-shaped jack, so it doesn’t protrude outwards all that much, with the cable naturally running towards the likely location of your device.
(Image credit: Future)
There is some RGB backlighting on the K2 Ultra 8K, but like other Keychron keyboards, this is quite lackluster. It barely shines through the spaces between each keycap and since the keycap symbols are opaque, you still can’t make them out in a dark environment, which rather defeats the point of backlighting in the first place. Keychron does sell transparent keycaps, but this is an add-on you have to purchase separately rather than being a configurable substitute.
At least this lighting can be customized, either by using the dedicated key in the top-right corner or Keychron’s Web App. This app contains a lot of options for patterns and colors. It also features input customizations, with a wealth of rebinding options that includes various media and system shortcuts.
There aren’t any advanced performance-based features here, save for bounce time settings and an SOCD function. The former lets you set the press and reset times independently for keys. There are two sliders for this purpose with a range of 10-50ms, with millisecond increments. The latter lets you adjust key priority when two are pressed at the same time — you can set the first pressed key to take priority, a chosen key to always take priority, or both to cancel.
As web apps go, Keychron’s is fast and easy to use. I didn’t encounter any frustrating loading times and or major bugs. Still, I would’ve preferred a standalone app for the sake of convenience, saving you from having to load your browser every time.
Design and features: 4 / 5
Keychron K2 Ultra 8K review: Performance
(Image credit: Future)
Actuation too deep for effective typing
Good key spacing and response for gaming
Unit thickness can cause discomfort
My review unit came with Keychron’s Red switches, which felt a little heavier than I’m used to. They’re damped and lubed to a reasonable degree, though, which made their operation smooth, and I found the clicky impact at the end of a key’s travel quite satisfying.
I was less enamored with the actuation point. It felt like I had to press down quite far for inputs to register, which caused me issues when typing fast, as characters were often missed. Typing isn’t helped by the tall keycaps, either: as someone who usually prefers a low profile, my ability to glide around the board was limited.
(Image credit: Future)
What’s more, that aforementioned thickness of the chassis caused me some discomfort after a while, even with the feet folded out, as I had to angle my wrists a fair amount. The K2 Ultra 8K is crying out for a wrist rest, but alas it doesn’t come with one.
Thankfully, I found gaming in the WASD position less problematic. Despite the compact nature of the layout, the keys are still generously separated, while the ergonomic shape makes navigating them quite easy. They also rebound quickly, too, which somewhat makes up for that deep actuation point.
I didn’t have any issues when connecting the K2 Ultra 8K to my PCs wirelessly via the 2.4GHz USB dongle or via Bluetooth. Hot-switching between two devices was also easy and effective, thanks to the slider on the side of the unit.
Performance: 3.5 / 5
Should I buy the Keychron K2 Ultra 8K?
Scorecard
Attributes
Notes
Rating
Value
Not many mechanical keyboards offer better value than this.
4.5 / 5
Design and features
Very solid and quite heavy. The keycaps are high quality, too, although the backlighting is poor. It sorely needs a wrist rest, too.
4 / 5
Performance
Presses are satisfying and quite quick, although it requires a heavier touch than I would’ve preferred.
3.5 / 5
Overall rating
Considering its spec, the K2 Ultra 8K is good value for money, but its key registering issues and uncomfortable thickness dent its appeal somewhat.
3.5 / 5
Buy it if…
You want a tough unit The aluminum frame and substantial weight make the K2 Ultra 8K a durable board.
You want to save money There aren’t many keyboards offering this kind of spec at such a low price point.
Don't buy it if…
You have a light touch With the Red switches at least, the K2 Ultra 8K doesn’t always respond to light presses, especially when typing quickly.
You don’t have a wrist rest The K2 Ultra 8K is a very thick unit, and using it can get uncomfortable after a while if you have no wrist support.
Keychron K2 Ultra 8K review: Also consider
HyperX Origins 2 1800 The Origins 2 1800 isn’t much more expensive than the K2 Ultra 8K, but it feels slightly more upmarket. It also performed better in my testing. It doesn’t quite have the same level of input customization, and this model isn’t wireless, but it’s still a great mechanical experience. Read our full HyperX Origins 2 1800 review.
Razer BlackWidow V4 Pro 75% I don’t think I’ve tried a better mechanical keyboard than this. The feedback and satisfaction from key presses is second to none, and the amount of customization is fantastic. However, it’s vastly more expensive than the K2 Ultra 8K — and many other gaming keyboards. Read our full Razer BlackWidow V4 Pro 75% review.
(Image credit: Future)
How I tested the Keychron K2 Ultra 8K
Tested for a few days
Used for a variety of tasks
Plenty keyboard reviewing experience
I used the Keychron K2 Ultra 8K for a couple of days, during which time I used it for working, gaming, and general browsing. I connected to two different Windows 11 PCs, one via the 2.4GHz dongle and the other via Bluetooth. I also used it in wired mode with the supplied cable.
I played games such as 007 First Light and Counter-Strike 2, both of which are good tests for the responsiveness of key presses and the comfort of using the all-important WASD position.
I’ve been using keyboards for decades for all sorts of purposes, from working to gaming. I’ve also reviewed a large number of them, from budget offerings to high-performing, feature-filled extravagances.
Update: We reached out to LG for a statement, and it has denied claims of auto McAfee installations, stating: "LG Electronics reiterates that McAfee is not installed automatically and is never installed without the user’s explicit consent. The LG Monitor App Installer is distributed through Microsoft’s official Windows distribution process, which included McAfee as an option.
"McAfee will be installed only if a user actively chooses to proceed with the installation and provides consent. Under no circumstances is McAfee installed automatically or without user authorization. The LG Monitor App Installer does not access, collect, or transmit any customer personal data."
Original story follows below...
LG monitors are reportedly installing bloatware on Windows 11 PCs
The LG Monitor App Installer carries a McAfee pop-up and is automatically installed when connecting an LG monitor to a PC
There's a fix for this, but it's a rather fiddly affair
It's no secret that Windows 11 users have voiced frustrations regarding bloat on the operating system for years, and unfortunately, LG's monitors are reportedly making the situation worse.
As reported by Windows Latest, LG monitors are installing McAfee bloatware on Windows 11 PCs without consent, and there's evidence of this in the changelog of LG's monitor app on the Microsoft Store.
Even if you don't install the app yourself, Windows Update will do so, and then treat you to a McAfee pop-up. All you have to do is plug in the LG monitor to your PC, and the automatic installation of McAfee is also shown by checking the Windows Reliability Monitor, which documents a 'successful Windows update' for the LG Monitor App Installer package.
We've reached out to LG for a comment, but haven't received a response yet. In the meantime, though, there appears to be a fix that requires users to do the following: press the Windows key and R, and type 'gpedit.msc', then hit Enter.
From that point, navigate your way to Computer Configuration > Administrative Templates > System > Device Installation > "Prevent automatic download of applications associated with device metadata", then select the 'Enabled' box and apply.
(Image credit: Microsoft)
In theory, this should stop any unwanted applications from being installed, specifically with devices like LG monitors that do so via device metadata.
And if you already installed the LG monitor app manually, you should remove it, because as noted, the description on the Microsoft Store suggests McAfee is a fundamental part of the monitor application.
Bloatware can be problematic for Windows 11 users because it hogs system resources, and LG is adding to that system drain, not to mention the annoyance of continually seeing that pop-up.
Alongside LG, Microsoft hasn't provided a statement on the matter yet. I'd expect Windows 11 users will want an answer of some kind, especially because of the rather fiddly steps involved to prevent these automatic installations — and frankly, this shouldn't require extra effort from anyone.
Turtle Beach Command Series KB7: one-minute review
Want a high-performing gaming keyboard with an integrated touchscreen for streaming and seamless customization? Then the Turtle Beach Command Series KB7 could be exactly what you’re looking for.
I replaced my usual mechanical keyboard with this TKL model for a few days, and instantly found it to be a joy to use. The low-profile Hall effect switches supply precise, responsive, and buttery smooth typing, with a muted sound that’s great for focusing in-game or for general day-to-day productivity. It's less ‘clicky’ and snappy than some may like, but the lowkey sound and feel was ideal for me.
Like a lot of the best gaming keyboards, there’s also 8K polling, alongside 0.125 latency for instant response typing. On top of this, you get important features like Rapid Trigger, adjustable actuation and remappable keys.
The true highlight, though, is the integrated 4.3-inch touchscreen. This has built-in controls for streamers, providing quick access to OBS and StreamLabs, but also has shortcuts for apps like Spotify and Steam among others. I appreciated how you could use the screen to view PC performance, in-game stats, or set web page bookmarks. You can also use the touchscreen as a numpad, and it feels highly responsive in use.
I also really like the design of the KB7. Its slim aluminum chassis, tactical media control knob, customizable RGB lighting, and generally high standard of build help it to feel worth its relatively high asking price.
There’s no battery option if you want to use the keyboard wirelessly, largely due to the power required to keep the touchscreen going, but those focused on optimized performance will want to go for a wired option anyway. And all things considered, I think the Turtle Beach KB7 is a fantastic gaming keyboard, and one I just might have to continue using for all my PC gaming needs.
(Image credit: Future)
Turtle Beach Command Series KB7 review: price & availability
$199.99 / £189.99 / AU$349
Released in May 2026
Arrived alongside Turtle Beach’s KB5 keyboard
The Turtle Beach Command Series KB7 was released in May 2026 alongside the Command Series KB5 — a full-sized keyboard with a smaller touchscreen and mechanical switches.
Unsurprisingly, then the KB7 is pricier than its sibling, and has a list price of $199.99 / £189.99 / AU$349. It goes without saying that it’s undoubtedly a pricey keyboard, but for a TKL with this much tech, it’s not too far from the competition. For instance, the Corsair K70 Pro TKL, which comes without a touchscreen, will typically set you back about $179.99 / £169.99 / AU$239.
Turtle Beach Command Series KB7 review: specs
Layout
TKL
Switch
Titan Low-Profile Hall Effect
Programmable keys
Yes
Dimensions
15.7 x 10.1 x 1.2 inches / 399 x 256 x 31mm (with palm rest)
RGB or backlighting
Yes (customizable)
(Image credit: Future)
Turtle Beach Command Series KB7 review: design & features
Great standard of build
Touchscreen with streaming controls
Customizable lighting
First things first, I have to say that the build and quality of the KB7 impressed me. It has a slim aluminum chassis, stylish and sleek look, and premium-feeling keycaps. The keyboard also has a modular design, meaning you can add on the Turtle Beach KP7 keypad as well as the included wrist rest.
And I found said wrist rest to be a great addition — it’s comfortable, well-made, and ensured that using the keyboard for extended periods still felt comfortable. The only real downside is that it increases the keyboard’s footprint a fair bit, so you’ll need a decent-sized desk if you’ve also got a PC / laptop hooked up to a couple of monitors like I do. It’s also worth noting that the KB7 has a double kickstand, and this also helped to reduce fatigue after furiously typing for multiple work days in a row.
The keyboard also features customizable per-key RGB lighting with Turtle Beach’s Swarm II software, accessible via the built-in touchscreen. In my view, the lighting looks great, especially in low-lit conditions. I also really like how there’s an option to create dynamic effects and sync your lighting setup across multiple devices.
(Image credit: Future)
I touched on it a moment ago, but the stand-out feature of the KB7 is the built-in touchscreen. The real highlight here is that the touchscreen features streaming controls. You can easily access OBS and StreamLabs with a single button touch. It’s a useful inclusion, but if you’re not a streamer, there are options for you too. For instance, you can use the touchscreen to set shortcuts for apps like Steam and Spotify, or for websites you frequently visit — you know, like TechRadar.
What’s more, the Swarm II software enables you to personalize aspects like Rapid Trigger and actuation settings or remap keys. You can actually alter the actuation of every key individually, and while I don’t expect most users will need that level of granular control, the sheer degree of customization is undoubtedly impressive.
Finally, there are a few useful buttons, for things like skipping and rewinding media and muting your mic. I also love the tactile control wheel for adjusting volume, although there’s also a dedicated volume mixer available on the touchscreen.
(Image credit: Future)
Turtle Beach Command Series KB7 review: performance
Fantastic typing experience
Although lighter, more muted feel won’t suit all
Great for gaming or general productivity
I typically use a mechanical Keychron mini keyboard, and so moving over to the KB7 felt like quite the jump.
Why? Well, it comes down to how typing feels on this TKL keyboard. The low-profiled Hall effect keys feel phenomenally smooth and buttery to press down on, and they produce very little noise. The more muted sound and feel was very different from my usual mechanical keyboard — which has more of a clicky, snappy profile. I much preferred the KB7 to my usual keyboard, though, and although the more lowkey sound and feel won’t suit all, I think it’s ideal for focusing while gaming or working.
Speaking of, I found the KB7 to be a great performer, whether I was playing games or just carrying out typical tasks at work. It’s an extremely responsive model too, carrying an 8K polling rate and 0.125ms latency. Those kind of numbers are certainly good enough for competitive gamers, and I found the KB7 offered pin[point precision at all times.
The touchscreen is also well-sized, and using commands feels highly reactive and reliable. The touchscreen can also display PC performance info and show in-game stats (such as ammo and games won, for instance).
One thing that’s definitely worth flagging, though, is that this keyboard is wired only. The 4.3-inch touchscreen requires quite a bit too much power to run off a battery, so you do lose some of the flexibility that some rivals supply. Having said that, you’ll want to be using your keyboard wired for the best performance and lowest latency anyway, and as a gaming keyboard first and foremost, I don’t consider its wired-only setup to be a major issue.
(Image credit: Future)
Should I buy the Turtle Beach Command Series KB7?
Attributes
Notes
Rating
Design & features
Slim, modular design with handy touch-screen and lots of customizability.
Undoubtedly expensive, but stacks up well against rivals.
4/5
Turtle Beach Command Series KB7 review: also consider
SteelSeries Apex Pro TKL Wireless Gen 3 There’s a reason why the SteelSeries Apex Pro TKL Wireless Gen 3 is one of our favorite gaming keyboards here at TechRadar. It boasts a premium build, supplies excellent performance, and its analog switches function very well. It’s pretty pricey, but it’s still a top pick for us. Read our full SteelSeries Apex Pro TKL Wireless Gen 3 review.
Corsair Galleon 100 SD If you’re looking for a different touchscreen-equipped keyboard, then the Corsair Galleon 100 SD could be a great pick. With strong build quality, built-in streaming controls, and slick hot-swappable MLX linear switches, the 100 SD is a highly capable gaming keyboard. It is very pricey, however. Read our full Corsair Galleon 100 SD review.
(Image credit: Future)
How I tested the Turtle Beach Command Series KB7
Tested across multiple days
Used for gaming and general productivity
Tested by an experienced tech reviewer
I spent days testing the Turtle Beach Command Series KB7. I replaced my typical Keychron keyboard with this one, using it every day at work for general productivity. But I also used the keyboard when dipping into a few games here and there.
On top of this, I made sure to exhaust the keyboard’s various features and settings and compared it directly against rivals.
More generally, I’ve spent years testing gadgets here at TechRadar, where I serve as a Senior Reviews Writer. I’ve tested all sorts of gear, from premium wireless headphones like the Sony WH-1000XM6 to TVs like the Sky Glass Gen 2.
Simply put, polling rate is the frequency at which data is sent between your mouse and keyboard to your computer. For many years, the standard polling rate of most gaming mice and keyboards was 1,000Hz, and that's still a setting that's available by default.
However, with the rise of competitive shooters, particularly tactical ones such as CS2, VALORANT, and Rainbow Six Siege, the pro scene needed a shift, and we saw the advancement towards 4,000Hz and 8,000Hz for "esports tech".
But does anyone really need an 8,000Hz polling rate when gaming? Do the best FPS players in the world even take advantage of it? I'm going through everything you need to know about how 8K works, the latency you can expect, impact on battery life, and all other things you need to consider when properly getting your setup ready for success.
How does polling rate affect latency?
The Razer Viper V4 Pro is among the best gaming mice, and it supports 8K polling (Image credit: Future)
True to its namesake, an 8K polling rate will report its position to your PC a total of 8,000 times, instead of 4,000 times or a thousand times as with 4,000Hz and 1,000Hz, respectively. An 8,000Hz polling rate responds with far lower latency than either of these two previous standards; specifically, updates are sent between a mouse or a keyboard to your computer's processor every 0.125ms, eliminating a theoretical maximum of 0.875 ms input delay, meaning a smoother cursor or movement.
The difference in response time of 0.125ms (8K), 0.25ms (4K), and 1ms (1K) can be huge when it comes to polling rate, provided you have the right hardware to properly take advantage of this. That's because an 8,000Hz polling rate can be incredibly demanding on the battery life of wireless mice and keyboards, and it's one of the main considerations as to why you may want to drop the response time down in your settings.
The drawbacks of an 8,000Hz polling rate
The Corsair Sabre V2 MG, like many top-end mice, have the option of 8K polling wirelessly, even if it comes at 1K out of the box (Image credit: Future)
In brief, an 8,000Hz polling rate for your mouse and keyboard can be incredibly demanding on your computer. That includes heavy strain on even the best processors, the aforementioned heavily reduced battery life on a mouse and keyboard, and even the potential risk of micro-stuttering. As a lifelong PC gamer and a competitive shooter enthusiast who is hopelessly obsessed with VALORANT, I've seen the battery life debate happen in real-time.
I've tested and reviewed hundreds of mice and keyboards throughout my career, and one of the biggest points of contention when it comes to enabling the polling rate comes down to battery life. As an example, my favorite gaming mouse of all time is the Corsair Sabre V2 MG, an 8K-enabled gaming mouse that's built with a Magnesium Alloy frame. It weighs just 56g and features excellent skates, making it ideal for a precision heavy shooter.
As standard, via the Corsair Web Hub, this gaming mouse will run out of the box at 1,000Hz (1K), with battery life prioritized. With the pointer used as the stock, you can expect around 100 to 120 hours of play between charges. In my experience, I am charging this mouse every two weeks or so, depending on how much I'm working day-to-day, etc. However, in my many months with this mouse, I've noticed that things fall off incredibly hard with 8K enabled; my battery life tends to last only around two to three days (or one or two nights of VALORANT Competitive) before I'm reaching for the USB-C lead.
If we take 18 hours as the average battery life from the Corsair Sabre V2 MG when used in 8K mode, that's a reduction of around 85%, which is staggering. We can see a similar drop off from the most well-used new esports mice currently on the market, with the Razer Viper V4 Pro (an excellent mouse), touting up to 180 hours of playback in 1K but only 45 hours when maxed out at 8K. Similarly, while the Logitech G Pro X2 Superstrike has around a 90-hour playback at 1K, that drops down dramatically to between 20 and 35 hours at 8K. With Logitech's pointer, though, you have to factor in the strength of the haptics here, hence the rough range rather than a more exact figure.
What about the human limitations of an 8,000Hz polling rate?
(Image credit: Future)
Now that we've covered what an 8,000Hz polling rate is, how it works, how it compares against 1K and 4K, and the technical drawbacks, we now need to go over the human limitations with 8K. As previously mentioned, 1K means a 1ms response time, and that gets cut down to just 0.125ms with 8K, but what does that mean for a human being, and not a machine?
The average human response time is around 250-280ms; that's the time it takes to see something and physically react. I am not a pro player, but I do play video games at a high level, with a response time average of around 175ms, though I've been faster. The best esports players can eclipse this effortlessly: you only need to look as far as VALORANT and CS2 players, such as TenZ (widely considered to be among the best VALORANT players), with an average reaction time of 135ms. 100ms is even possible, even though the average tends to hover around the 150ms mark.
If we take 1K as a baseline for polling rate, that means there's an average of 150 reports between the mouse/keyboard and the processor, as you tap a key or click what you see. Taking 8K, then, sees 1,200 instances. With this information in mind, is there really much of an advantage here, even at this granular level, with the best players in the world and, conversely, the only people who would even notice a proper difference between 1K, 4K, and 8K?
Do pro players use 8,000Hz polling rates?
The best gamers in the world aren't interested in using an 8,000Hz polling rate for their keyboards or mice. (Image credit: Secretlab)
Considering the far lower latency, you would expect that professional esports gamers would all dial their settings to an 8,000Hz polling rate by default when playing demanding games, but that's simply not the case. If we look back at TenZ's mouse and keyboard settings when playing VALORANT, he last used the Pulsar TenZ Signature Edition mouse at 1,600 DPI, 0.24 sensitivity, and (most crucially) a 1,000Hz polling rate as standard; no 4K, and certainly no 8K enforced here.
What about a VALORANT player from the most aggressive team in the game? Then we must look at f0rsakeN from the legendary Paper Rex. He was last using the Pulsar Sustanto-X with an 800 DPI, a 0.71 sensitivity, and a 4,000Hz polling rate. Let's move away from Riot Games' shooter and instead turn our attention to Valve, then. As far as CS2 players go, few are as well-regarded in 2026 as Team Spirit's donk.
The young Russian is widely regarded as the best player in the world. Is he using an 8K polling rate for his mouse and keyboard to do this? No, while he previously used the industry standard Logitech G PRO X Superlight 2, he's now switched to a bespoke, and as of yet unreleased/prototype Zowie X Donk mouse at 800 DPI, 1.25 sensitivity, and a 1,000Hz polling rate. What about Niko? He recently had his own Razer collaboration drop, and currently uses a Razer Deathadder V4 Pro Niko Edition with an 800 DPI, 0.9 sensitivity, and a 2,000Hz polling rate.
Let's briefly look at two games for the sake of argument, and two of their respective top players. Peterbot is widely considered the best Fortnite player in the world, and he uses a Logitech G Pro X Superlight 2 at 800 DPI with a 1,000Hz polling rate. ImperialHal is among the best Apex Legends players, and the CEO (as he's known) currently uses a Finalmouse Starlight Pro with an 800 DPI, a 1.1 sensitivity, and a 1,000Hz polling rate. So, pro players simply are not using an 8,000Hz polling rate when playing, and they're simply better than the other 99.9% of players who play these games.
Is using an 8,000Hz polling rate worth it?
Based on everything I've gone through here, it becomes challenging to wholesale recommend (or actively condemn) 8K. An 8,000Hz polling rate is mechanically and technically better for how it responds between the peripheral and the machine, even if the human who presses that key or clicks the mouse ends up being the limiting factor, or bottleneck. It's the simple, undeniable truth that the saved milliseconds are (really) indistinguishable to basically everyone on the planet.
Then we get into the debate of battery life. Do you want your gaming mouse to last over 100 hours on a single charge, or just 10? That's a tough sell, considering it undercuts the primary reason to cut the cord in the first place. Then there's the massive CPU overload, game engine incompatibility (and developers and publishers are not yet gearing their software for the tech), and the variables of the hardware itself. Hardware makes the difference: TMR and Hall Effect switches and sensors will have far more of an impact than the simple reporting time between the processor and peripheral.
So why am I not fully discouraging you from using an 8,000Hz polling rate in its entirety? Because it ultimately comes down to personal preference, and to feel. If you're running one of the best gaming PCs or best gaming laptops with a high-end processor, a 4K graphics card, and a high refresh rate monitor, then, battery life aside, it doesn't really hurt to have everything cranked up and forgotten about. Are you likely to really notice it? No, but fractional optimization is still (ever so slightly) better than none in the first place.
I'm not quite cynical enough to claim that an 8,000Hz polling rate is just a marketing gimmick; however, I will say that hardware companies have gleefully exploited the ignorance of the end consumer, the simple reductionist view that a bigger number automatically means better, without looking into the nuances of the conversation. Now that's something you will be fully clued up on when considering your next keyboard or mouse.
Users says they've observed LG gaming monitors automatically installing unwanted software on PCs
LG's terms of service warn that conversations may be "captured and processed" on TV with the latest version of webOS
The terms say you must now warn guests they may be recorded "in compliance with applicable wiretapping… laws"
How smart should a smart TV be? According to LG's latest TV terms and conditions, the answer is "not quite smart enough to comply with wiretapping laws", because that's now your responsibility if LG captures the voice of a guest in your house through its AI voice services. Though the situation with LG monitors appears to be even more dramatic.
As Gamers Nexus reports, some LG monitors appear to be installing adware on Windows PCs without asking for permission: in addition to the LG Monitor App Installer, they also install McAfee Scam Detector.
LG's own app requires full access to all system resources, which potentially includes all your online activity, logins, hardware, location and more — while McAfee has a long history of being installed on devices as 'bloatware', and people are not reacting positively to suddenly finding it on their PC.
There may be a perfectly innocent explanation for all of this, but when big tech firms keep getting caught doing bad things because they thought they could get away with it, it's no wonder people are assuming the worst.
The bit that's causing consternation regarding smart TVs is part 6(d) of the new LG Electronics terms of service, headed Voice Recognition and Privacy Compliance.
As Notebookcheck's Hannes Brecher notes, the section states that it's your responsibility "to obtain all necessary consents from any third parties whose voices may be captured by the Product and to notify household members and guests that their voices may be captured and processed, in compliance with applicable wiretapping, eavesdropping, and privacy laws."
There are three ways around that. One, you can turn off all microphone-based features. Some people won't mind that, but they can be useful — especially asking it for settings you don't know how to find.
Two, you can avoid installing the latest software — but that means you won't get any security updates, which are important (to protect your privacy, ironically, among other things).
Or you can disable your TV's connection to the internet so it can't send information back, but that obviously makes it less useful, and will also disable the voice controls anyway.
I think the terms and conditions are an attempt at corporate ass-covering rather than something sinister: the preceding paragraph talks specifically about when "a product with voice recognition functionality is used" and it's possible that "family members, guests, children, and bystanders" might be overheard; if you're choosing to activate AI-based voice features then of course voices are going to be captured and processed in order for those features to work.
At the same time, it does seem broad enough to let LG use people's voices as AI inputs, rather than just accidental capture. And in the context of what LG's doing with PC monitors (not to mention AI training's very, ahem, casual relationship with consent and copyright), that's a worry — and people online increasingly have no tolerance for anything like this, as the responses on Reddit and Gamers Nexus' original YouTube video have shown.
We've approached LG for comment on these claims, and will update the story when we hear back.
TCL CSOT is reportedly now mass producing the first inkjet-printed OLEDs for consumers
MSI just revealed a new 27-inch monitor which seemingly uses this 4K panel
Inkjet printing is a more affordable way of making OLEDs and it will usher in cheaper monitors and laptops, and eventually TVs further down the line
TCL CSOT has seemingly taken a big step towards putting inkjet-printed OLED panels in the homes of consumers, and mass production of these screens is now reportedly underway.
OLED-Info reports that the Chinese manufacturer has kicked off production with an initial 27-inch 4K panel with a refresh rate of 120Hz. It offers a brightness of up to 300 nits and 99% coverage of the DCI-P3 color gamut (meaning lifelike and accurate color representation).
This inkjet-printed screen is destined for monitors, but bigger panels for the likes of TVs are expected to be in the cards for the future. For starters, though, we're looking at production for monitors and also laptop OLEDs.
This is still the very early stages for TCL, and OLED-Info clarifies that we are only talking about 'low volume' production on the firm's Gen 5.5 inkjet line for now. Still, it's an important step to take, but producing the panels is one thing, and it'll take some time for these to be incorporated into monitors which are then shipped to retailers where consumers can buy them.
Note that the Gen 5.5 inkjet line has produced OLED panels before, just not displays destined for consumer products (they were screens for commercial use in the medical field).
It seems that the freshly announced MSI Pro Max OLED 271UPJW12 uses this TCL 4K panel, although that isn't explicitly stated in the press release for the new model published by TechPowerup. All the specs match up, though, and it couldn't really be any other screen anyway – and this revelation is another sign to back up OLED-Info's contention that mass production is now up and running.
MSI boasts of the monitor: "With a 164 PPI density and an optimized RGB Stripe sub-pixel layout that closely resembles the uniform RGB structure of traditional LCDs, this advanced design effectively eliminates color fringing, optimizing text and image clarity."
We don't get a price from MSI, but that's not surprising at this stage, because as noted, the release is likely still some way off yet.
Analysis: what's the big deal with inkjet-printed OLEDs anyway?
(Image credit: TechPowerUp / MSI)
As we've covered in the past, there are some distinct advantages with using an OLED printed by an inkjet compared to traditional (Fine Metal Mask) OLED panels. They are more power-efficient, and the inkjet-printed (IJP) OLEDs will also have a longer lifespan, but most crucially, they're cheaper.
TCL has previously told us that these IJP panels are 20% cheaper than existing OLEDs (and they can be made 30% faster, too). Analyst firms believe that these printed panels could be up to 35% cheaper in the future, when production is higher volume and more refined (with less waste).
The upshot should be OLED monitors which are a good deal more affordable, not to mention laptops with OLED screens that hit cheaper price points – and as noted, TVs eventually, too. The lower power usage will also be a major benefit for notebooks in terms of extending battery life, given that the display is one of the biggest drains on the battery.
The overall affordability of OLED will also be helped by TCL's inkjet-based creations, because the dominant panel makers – LG Display and Samsung – will be forced to be more competitive with their pricing. Add to that the emergence of BOE's Generation 8.6 panels, which went into mass production last month – again offering a more economical way to produce OLEDs thanks to much larger substrates – and this poses yet more competition, meaning there'll be some distinct downward pressures on OLED pricing.
The catch is that it will take some time for this to happen, especially in the world of bigger screens for the likes of OLED TVs – but make no mistake, it is happening.
The MelGeek Made68 Ultra V2 is a wired analog keyboard with a retro design that belies its advanced analog adjustability.
It certainly harks back to a time when the ‘gamer aesthetic’ was in full swing, with its translucent keycaps and faux-industrial body. The rear and side lighting are interesting touches, though.
It’s also a veritable slab of a keyboard. It’s very thick, although it gets thinner towards the front, which means the keys angle towards the user slightly. This is just as well, since the Made68 Ultra V2 doesn’t have any pop-out feet, as many of the best gaming keyboards do.
The materials feel premium enough and solidly put together. It’s heavy, which helps the board to stay planted, but this could be an issue if you frequently move your board around.
Although the Made68 Ultra V2 has bright RGB backlighting, it’s a misstep that it doesn’t shine through the keycap characters. In fact, it actively obscures them, so you’d best get familiar with touchtyping if you aren’t already.
(Image credit: Future)
There are plenty of useful FN shortcuts, but unfortunately none of them is labelled on the relevant keycap, so you’ll have to refer to the manual and learn them by heart.
If you want to customize bindings, you can use MelGeek’s web app for this purpose. There are plenty of options here, but it’s the precise and copious analog adjustments that are even more impressive.This app is easily accessible via two taps of the Mode button on the rear, which is a thoughtful touch and one I wish more gaming keyboards featured. For a web app, it’s also very fast and stable.
In a word, the best way to describe the performance of the Made68 Ultra V2 is solid. The keys don’t wobble at all, and presses are firm with a satisfying thunk once they reach the end of their travel. This provides plenty of feedback, while the dampening is sufficient enough to prevent harshness. At the same time, they’re also very snappy and responsive, thanks to their quick rebound.
I also found the WASD position comfortable, and all peripheral keys were easy and comfortable to hit. I did find myself hitting its edge on occasion, but its springiness and dampening still make it better than many others I’ve encountered.
All of this performance and adjustability doesn’t come cheap, though. The Made68 Ultra V2 is more expensive than many of its rivals — even those with bigger names, which makes the Made68 Ultra V2’s price harder to swallow. But if you prize a sturdy construction and a solid feel above all else, there aren’t many that can beat it on these fronts.
The MelGeek Made68 Ultra V2 costs $219 (about £160 / AU$300) and is available now in multiple colorways from the brand’s website. International shipping is offered, with region-dependent charges.
This is expensive for any wired gaming keyboard, even analog models. It’s costlier than some offerings from the big hitters in the space, such as Razer and SteelSeries. For instance, the former’s Huntsman V3 Tenkeyless 8KHz costs $169.99, yet it has similar analog tweakability and even includes controller emulation, which the Made68 Ultra V2 misses out on.
As for SteelSeries, its Apex Pro TKL Gen 3 is also cheaper than the Made68 Ultra V2, and what’s more it’s one of the best analog gaming keyboards I’ve ever used in terms of build and performance. Its keys feel great and offer superb control. It might miss out on controller emulation, but it shines in virtually every other area.
MelGeek Made68 Ultra V2 review: Specs
Layout
TKL
Switch
KOM Lite Magnetic / Flip King Magnetic
Programmable keys
Yes
Dimensions
12.6 x 4.6 x 1.6 inches / 319 x 117 x 40mm
RGB or backlighting
Yes (customizable)
MelGeek Made68 Ultra V2 review: Design
(Image credit: Future)
Retro looks
Very thick and heavy
Advanced customization options
I think it’s fair to say that the appearance of the Made68 Ultra V2 will prove divisive. Some may view it as charmingly retro, while others will think it dated. The translucent keycaps allow the switches underneath to be seen and let the RGB shine through. The effect is nice, but it does look like something we might have seen 20 years ago.
The frame is also a throwback to a time when gaming peripherals had an industrial bent, with its metallic side plates and sharp corners. However, the large rectangular lightbar adds some interest, and I haven’t seen anything like this before on a keyboard. The same is true of the side light bars, so the Made68 Ultra V2 at least has something to distinguish it from others in the space.
(Image credit: Future)
Complementing that sharp and angular appearance is its thickness. This tapers off somewhat towards the front, which has the effect of tilting the keys towards you. This is a good thing, since the Made68 Ultra V2 has no folding feet, although I still would’ve welcomed some to create even more of an angle.
Perhaps the sheer weight of the unit is the reason for this absence. Whether this is a flaw or a feature will likely depend on personal preferences. If you want a solid, planted feel, then you may well appreciate its heft; however, if you move your board around frequently, or take it with you on your travels, you won’t.
There are numerous Fn shortcuts on the Made68 Ultra V2, although it’s a shame that none of them is marked on the keycaps themselves, which means you’ll have to commit them to memory.
But even if they were marked, you’d be hard pressed to see them, since the RGB backlighting fails to shine through the keycap characters. In fact, it actively obscures them; turning off the backlighting actually makes the keycap symbols easier to read, which defeats the point of the feature in the first place. This is perhaps the biggest design flaw of the Made68 Ultra V2.
(Image credit: Future)
If you want to customize these shortcuts, and rebind all the other keys, you’ll need to use MelGeek’s web app. This is easily accessed by double-tapping the Mode button on the rear of the board, which is a thoughtful touch and one I wish every keyboard featured. There are plenty of system and media commands available for mapping, but it's the analog features and adjustments that really stand out here.
Take the multi-binding features. There’s a counter-strafing mode that triggers a second input when releasing a key; so if you’re holding A to strafe left, you can set this same key to trigger a D input when released to stop you quicker. There’s also a Rappy Snappy mode that gives priority to a single input when two keys are pressed depending on which is pressed further down.
There are a pleasing amount of actuation adjustments, too. You can set the actuation point between 0.1mm and 3.3mm, and even alter the deadzone at the bottom of a key’s travel between 0mm and 0.07mm, which is something I haven’t seen before in other keyboards.
(Image credit: Future)
The Rapid Trigger mode also offers plenty of scope for meeting the demands of pro gamers. There’s an adaptive mode with three presets to choose from: Stable, Balanced, or Agile. But if you’re a tinkerer, there’s a manual mode with sliders for adjusting up- and downstrokes independently. These have a large range of 0.01mm to 2.4mm and increments of one hundredth of a millimeter. There’s also a Continuous Rapid Trigger mode, where a key only deactivates when you fully release the key, rather than merely releasing above your predefined actuation point.
This level of analog adjustability is very welcome. It’s a small shame, however, that there’s no controller emulation feature, as some other analog gaming keyboards have. But given the inconsistent effectiveness of such modes, I’m not too disappointed about its absence here.
I often find web apps less effective than standalone software, but I’m pleased to report that MelGeek’s is a fine example of the former. It’s fast, stable, and easy to use, thanks to its uncluttered layout and explanations of its various features. The only real drawback is the lack of visualization; I find this helps to inform all my actuation-related adjustments by letting me see their effects in real time.
MelGeek Made68 Ultra V2 review: Performance
(Image credit: Future)
Solid yet snappy keys
Reasonably comfortable WASD position
Great for typing
Perhaps the most striking aspect of the Made68 Ultra V2 is its key feel. The keys have no play to them and fire straight as an arrow. This makes them very secure, a feeling that’s bolstered by their mild but noticeable indentations. Their surface is pleasantly smooth without compromising traction.
Equally gratifying is the solid thud when the keys hit the end of their travel. There’s just enough dampening here to avoid them feeling harsh, and they still only require a light touch. They also rebound with impressive alacrity, which makes them feel snappy and responsive.
This combination of solid and springy means the Made68 Ultra V2 offers speed and control in equal parts, and makes it just as suitable for typing as it does for gaming. I made far fewer typos than I usually do with keycaps this tall and narrow, which is testament to the keyboard’s precise action.
Thanks to the forward tilt of the keys, the WASD position was comfortable, and reaching the outer keys was easy. I found myself hitting the edge of the space bar on occasion, but its lightness, feedback, and springiness made up for this. It’s a joy to use and one of the best I’ve experienced. I still wished the angle of the keys was a little steeper, though, and I would’ve welcomed a wrist rest for longer sessions to compensate for the thickness of the unit.
Should I buy the MelGeek Made68 Ultra V2?
Scorecard
Attributes
Notes
Rating
Value
Very expensive, even for an analog gaming keyboard. Equally capable boards from bigger names are sometimes cheaper.
2.5 / 5
Design and features
Very heavy and sturdy with a retro appeal. Plenty of customizations are available thanks to the web app.
3.5 / 5
Performance
The solid yet snappy keys are excellent for gaming and typing. The angle of the board is a bit too shallow, though.
4 / 5
Overall rating
The Made68 Ultra V2 is a high-performing and highly adjustable analog keyboard. But its faults are hard to excuse at this price point.
3.5 / 5
Buy it if…
You want solid keys The thud of the keys is always satisfying, while their lightness and snappy rebound makes them easy to use.
You want plenty of customizations Aside from controller emulation, the Made68 Ultra V2 has all the analog features you could wish for.
Don't buy it if…
You’re on a budget Despite MelGeek being a relatively unknown brand, the Made68 Ultra V2 commands a premium price tag that would make even the big names blush.
You can’t touchtype You’ll struggle to see the key markings when the RGB backlighting is on, which defeats the point.
MelGeek Made68 Ultra V2 review: Also consider
SteelSeries Apex Pro TKL Gen 3 In terms of sheer performance, the Apex Pro is one of the best analog gaming keyboards I’ve ever used. The feedback of the keys allows for precise control of inputs, while the myriad adjustments and customizations allow you to get the perfect setup. It’s also built very well, and is slightly cheaper than the Made68 Ultra V2. Read our full SteelSeries Apex Pro TKL Gen 3 review.
Razer Huntsman V3 Tenkeyless 8KHz Another analog keyboard with a smorgasbord of adjustments and features, the Huntsman is a very competent performer. It perhaps doesn’t have the same satisfying feel as the Made68 Ultra V2, but it’s considerably cheaper. Read our full Razer Huntsman V3 Tenkeyless 8KHz review.
How I tested the MelGeek Made68 Ultra V2
(Image credit: Future)
Tested for several days
Used for gaming and working
Plentiful gaming keyboard experience
I tested the Made68 Ultra V2 for several days, during which time I used it for gaming, working, and general browsing.
I played games such as Counter-Strike 2, which is a stern test for peripherals, given the demands it places on speed and precision.
I’ve been using gaming keyboards for years, and have reviewed a large number of them, across all manner of price points, switch types, and form factors.
There's a new 34-inch ultrawide powerhouse in town, with the brand-new Alienware AW3426DW QD-OLED. After testing it with several games and movies, it's clear to me that this monitor stands well above its predecessors in terms of quality.
Unlike its predecessor, the Alienware AW3425DW, this display uses 5th-gen tandem OLED technology, delivering significantly higher brightness, improved efficiency, and better text clarity. The Penta (five-layer) tandem OLED stack also solves one of the biggest issues I've had with previous QD-OLED monitors, where brightness dimming from the automatic brightness limiter (ABL) would result in inconsistent brightness levels.
Frankly, coming from a 45-inch LG 45GS95QE QD-OLED ultrawide display that utilizes an 800R curve, I wasn't expecting to be blown away with greater immersion — but the AW3426DW delivers so much that I don't think I can do without a tandem OLED display going forward.
It also helps that Dolby Vision HDR support is included, which uses dynamic metadata to help shift brightness levels and tone mapping for each scene, and it's best used on games or movies that specifically support it.
For example, Battlefield 6's visual quality is elevated to a new level, specifically in sequences with chaotic explosions and fire particles that spread across the screen. You can see how good Dolby Vision is, when bright highlights are incredibly detailed, and since tandem OLED minimizes the need for ABL, there are no noticeable brightness dimming issues.
In games that don't support Dolby Vision, you can switch this off from the on-screen display (OSD) and enjoy HDR using the HDR Peak 1300 Bright or Display True Black 500 modes, although the former might have slightly more noticeable ABL. Other than a few errors that forced me to restart my PC after switching HDR modes and losing display signal, HDR functionality is great on the AW3426DW.
How much does it cost? $799.99 / £709 / around AU$1,150
When is it available? Available now
Where can you get it? Available in the US and UK
For everything that the AW3426DW ultrawide has to offer, effectively making it one of the best ultrawide OLED monitors money can buy right now, the $799.99 / £709 price is more than reasonable. It's around the same price as its predecessor, the AW3425DW, but is much better, mostly thanks to its tandem OLED tech, but also thanks to its new anti-reflective coating.
Having used a far more expensive LG 45-inch ultrawide, which still sells at just above $1,000 / £1,000 (original retail price was $1,699.99 / £1,699.99), the AW3426DW is a steal in my book.
The LG display might have a virtual reality-like 800R curvature, but it's heavily limited in comparison due to its older WOLED panel, and utilizes the same 3440x1440 display resolution as the new Alienware 34-inch monitor does at 45 inches, which means pixel density is worse on the 45GS95QE.
If you're not ready to make the jump to the flagship Alienware AW3926QW 5K2K ultrawide launching later this year, especially due to the leap in GPU power requirements (it'll be more demanding than gaming at 4K), then the AW3426DW is the best monitor to opt for.
Value: 4 / 5
Alienware AW3426DW: Specs
(Image credit: Future / Isaiah Williams)
AW3425DW (Previous Model)
AW3426DW (Review Unit)
Screen size:
34-inch
34-inch
Aspect Ratio:
21:9
21:9
Resolution:
3440x1440
3440x1440
Response Time:
0.03ms GtG
0.03ms GtG (Extreme Mode)
Panel Type:
QD-OLED / Q-stripe, 4-stack
QD-OLED Penta Tandem / RGB Stripe, 5-stack
Brightness:
250 nits (Typical), 1,000 nits (Peak)
300 nits (Typical), 1,300 nits (Peak)
Contrast Ratio:
1,500,000:1
1,500,000:1
Refresh Rate:
240Hz
280Hz
HDR:
VESA DisplayHDR True Black 400
VESA DisplayHDR True Black 500 & Dolby Vision
Screen Coating:
Standard anti-reflective
New anti-reflective coating
Connectivity:
HDMI 2.1 2x (VRR support), DisplayPort 1.4, USB Type-B upstream, USB Type-A downstream, USB Type C downstream (Power Charge up to 15 W)
HDMI 2.1 2x (VRR support), DisplayPort 1.4, USB Type-B upstream, USB Type-A downstream, USB Type C downstream (Power Charge up to 15 W), Built-in USB Hub
Dell has kept the design for the Alienware AW3426DW simple, and it's almost identical to the previous AW3426DW model. The new monitor features the same sturdy stand and base, and I love the shiny and sleek finish it has.
In terms of connectivity, it's effectively the same again with two HDMI 2.1 ports that support variable refresh rate (VRR), along with a single DisplayPort 1.4. Fortunately, you can charge your devices while using the display, thanks to the USB-C 5Gbps downstream port, with a charging output of 15 W.
I'd appreciate it if this display had a slightly deeper curvature (perhaps 1500R) over its 1800R curve; however, that's likely my own bias coming from near-constant use of an 800R curved monitor, which is overkill to say the least.
Most Alienware monitors keep OSD navigation easy via a simple button, and that's also the case here. However, one personal gripe of mine is the lack of a remote control.
Some of LG's UltraGear ultrawide displays come with a remote control, which eliminates the need to physically reach over to the monitor button to change display settings. Fortunately, though, the Alienware Command Center application on Windows acts as an alternative option to access and control some of the OSD options.
The biggest highlight of the AW3426DW's design is its new anti-reflective coating. There's almost little to no glare when using this display in a bright environment, even with sunshine beaming in from open curtains.
Yes, a lot of this is thanks to the 5th-gen tandem OLED panel and the display's high brightness levels, but the anti-reflective coating is just as important in this case, with a 30% glare reduction — and at night, brightness truly blossoms better than I've ever seen before.
Design: 4.5 / 5
Alienware AW3426DW: Features
Future / Isaiah WilliamsFuture / Isaiah Williams
The AW3426DW has a wide range of features available via its OSD, notably multiple HDR modes: DisplayHDR True Black 500, HDR Peak 1300, HDR Peak 1300 Bright, and Dolby Vision. The latter is what I used for most movies, specifically those that are made for Dolby Vision, especially since it dynamically shifts brightness levels and tone mapping based on each scene — but more on HDR later.
I'm not a massive fan of Picture-in-Picture or Picture-by-Picture (PIP or PBP) modes on monitors, specifically with multiple inputs. However, there are several options available in terms of positioning and sizing, which are more than welcome on any ultrawide display, where productivity is one of the main appeals.
For competitive players, the eSports mode should come in handy, as it transforms the display into a 25-inch monitor, with the option to position the active area at the top, center, or bottom of the screen. It's a reasonable option to include in a monitor with a 280Hz refresh rate, and one that has a 0.03ms GtG response time, and helps simulate a 25-inch monitor gaming experience.
VRR works fine on both DisplayPort 1.4 and HDMI 2.1 inputs, ensuring frame rates are high, matching the 280Hz refresh rate, and reducing screen tearing. Nvidia's G-Sync is also enabled to improve smoothness and latency, so screen tearing isn't a concern on this display whatsoever.
Features: 4.5 / 5
Alienware AW3426DW: Performance
(Image credit: Future / Isaiah Williams)
I tested this monitor playing several games, such as Destiny 2, Crimson Desert, Dragon's Dogma 2, Resident Evil Requiem, and Battlefield 6, and I was left amazed at how impressive the AW3426DW performs. With Dolby Vision enabled in supported games (i.e., Battlefield 6), visuals are absolutely breathtaking, with highly detailed bright and dark areas on screen amid blood-soaked action.
With Dolby Vision enabled, there are effectively no ABL issues, or at the very least, if there are, it isn't very noticeable. Of course, it's not just Dolby Vision's inclusion alone doing the heavy lifting in this respect, but also the fact that this is a 5th-gen tandem OLED display, directly increasing brightness capabilities.
Not every game or movie has Dolby Vision support, and that's exactly why the other HDR modes are vital — and I'm happy to report that HDR Peak 1300 Bright is fantastic. It doesn't come without its faults, and in particular, gamers should be ready to deal with some level of ABL.
However, again, because of the tandem OLED layers, I could play games like Destiny 2 or Dragon's Dogma 2 and enjoy very bright experiences without losing detail in bright and dark areas on screen. It's also a huge benefit that the AW3426DW is seemingly well calibrated out of the box in terms of color profile and HDR calibration, as I hardly had to configure any settings in that regard.
Essentially, Dolby Vision should only really be used for movies and games where it's supported, and HDR modes such as HDR Peak 1300 and DisplayHDR True Black 500 for most games that don't support Dolby Vision.
There aren't many games that can reach the 280 frames per second mark (at least when playing on higher graphics settings), but if you have a powerful enough rig, it's a joy to experience a game that feels so smooth when in motion.
It's also pleasing to see that text clarity issues have been solved, which stems directly from the RGB stripe subpixel layout, and that makes this a great choice for any PC user looking for a QD-OLED display that caters to both work and play.
Performance: 4.5 / 5
Should I buy the Alienware AW3426DW?
Alienware AW3426DW scorecard
Attributes
Notes
Rating
Value
The Alienware AW342DW is among, the best 34-inch ultrawide QD-OLED displays you can buy, and its price should be seen as a steal, despite being expensive.
4 / 5
Design
This monitor's design is simple yet attractive, and has just about enough ports to satisfy those after greater productivity.
4.5 / 5
Features
With several HDR, PIB/PBP, input options, and an eSports mode, this monitor makes it fairly feature-rich.
4.5 / 5
Performance
Dolby Vision and HDR Peak 1300 Bright help elevate the AW3426DW's immersion to new heights over predecessors, and its ultimately thanks to the 5th-gen tandem OLED panel.
4.5 / 5
Average rating
It's not a massive display like the flagship Alienware 5K2K, but in the UWQHD class, it stands above many competitors.
4.37 / 5
Buy the Alienware AW3426DW if…
You want a bright and colorful gaming experience The Alienware AW3426DW utilizes its 5-layer tandem OLED panel, Dolby Vision, and other HDR Peak 1300 Bright to significantly boost brightness levels, without sacrificing details in dark and bright areas on screen.
You want a monitor that doesn't dominate your desk In the same vein as other 34-inch displays, the AW3426DW is one of the best options on the market that still provides high-level quality and immersion, at a manageable size on your desk.
You want a monitor with a high refresh rate With a 280Hz refresh rate, there is plenty for eSports gamers and high refresh rate enthusiasts to enjoy using the AW3426DW, making every game experience look incredibly smooth.
Don’t buy it if…
You’re out for a bigger ultrawide If the 34-inch ultrawide monitor size is a feature you want to get past, it's best to seek out a larger 39-inch or 45-inch ultrawide display, possibly a 5K2K monitor.
You're tired of the UWQHD resolution The UWQHD 3440x1440 resolution is great to stick with for good performance and immersion, but doesn't quite match up to 4K monitors or even LG's UltraGear 5K2K displays.
Also Consider
MSI MPG 491CQP QD-OLED
While significantly bigger than AW3426DW QD-OLED, the MSI MPG 491CQP arguably provides more immersion via its 32:9 49-inch wide screen. It's not a tandem OLED; however, it's currently around a very similar price to Alienware's new display and still provides great quality in HDR performance.
Played several modern games and watched multiple movies
Tested mostly using Dolby Vision and HDR Peak 1300 Bright modes
I used the Alienware AW3426DW for a week, mostly for gaming and watching movies. The games I tested include: Destiny 2, Resident Evil Requiem, Dragon's Dogma 2, Dead As Disco, Battlefield 6, and Crimson Desert. Some of the movies include Avengers: Infinity War and Guardians of the Galaxy Vol. 2.
I also spent the same amount of time using the AW3426DW for work duties and found that it eliminates one of the biggest pain points on OLED monitors, which is text fringing. I had no issues with reading text or simply navigating on web browsers, and also found that both HDR and SDR are visually fine to use outside of gaming (or non-HDR activities).
The monitor was also placed in a brightly lit room for most of the review period, with direct sunlight positioned directly on it, and found that there was little to no glare, thanks to the anti-reflective display.
I started using an ergonomic mouse – along with an ergonomic keyboard – back in late 2021 to help me reduce the damage I was doing to my body by sitting at my desk all day, typing. At the time, the ergonomic mouse I was using was the Logitech MX Vertical, but that proved to be too big for my small mitts.
When the Logitech Lift was announced, I promptly swapped and I have not looked back since! I love this mouse and it's currently available at its lowest price yet of just AU$58.34 for the black variant. That's a very generous 55% off the listed price and it will ship to New Zealand for NZ$74.39 with no additional shipping fees.
The other two colour options are also discounted but nowhere as well as the black model, so if you aren't too fussed about that, this offer won't last long — not likely till the end of Prime Day on Tuesday, July 13.
A comfortable and very ergonomic mouse, the Logitech Lift is a nice-looking wireless mouse with adjustable sensitivity settings between 400 and 4,000 DPI. So while it won't be the best option for gamers, it's perfect for everyday use for work or study. It works very well via Bluetooth, but you can also connect via 2.4GHz wireless, and set it up to work with three different devices.View Deal
I currently have the white Logitech Lift, but that has started to look a little grubby now. To be fair to my mouse, though, I carry it with me between home and office, and my bag can't be doing it any favours. With that in mind, I think the black colourway would be best for long-term and everyday use and I am very tempted to buy this one at this price.
I'm not the only one who likes this mouse. It scored high in our Logitech Lift review, with our tester saying it makes "toiling away on the computer for hours on end just a little easier – and much less painful". It's also our pick of the best mouse for ergonomics, thanks to the 57º twist to the vertical 'sail'.
Admittedly the Lift is best suited to small and medium-sized hands, but it might be quite comfortable for people with large hands as well. There's a rubber grip on the rear that keeps your palm from slipping, plus the buttons and the scroll wheel has been placed exactly where your fore, middle and ring finger will sit naturally when you wrap your hand around it.
The clicks are whisper quiet, so you'll never disturb anyone working beside you.
Importantly, its performance is excellent. You can use the Logitech Options app to make some adjustments, like saving two DPI presets, but don’t expect high-speed tracking resolution comparable to gaming mice. It glides smoothly and is accurate for more everyday needs. And while our reviewer had issues with its sensor while testing, I have had no such problems myself.
My only complaint with the Logitech Lift is that it requires a single AA battery, while the MX Vertical I had previously could be recharged via USB-C. Sure, the battery goes on for up to 24 months (depending on use), but it would have been nice if this too was a rechargeable option.

 Login
Login